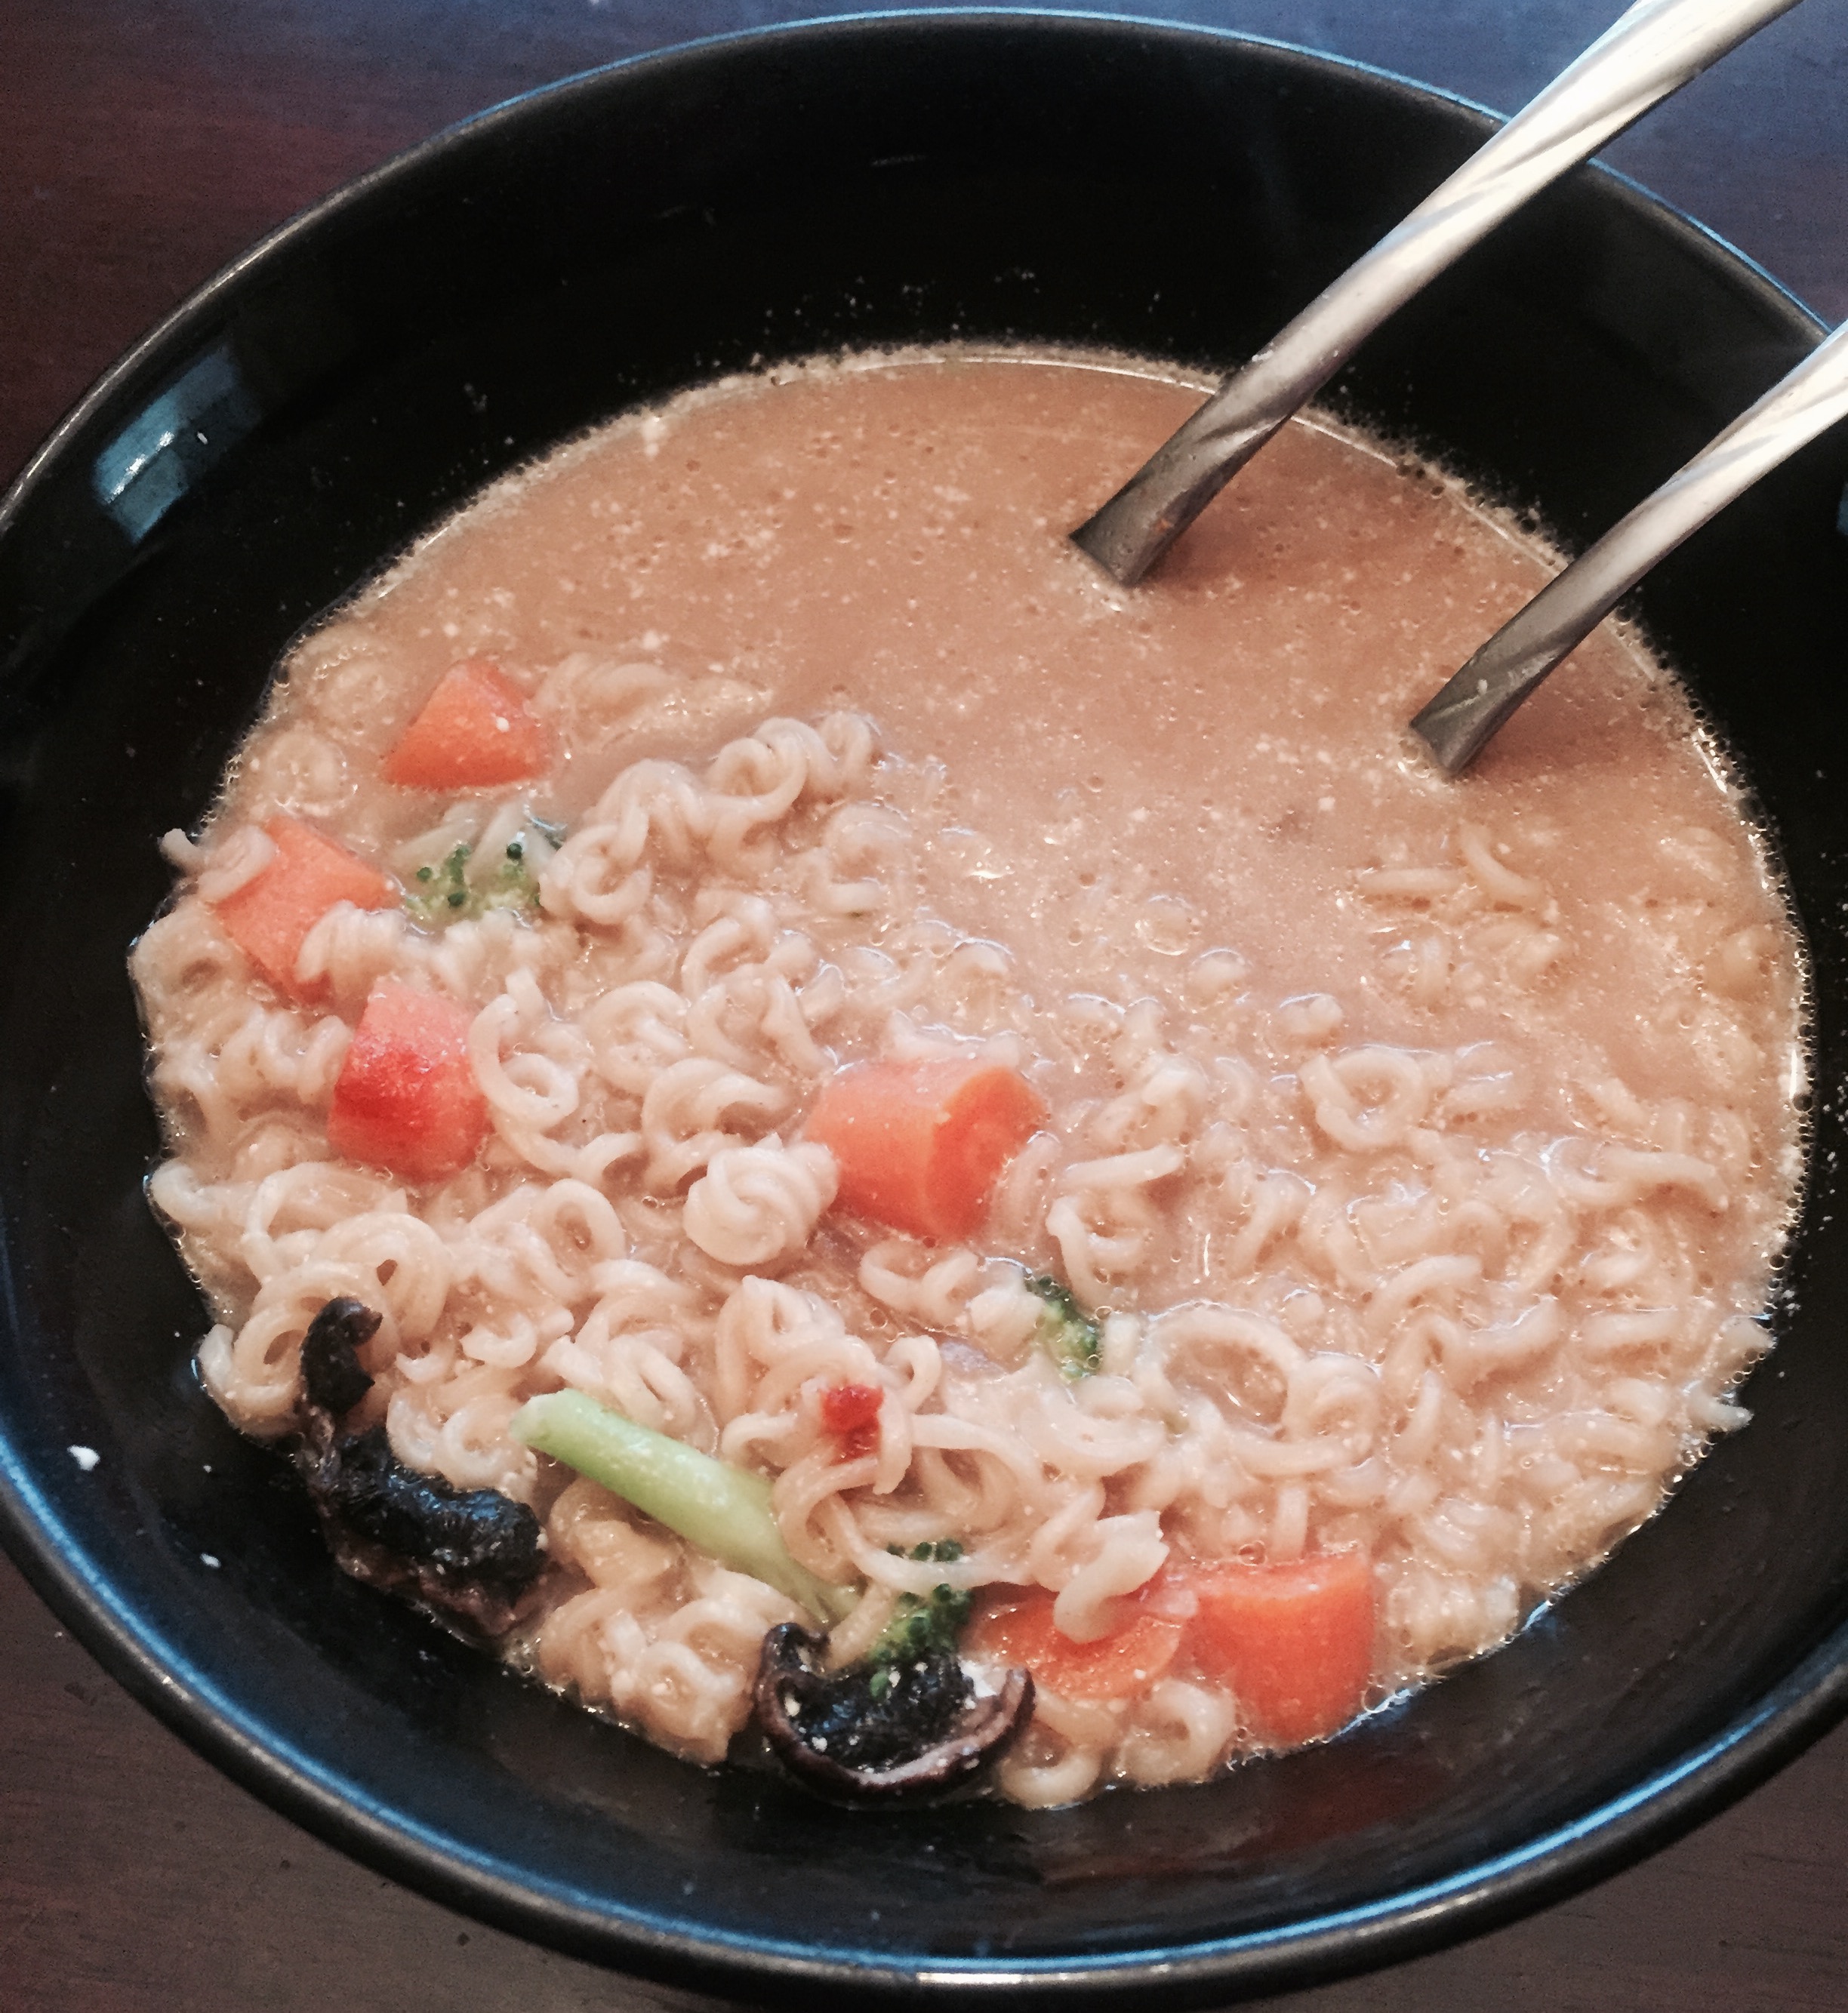
No matter how warm the weather, I like a hot meal while I'm backpacking. I often cook both breakfast and dinner on trail. While many hikers go no-cook or stoveless, I just don't think I'll be one of those hikers. A warm meal is always my favorite way to start and end my day. When it comes to cooking though, I like to keep things easy. That sometimes means I'll turn to a freeze dried meal for simply heat-and-eat with no cleanup. When Mountain House offered to send me two new meals to try, I was excited to give them a try.
Disclaimer: I received these meals in exchange for writing the review. All opinions are unbiased and are my own.
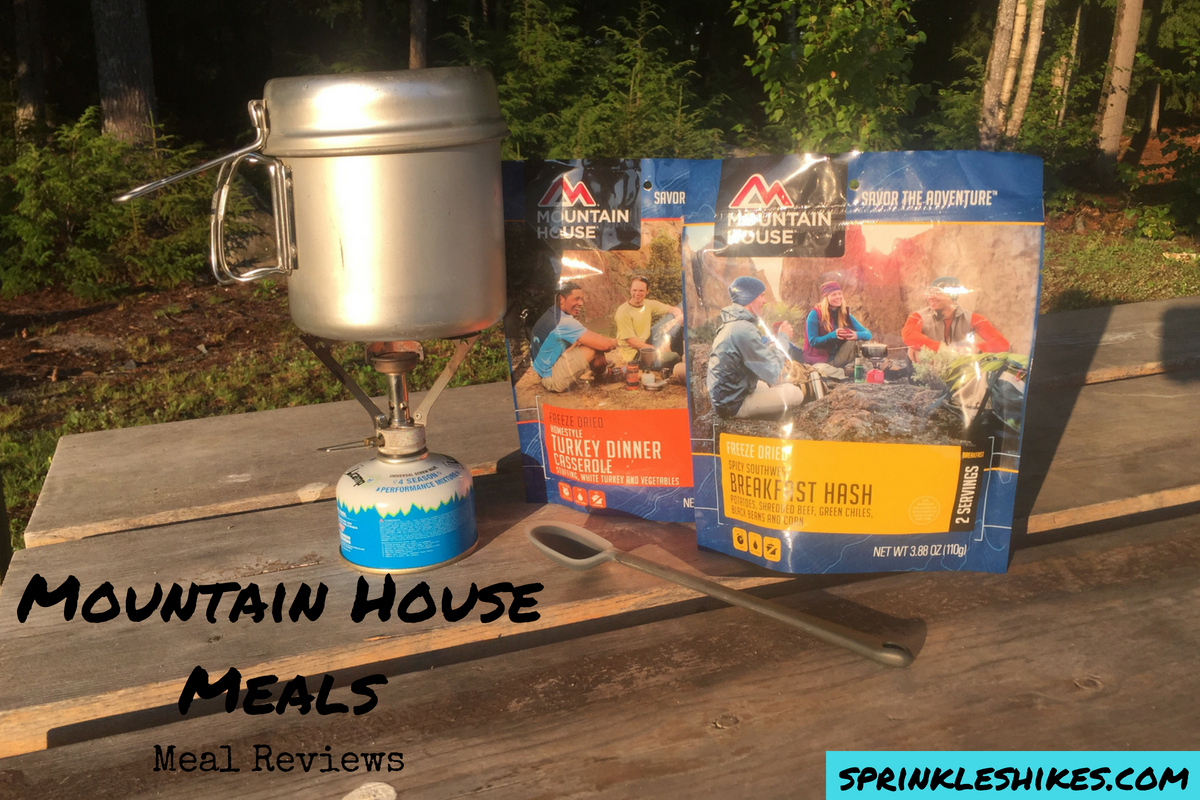
On a recent getaway I didn't leave myself much time to plan a trip. On those spur-of-the-moment adventures it's great to have a few freeze-dried meals I can throw in my pack and not have to worry about making sure I have all the ingredients. Since Mountain House sent me two meals - Spicy Southwest Breakfast Hash and Homestyle Turkey Dinner Casserole, all I had to do was grab a few snacks, a quick lunch, and head out the door!
After a long day of hiking, I was excited to try the Homestyle Turkey Dinner Casserole. Thanksgiving is a favorite meal of mine and I absolutely love turkey pot pie, so getting to have it in the backcountry was an added bonus! The first thing I was struck by with this meal was the fact that there were real ingredients inside - check out the label:
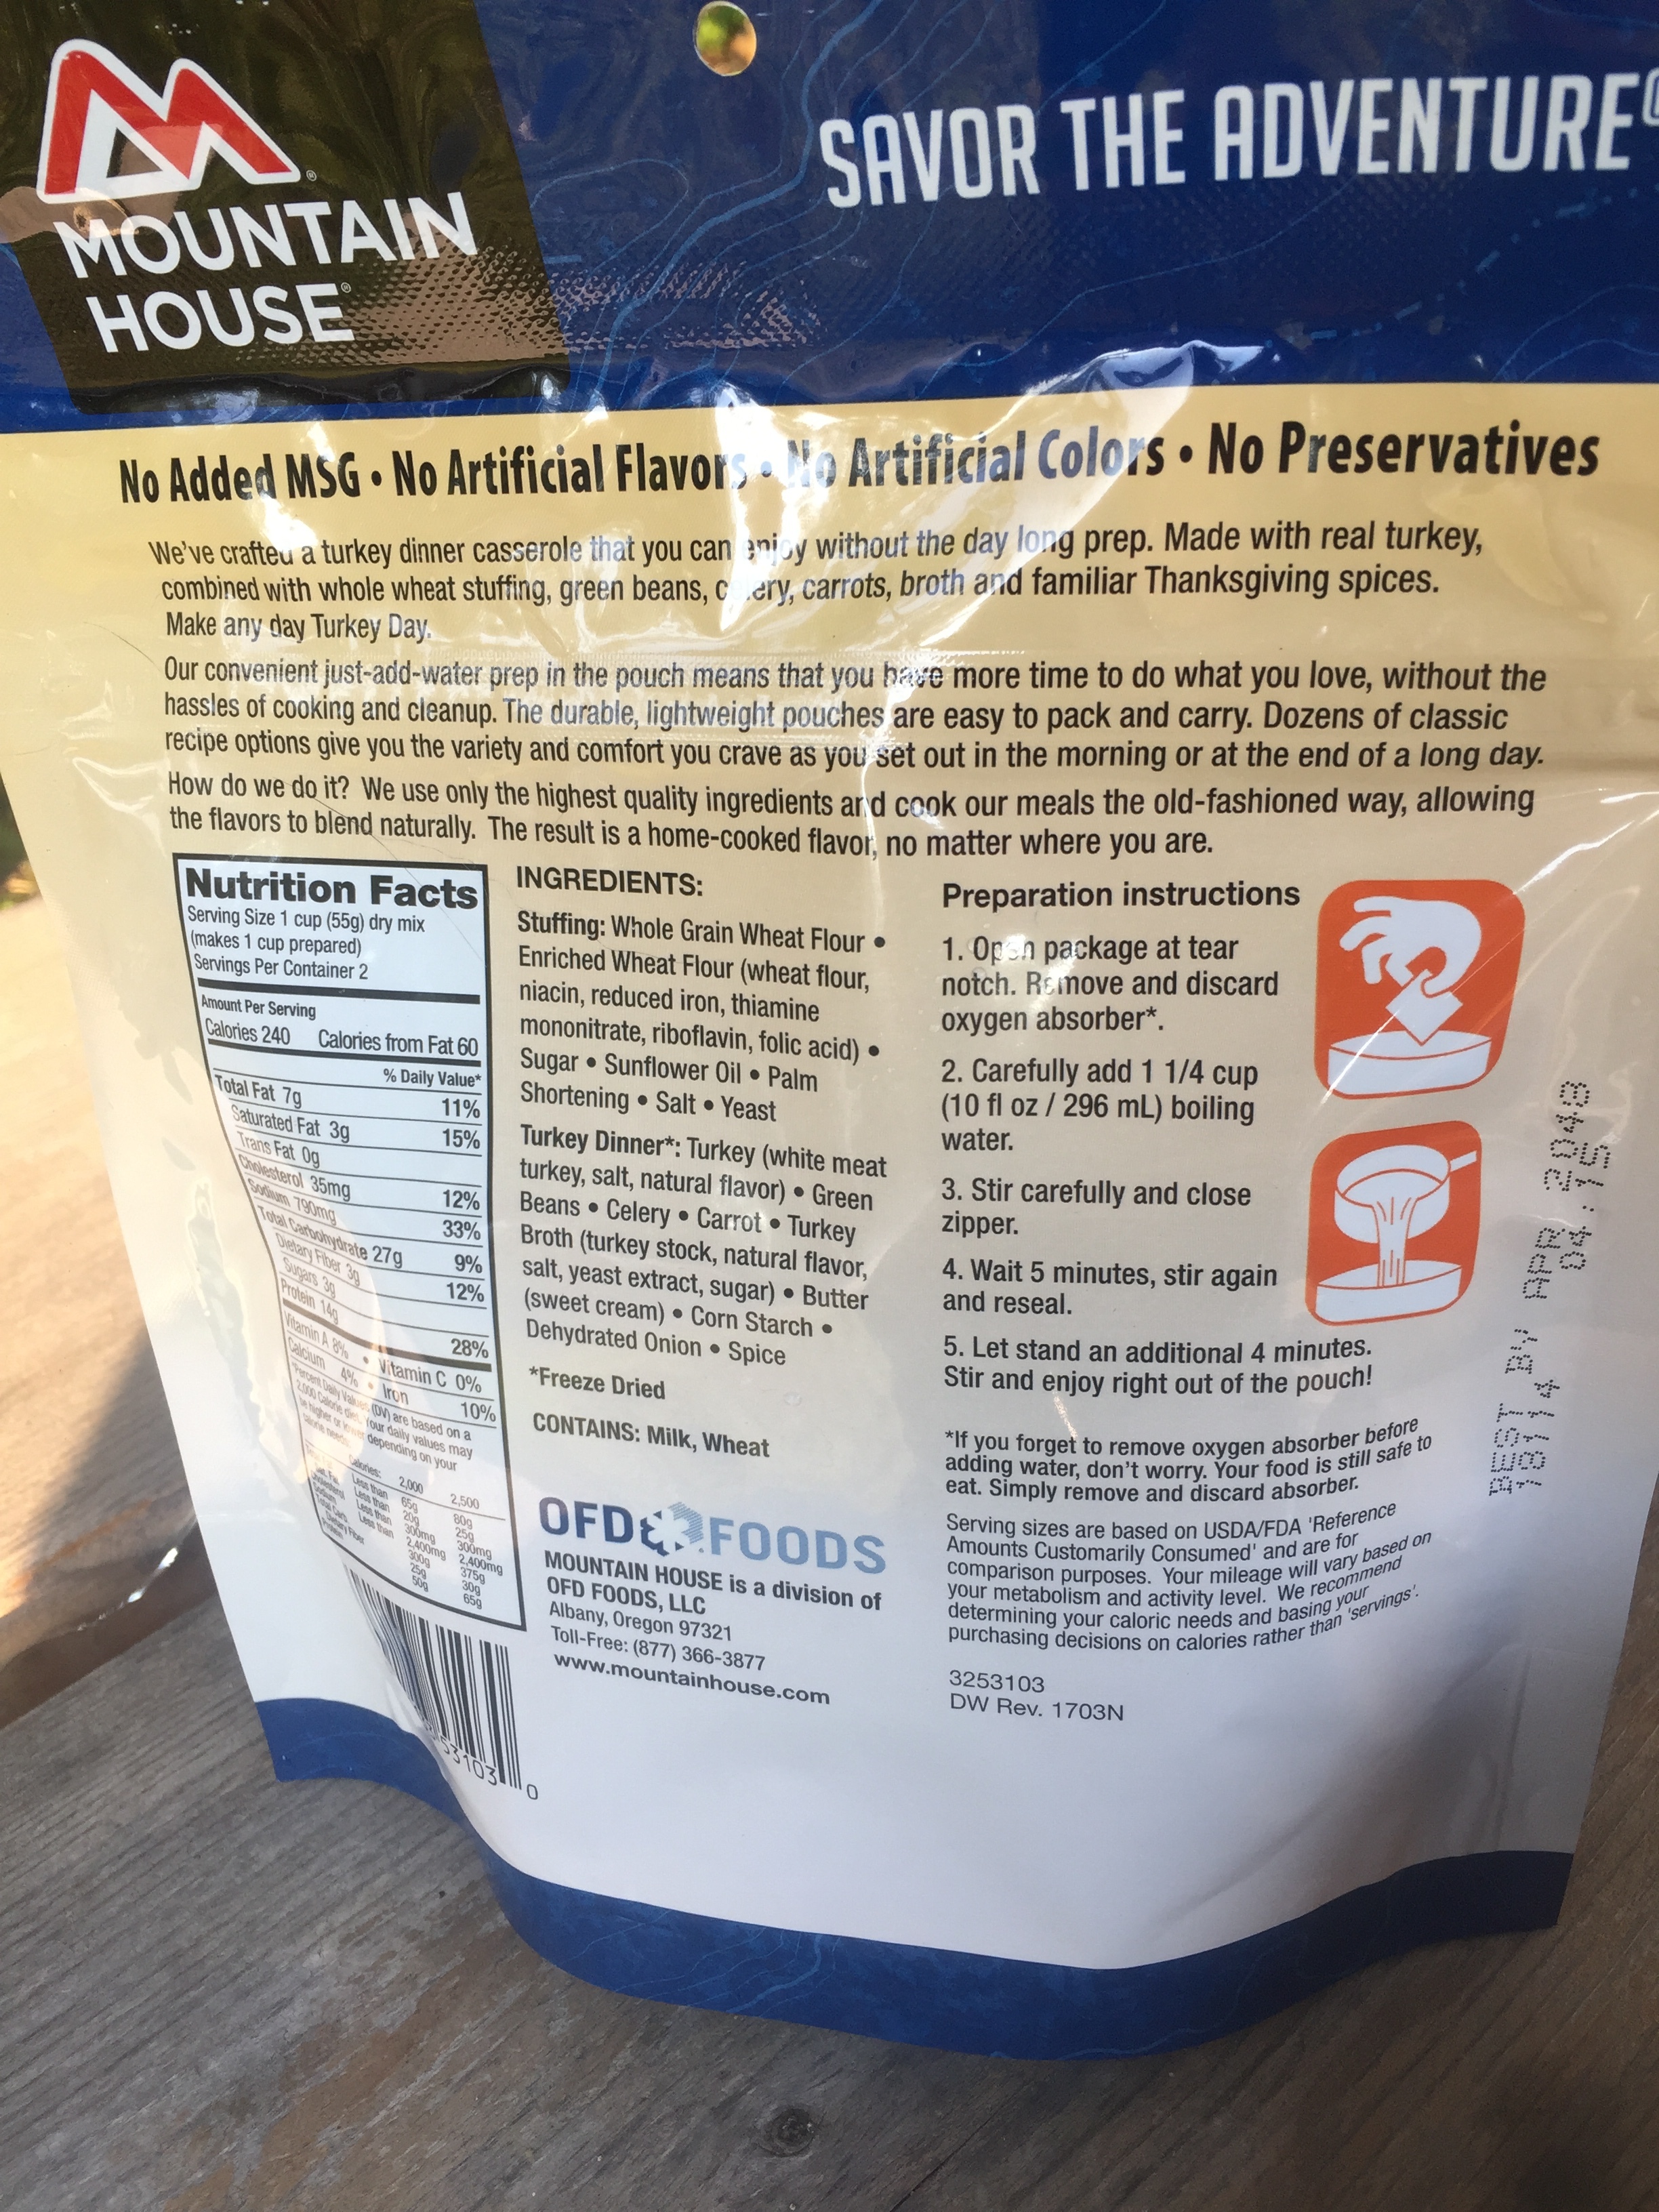
Real ingredients with easy-to-follow instructions.
It was so simple to make this meal too! The instructions tell you exactly what you need to do. You'll even have time to set up your tent while you wait! This meal was really good and definitely reminded me of casserole. Instead of the stuffing being on top, it was all mixed in and was super tasty! The only thing missing was some green bean casserole!
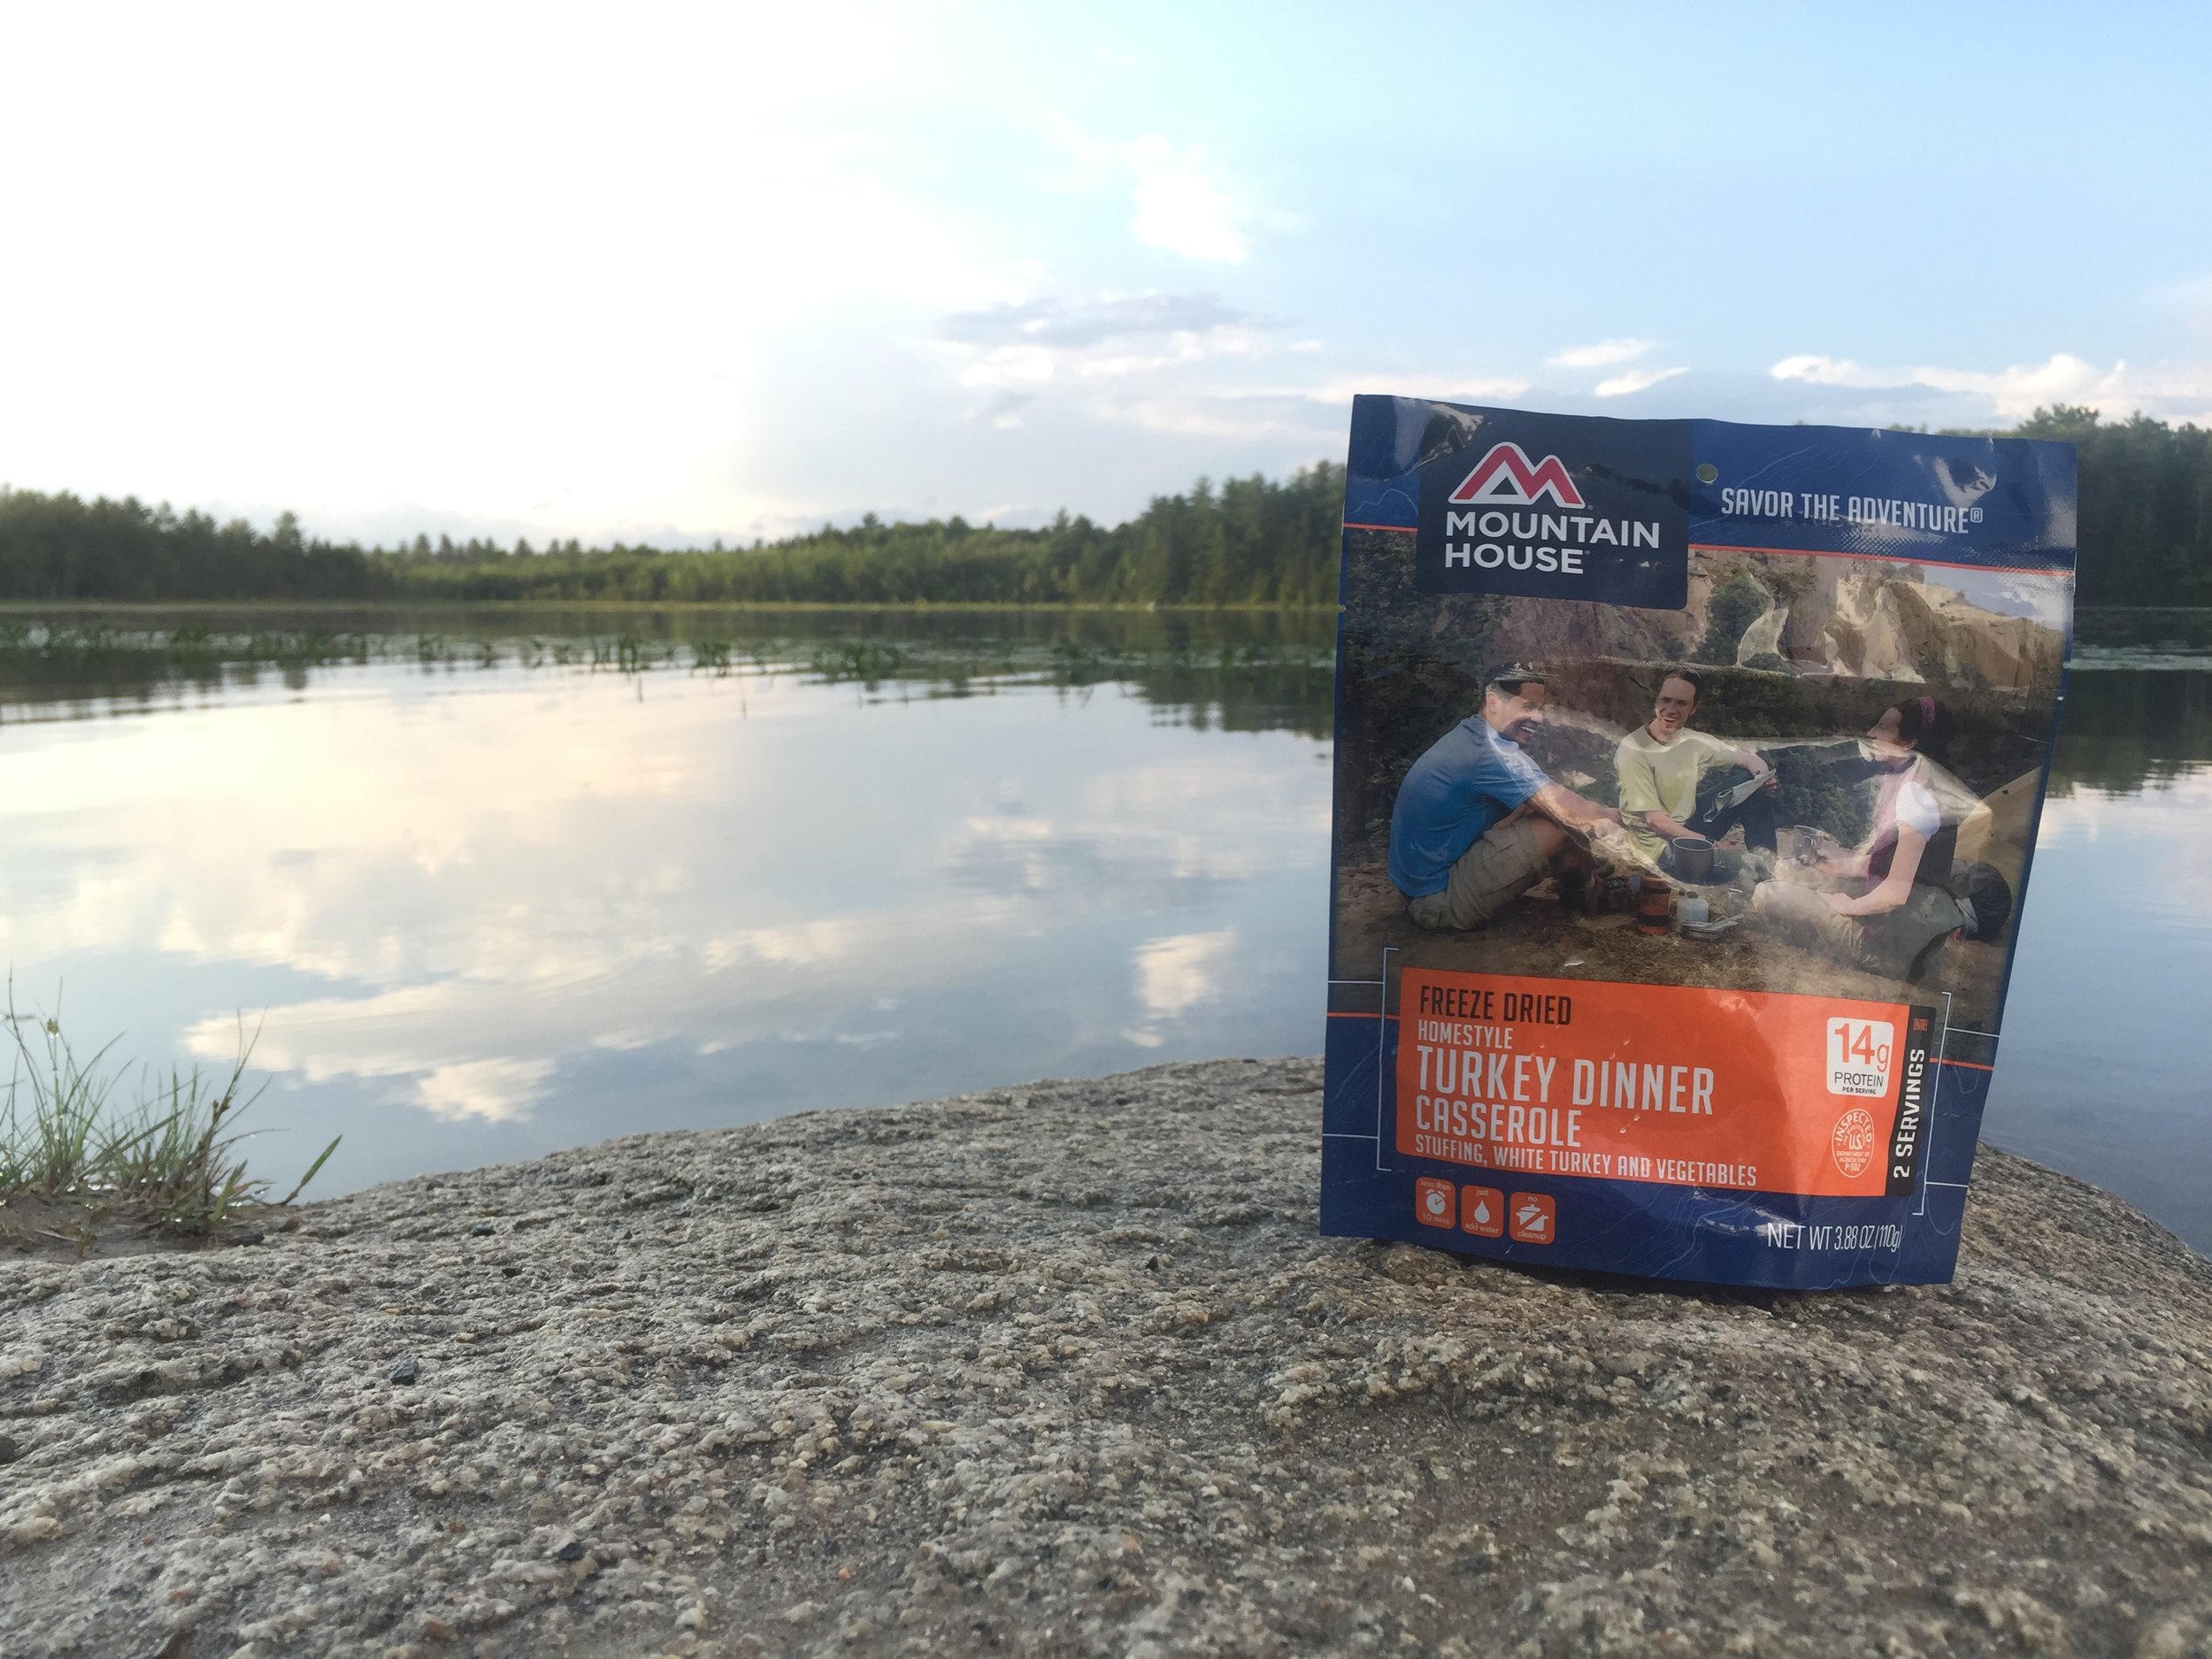
Dinner on a pond in Maine - does it get any better?!
When it came time for breakfast though, I was ready for some big flavors to accompany my coffee. Enter the Spicy Southwest Breakfast Hash. With the promise of having the "perfect amount of hot sauce" I'll admit I was skeptical. All hikers love their hot sauce, and I'm no exception to that rule. With hash browns, corn, black beans, chiles, and shredded beef, I knew I'd be nice and full for my hike out too. After removing my oxygen absorbing pack and adding hot water, I impatiently waited to stir and eat.

Don't worry - it won't hurt you! Just take out the oxygen absorber and add water!
To my surprise, Mountain House was right - there was a decent amount of spice in this meal, but not too hot. I didn't feel the need to add any additional hot sauce to my breakfast, which isn't always the case. My favorite thing about this meal is the fact that it DIDN'T have eggs in it. I'm not the biggest fan of freeze dried eggs, which you'll find in their other savory breakfast meal. The fact that I got to eat potatoes and have a savory breakfast was definitely a bonus for me that morning! This meal would be great with an avocado on the side or even with some warm tortillas!
If you're looking for an easy way to hit the trail with minimal clean up, these Mountain House meals are the way to go. Having a filling, savory meal for both dinner and breakfast the next morning really helped me enjoy my hike.
Have you tried either of these meals? What are your favorite freeze dried meals?