gear

A Mountains to Sea Trail Update

It seemed like spring would never arrive a few short weeks ago, but now we're midway through February!  I've been feeling like I'm doing a good job at my New Years' goal of unplugging more, but at the same time I always like to update my readers as to what is going on and what our progress is on thru hike prep.  Major progress is being made and I'm super excited to share it with you guys!

Mountains to Sea Trail Update.png

Menus are finalized!

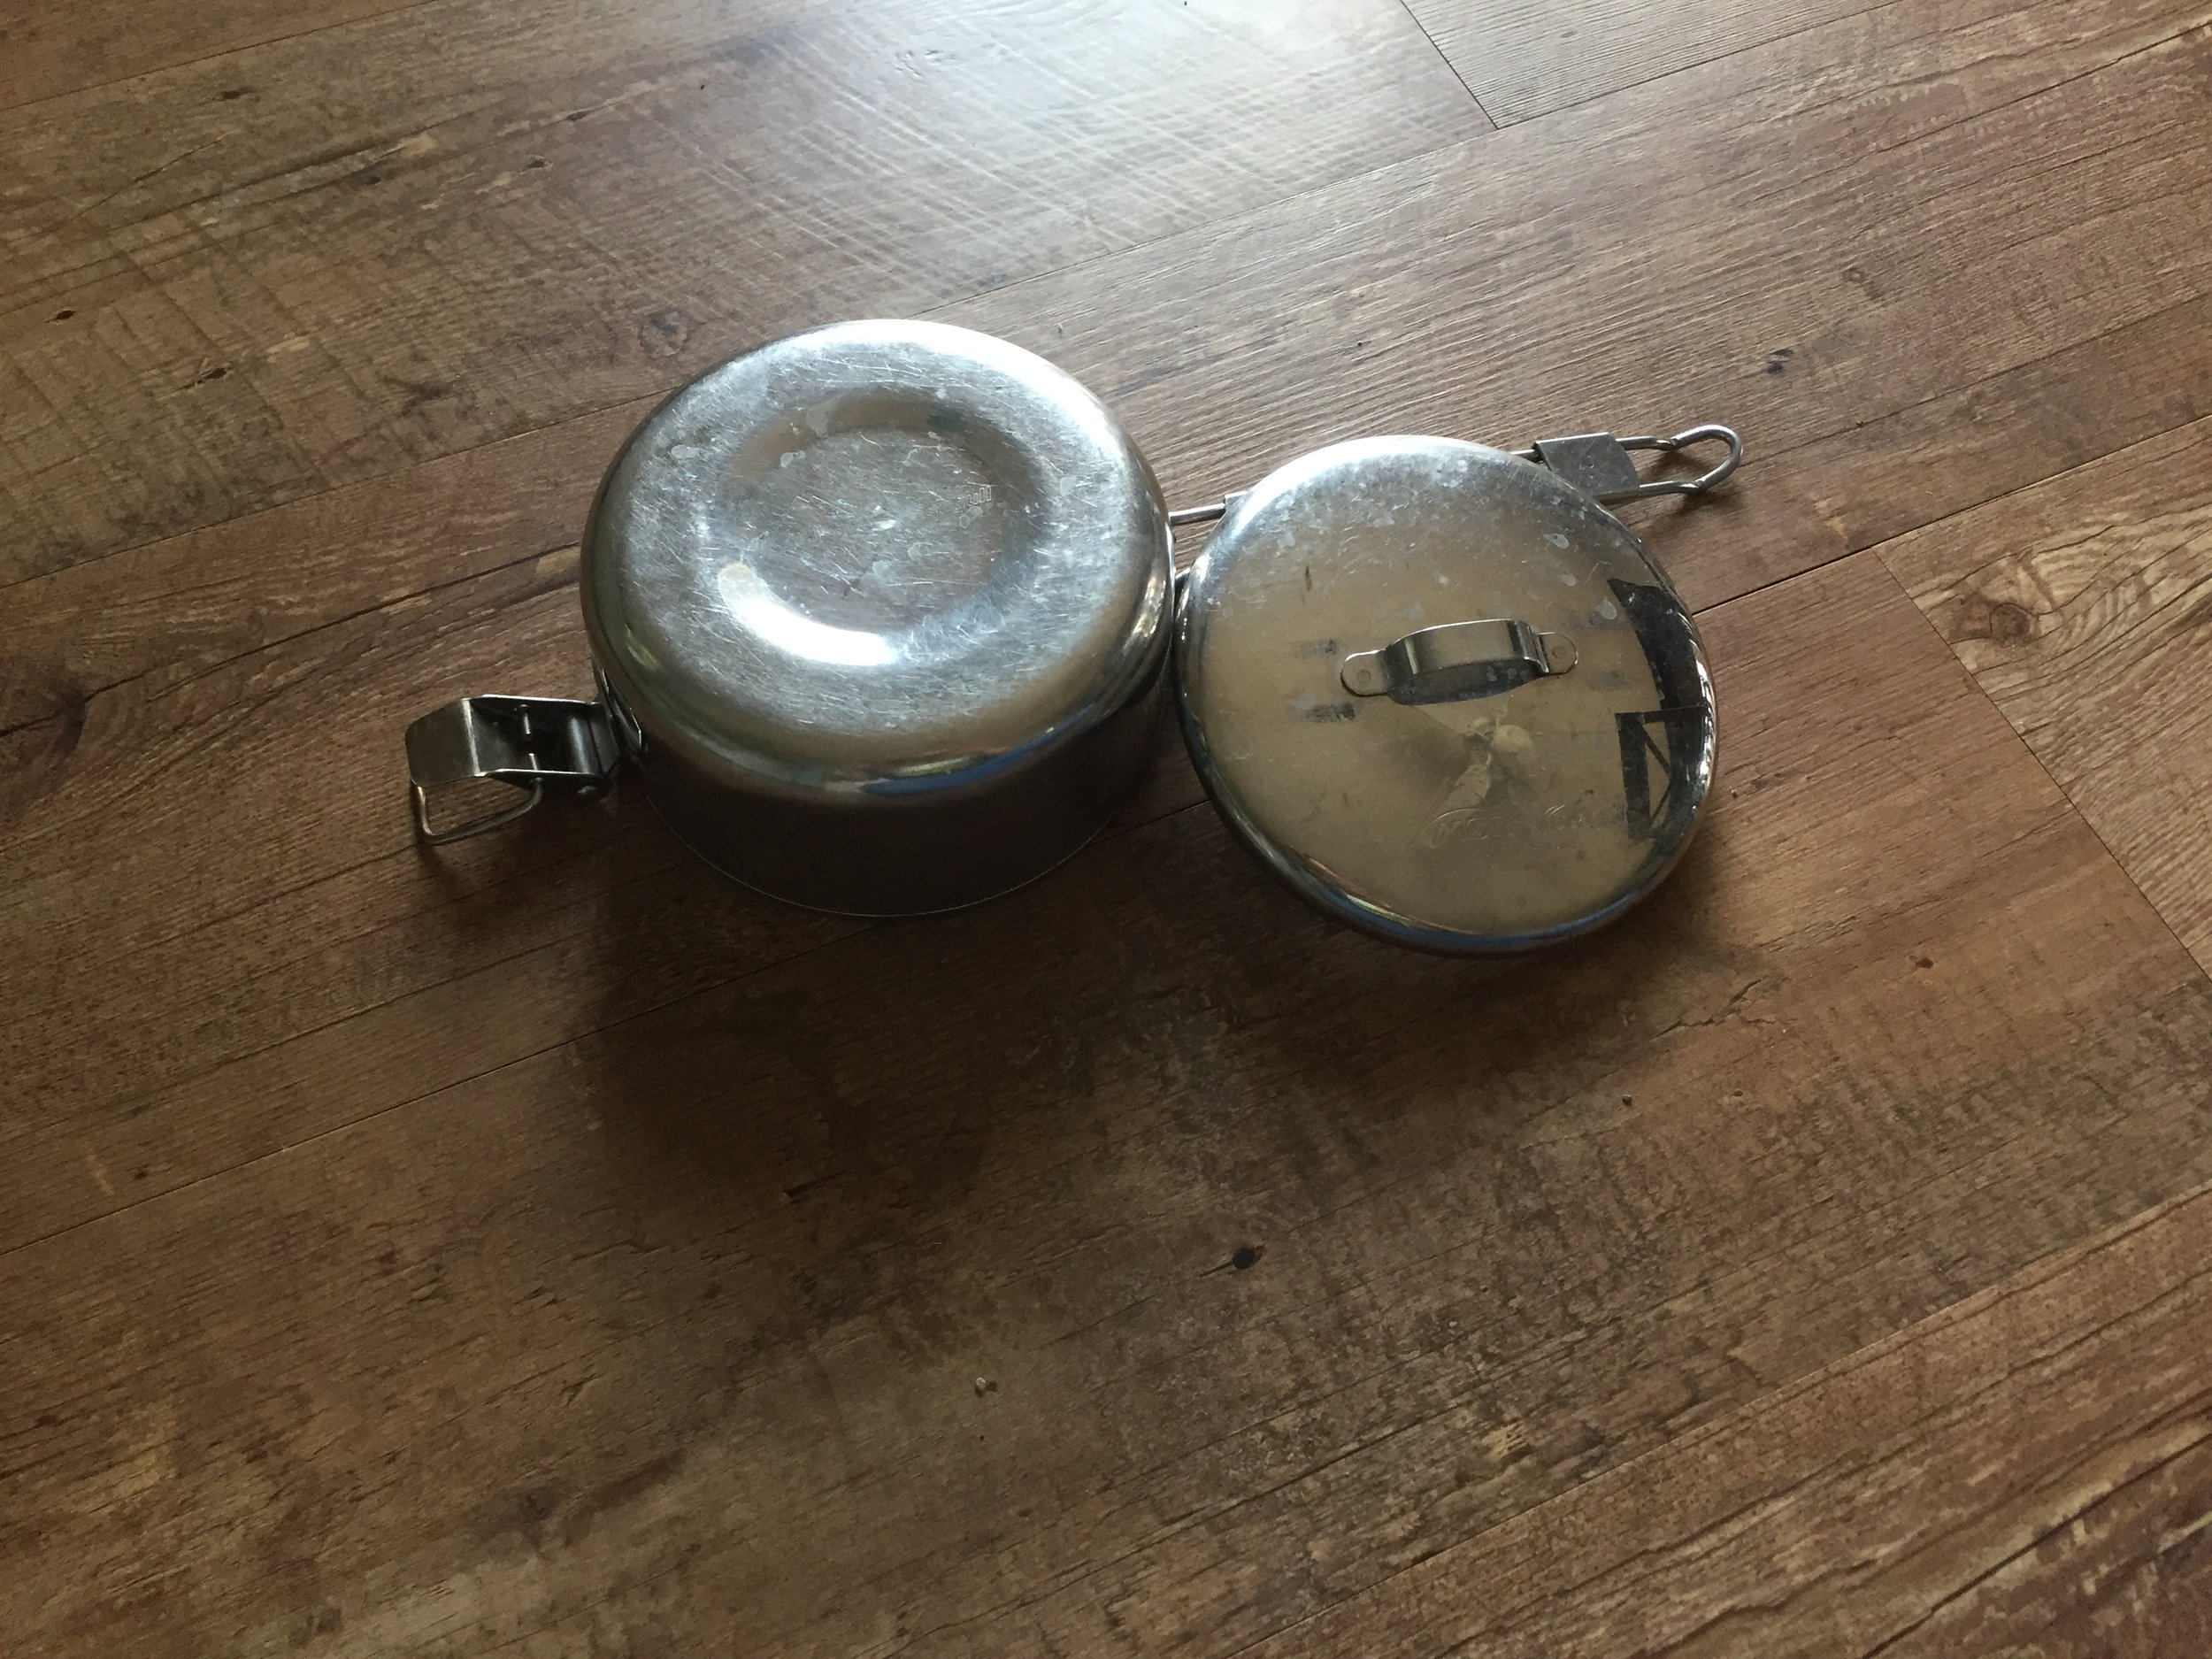
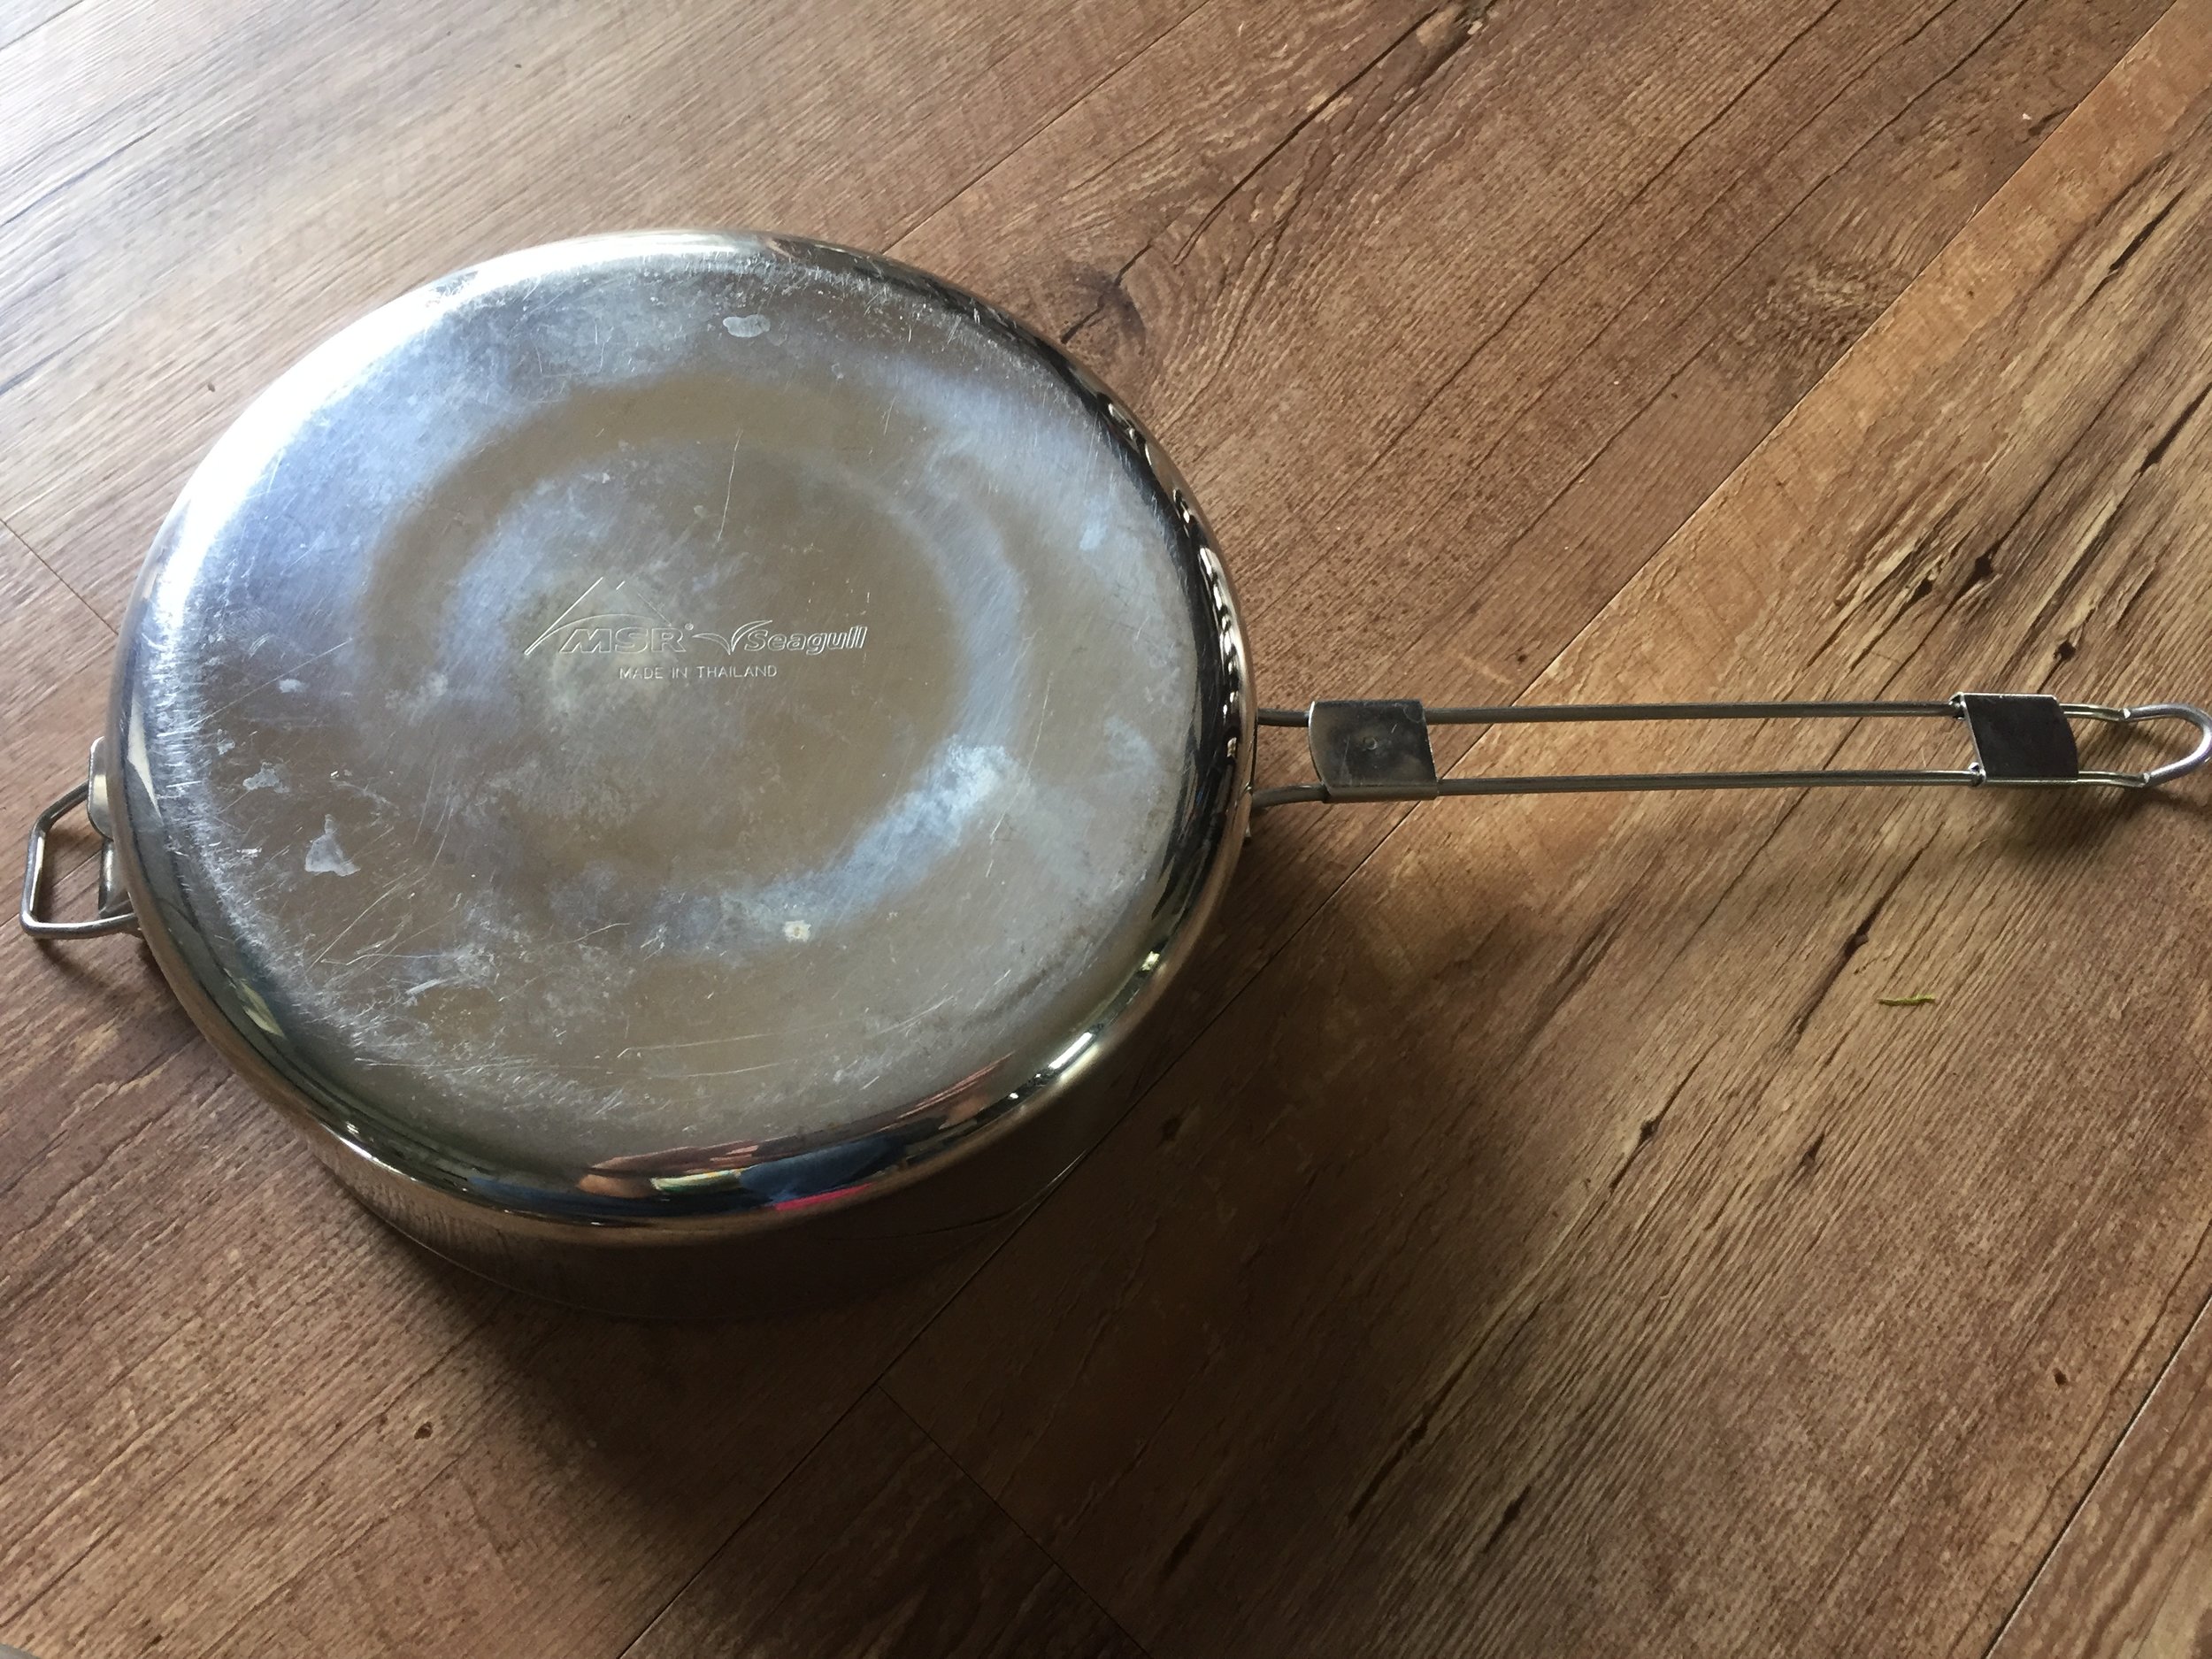
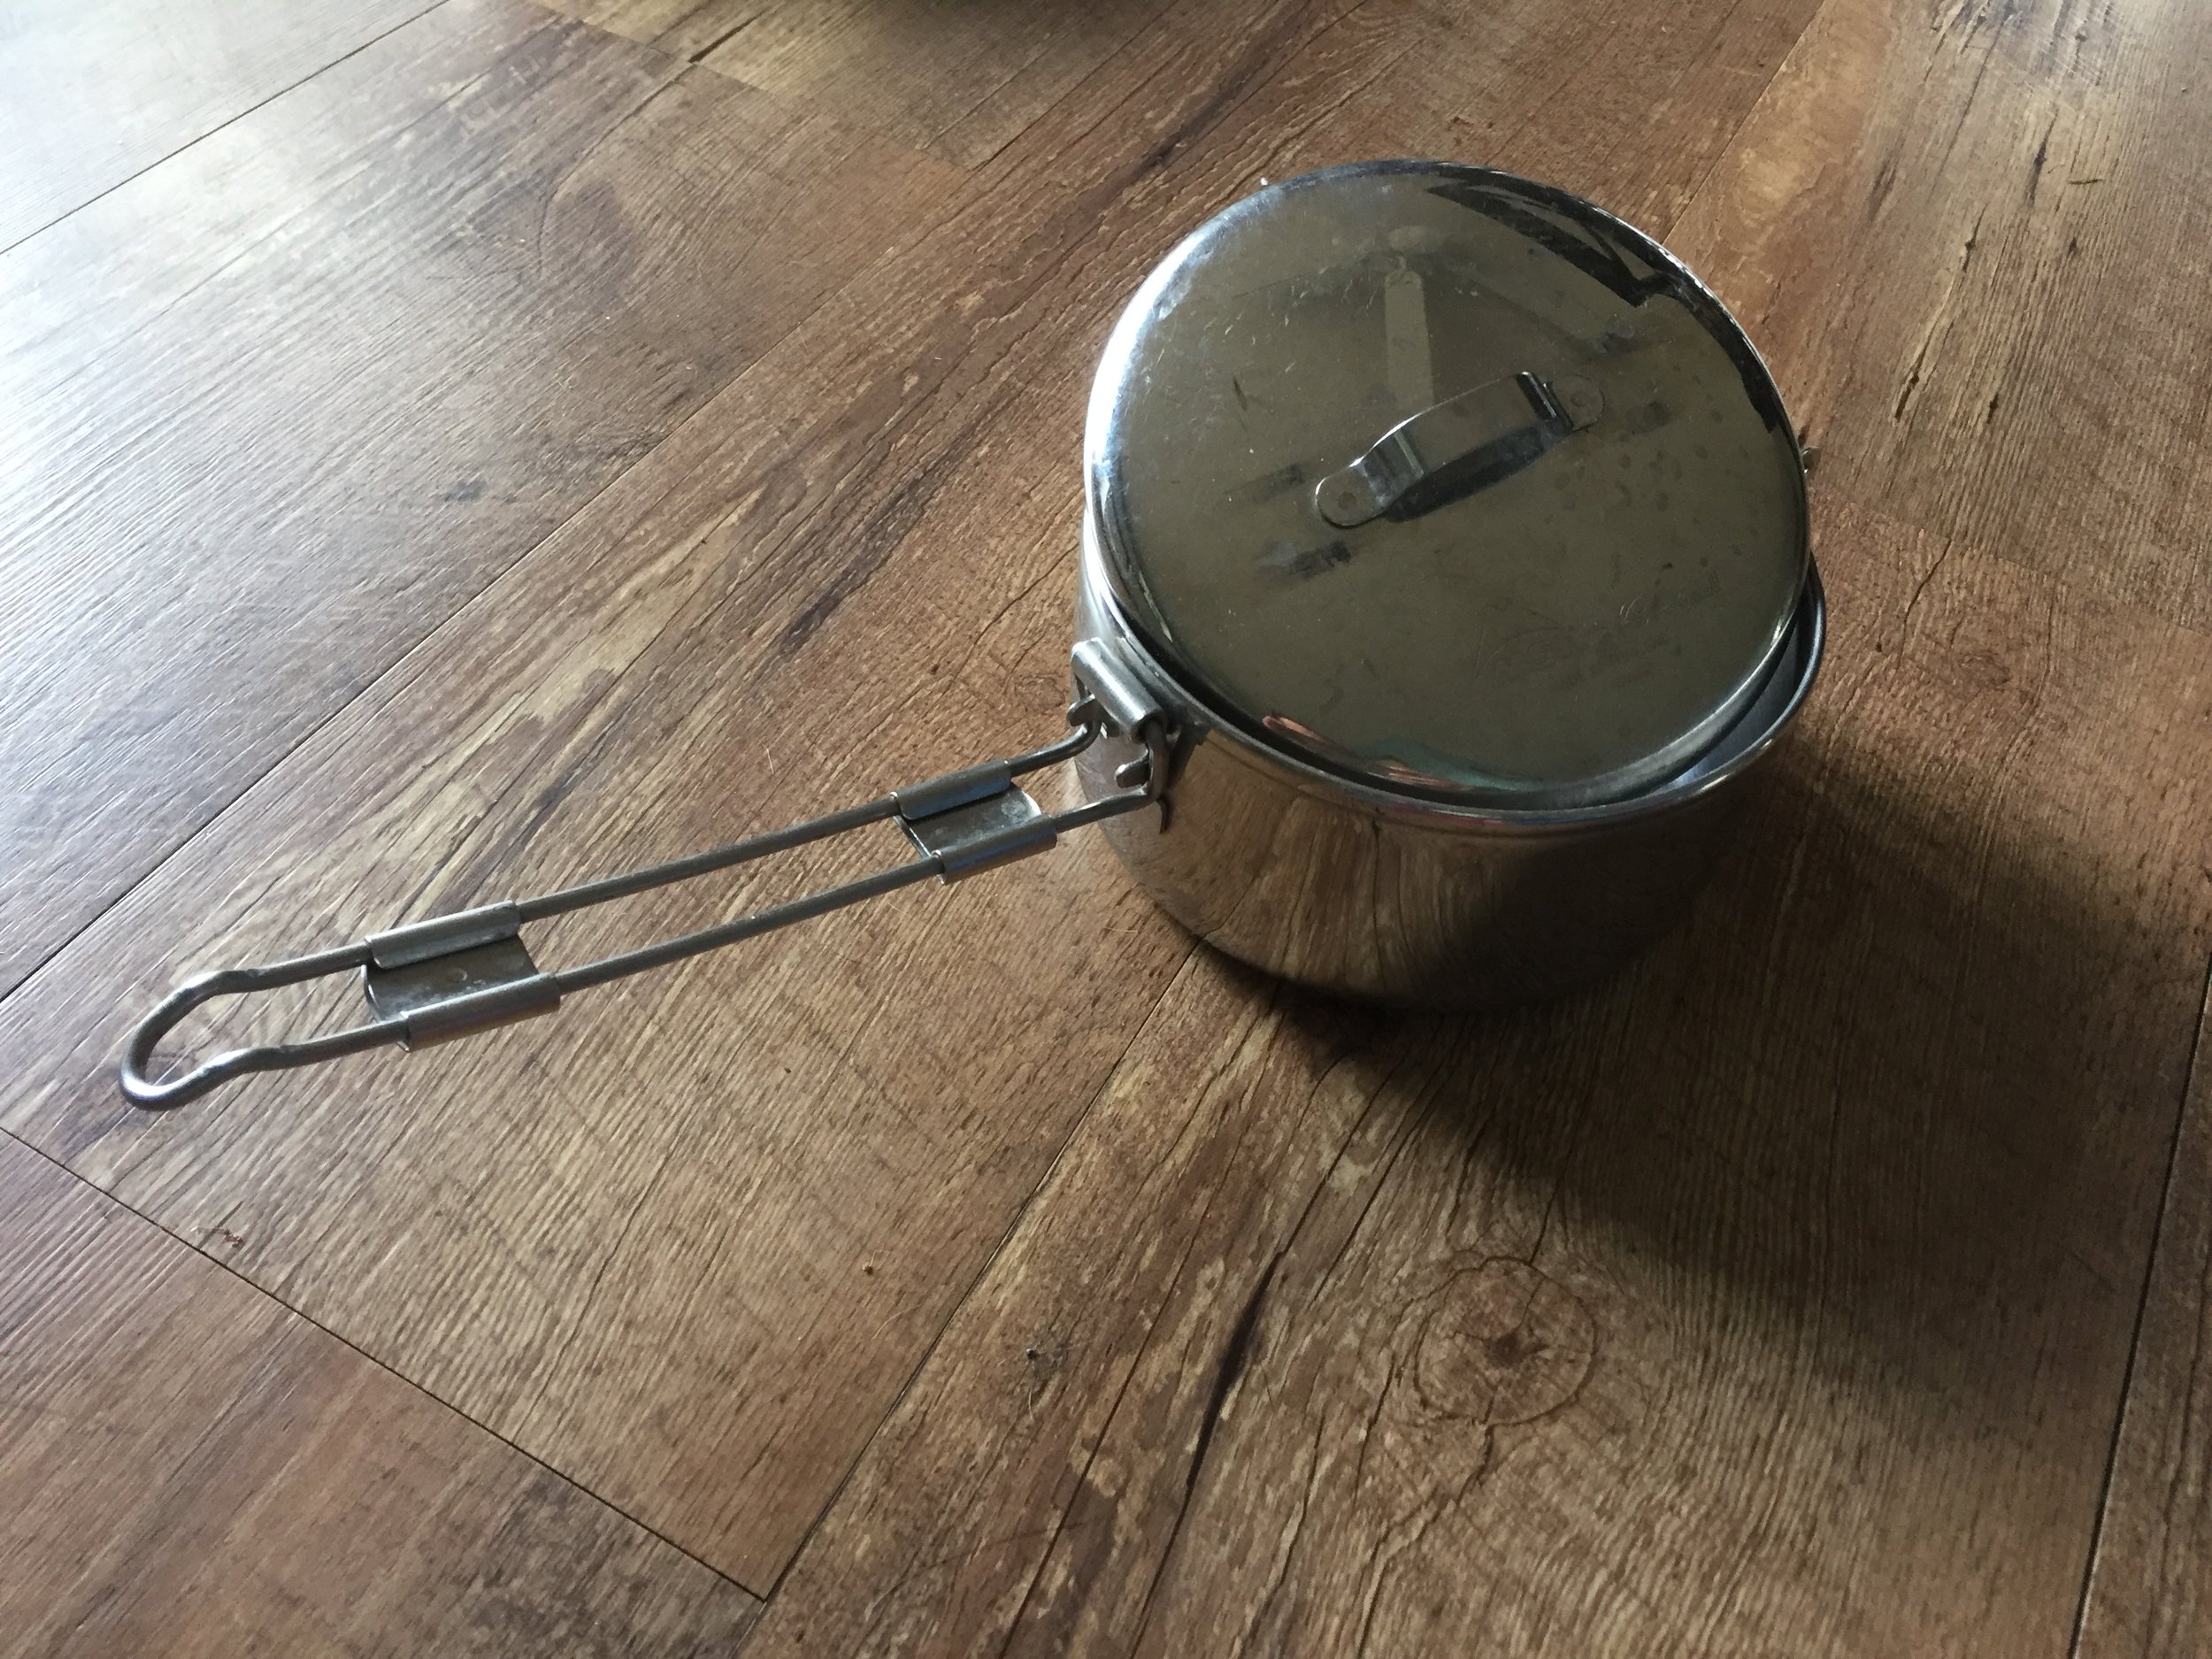
While for long hikes I'm a big fan of resupplying on the fly, for shorter hikes (1000 miles or less) I prefer to make our own meals.  It's a lot easier on a trail like the AT to resupply in towns or at gas stations, even for those with special dietary needs.  However, when you're on a smaller trail like the Benton MacKaye or the Finger Lakes Trail, doing your own resupply boxes ahead of time is pretty clutch to making your hike work better for you.  Since we're only doing about 45 days on this trek, I decided to go ahead and plan a menu and resupplies.  Here's a small sampling of what we'll be bringing!
 

Breakfast: Fig Newtons, Poptarts, and homemade granola with coconut milk for NoKey; breakfast rice, couscous, oatmeal, and homemade granola with coconut milk for Sprinkles. 
Lunches: Shelf stable bacon with mustard on bagel thins, pepperoni sandwiches, dry hummus and crackers or fresh veggies if we can find them. Homemade granola will work for a sweet lunch as well. 
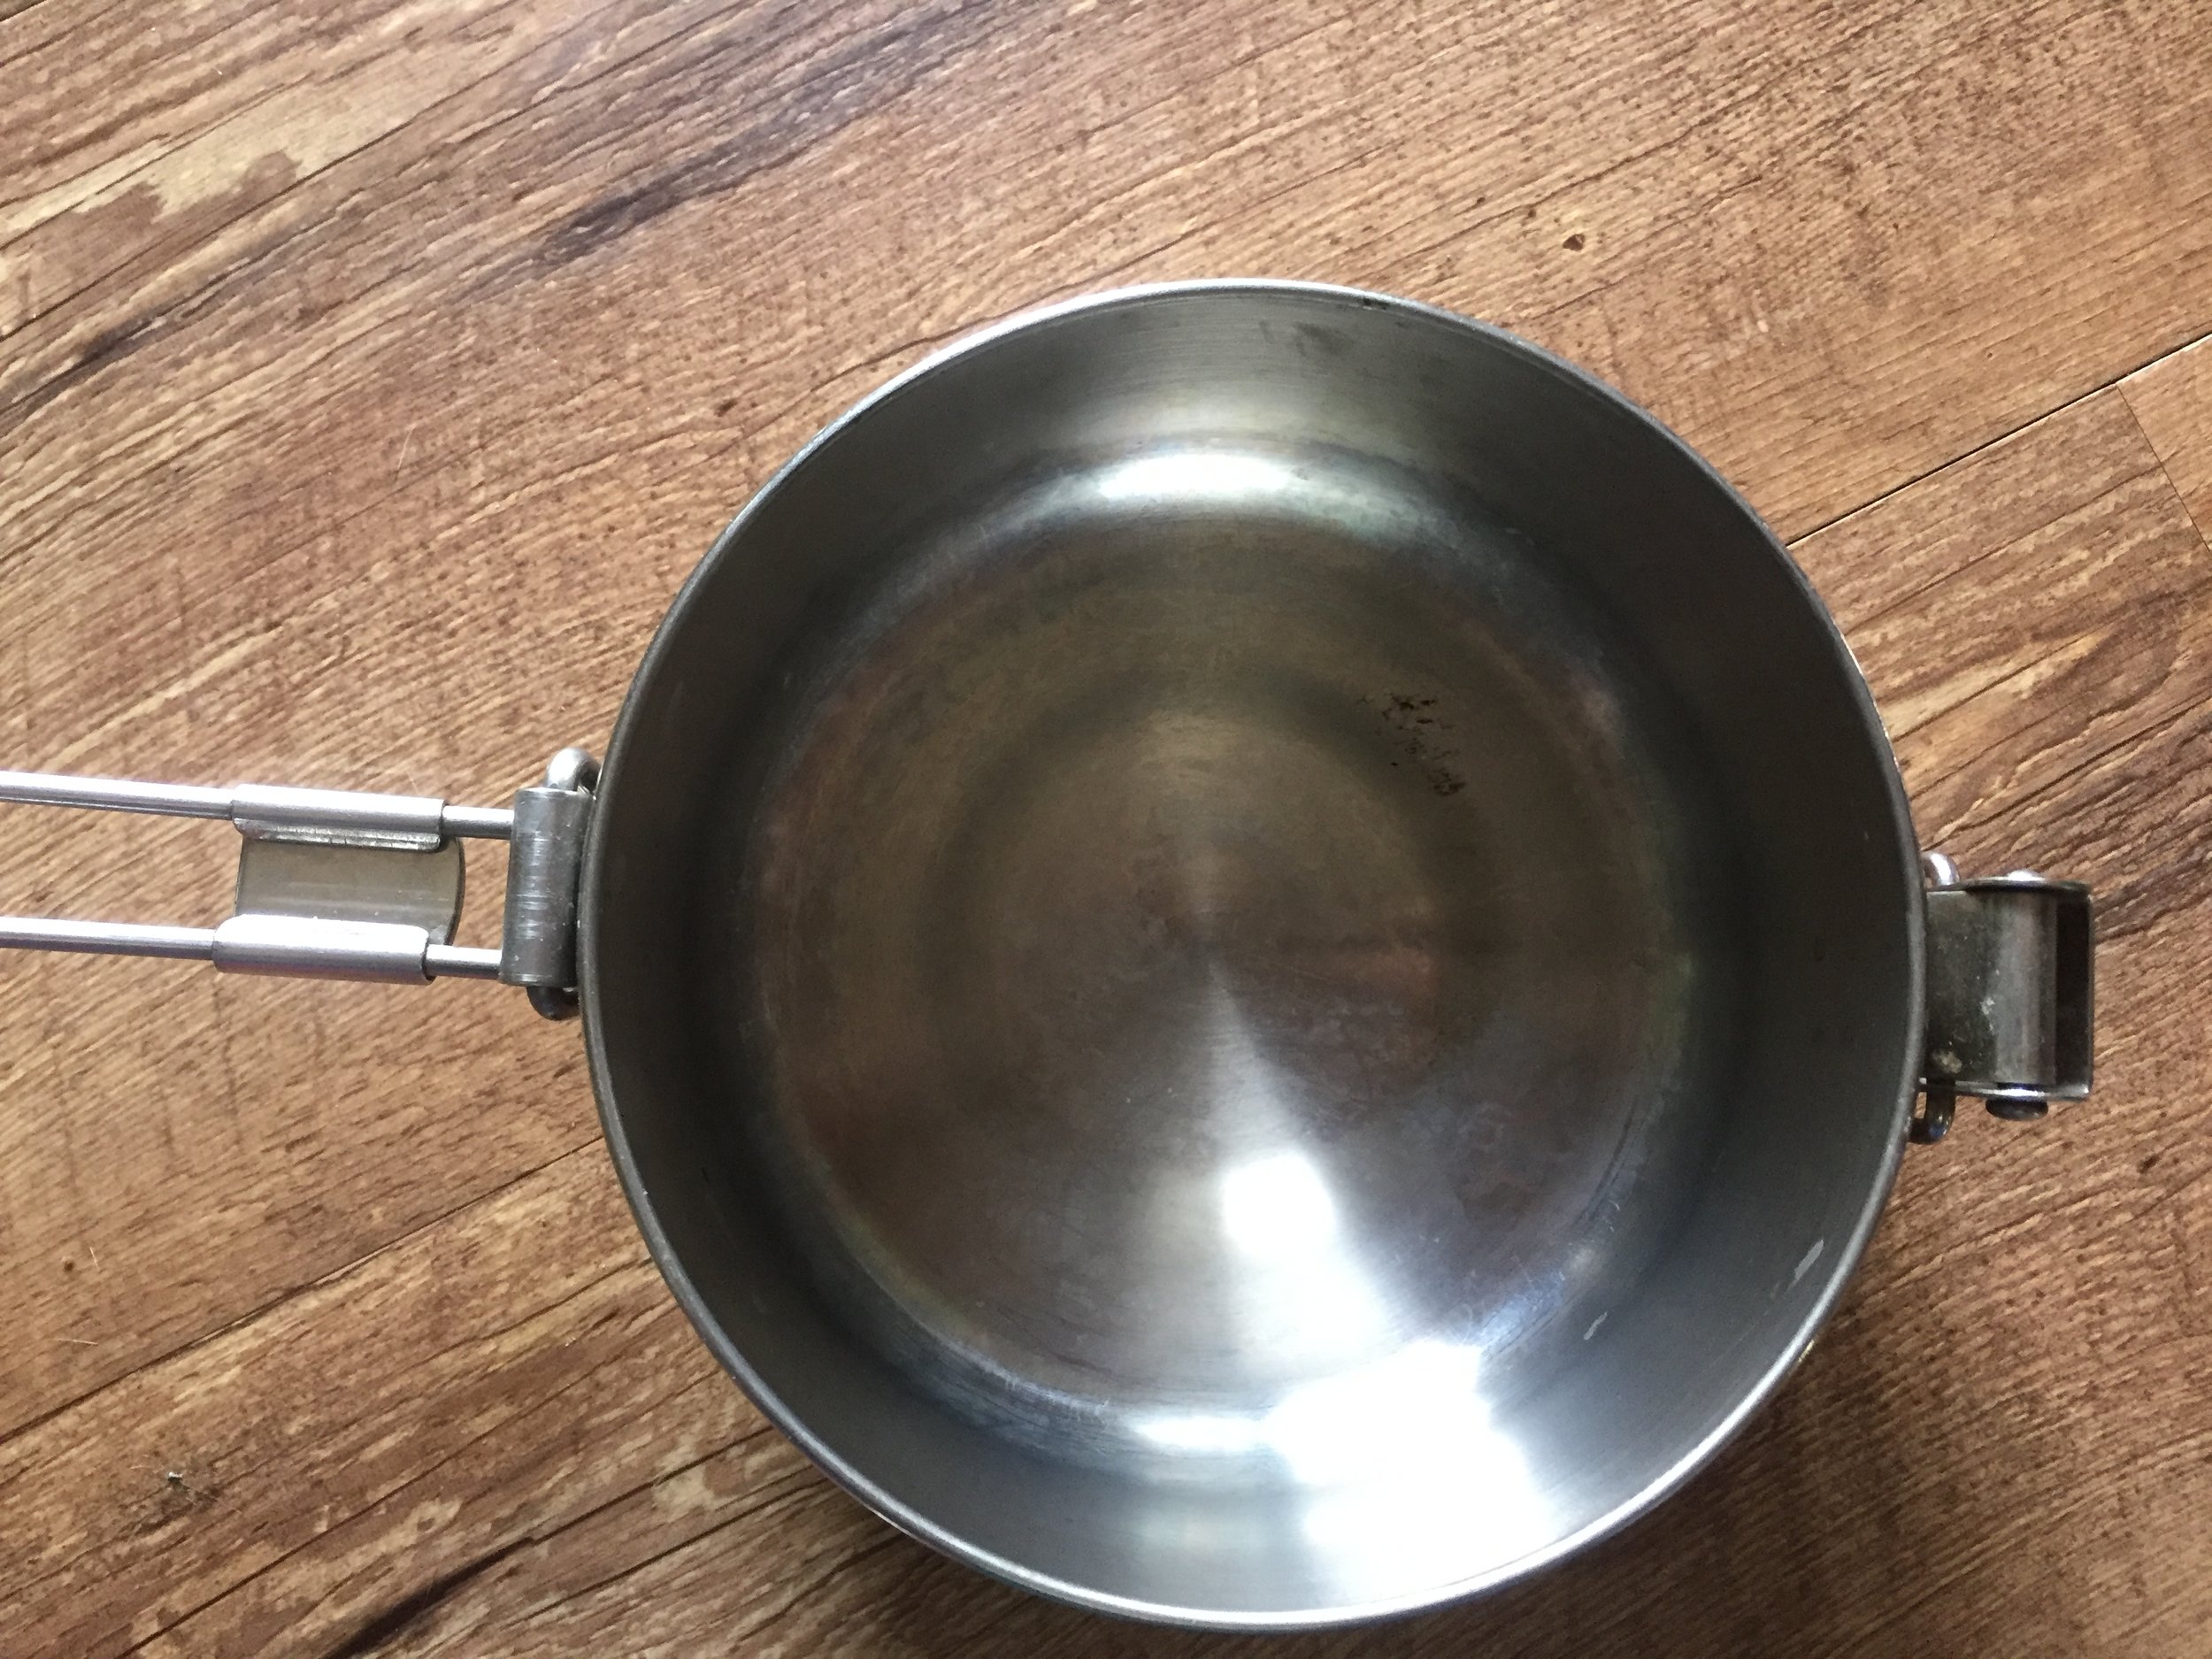
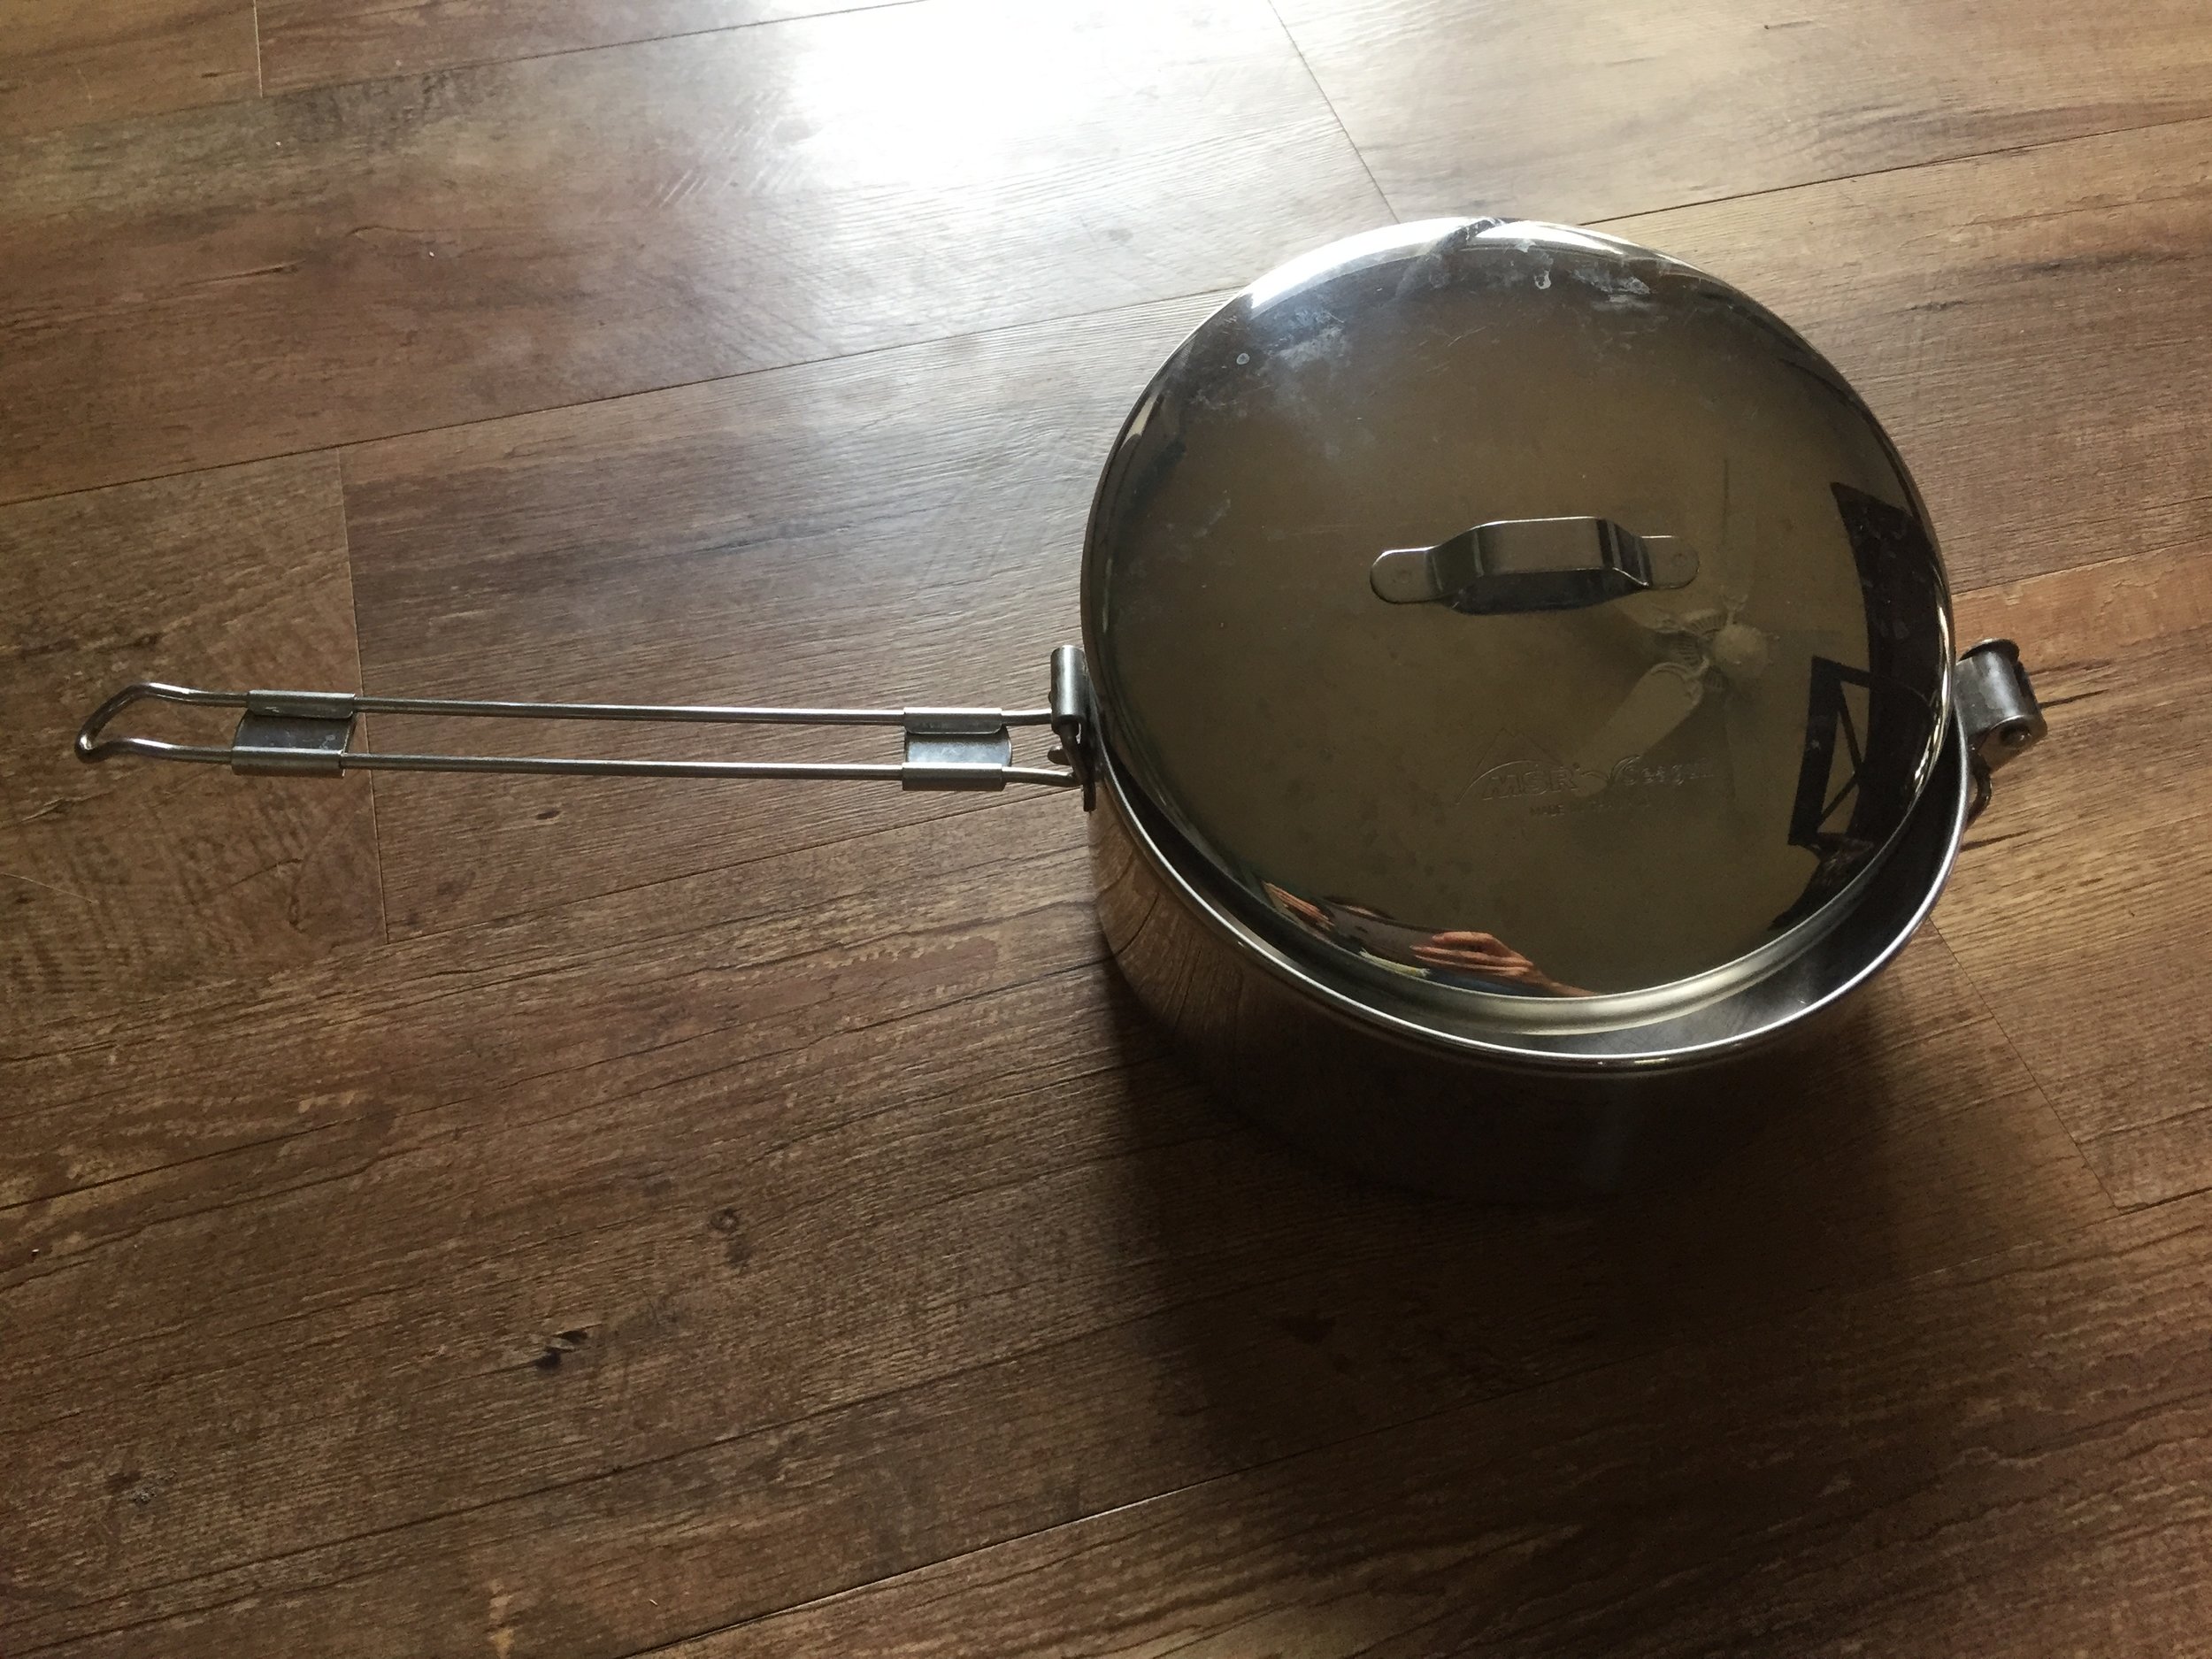
Dinner: Staples like trail mac 'n' cheese and my favorite Thai Style Ramen always make an appearance, but this time I'm going to make some new dinners like Prosciutto with Peas and unstuffed peppers.  I'm even attempting a chicken piccata recipe!
Snacks: We are going with Lenny and Larry's cookies and RX bars on this trip, with an assorted mix of candy bars in there to keep it interesting!

Drop box locations are still TBD

I honestly just haven't done the research on where I want to send boxes yet.  I've got a pretty good idea of where we'd LIKE to send them, but I still need to narrow that down.  One thing we definitely know is that we'd like to stay at The Pisgah Inn if at all possible and will probably resupply there if we can!  We had lunch here for the first time last year on our 5th Anniversary and fell in love with the place.  It doesn't hurt that it's smack dab on the MST near Asheville. 

Mixing it up a little

The Mountains to Sea trail is so much fun to me because it's not a strict thru hike if you don't want it to be.  In fact, there's a paddling route you can do by kayak and you can bike the road sections (and beach!)  I'm having a lot of fun planning our canoe trip portion and trying to figure out where we can drop our bikes for the last section of trail.  

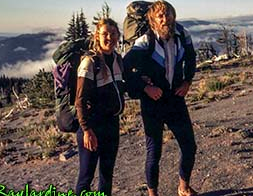
Planning a thru hike, since I've done it a few times now, is actually a lot of fun for me.  When I first set out onto the AT it was so incredibly overwhelming to plan even my resupply stop at the store, but now that I'm better at estimating my mileage and my appetite I find it almost exciting!  Being able to plan out a trip and know your needs is a great feeling.  

Have you ever planned a distance hike? Did you have to make any changes on the fly? What was your favorite and least favorite part of planning?


Gear Sale!

As an avid backpacker for nearly 10 years I have acquired my fair share of hiking gear.  However, I'm in the process of simplifying things right now and changing out some of my personal and guiding gear.  I figured what better way to clear out items than to offer them up for sale to people who would appreciate gently used, well taken care of gear.  Please check out all my offerings below. These pieces of gear I'm offering up would be great Christmas gifts for the beginning backpacker in your life!

sprinkleshikes.com (3).png

Prices are set and are firm and shipping is included in the price (local pickup will not get a discount - sorry). This isn't a flea market - No negotiating.  Gear is sold AS IS/ALL SALES FINAL and descriptions of any imperfections are included in the item description.  Payment is accepted through Paypal or by cash/check if you're local.  Local pickup in Knoxville, TN area only. Shipping is to the US and US territories only.  Shipping will be first class US mail with a tracking number provided (priority available - please ask for pricing to your zip code!).  

*SOLD*MSR Pocket Rocket (original) Stove - $10 (fuel can not included)

Click on the photos to scroll through them. 

I used this stove for several years and am upgrading to another version instead.  You'll notice some slight discoloration at the top tips of the pot stands.  Works beautifully and I've never had any problems with any canister fuel I've tried, including: SnowPeak, JetBoil, MSR, Coleman, and any other cheapie you find at a resupply spot.  Specs from the manufacturer: 

  • Weighs just 3 oz. (85 g), with palm-sized dimensions
  • No need for priming, pressurizing, or maintenance.
  • Boils 1 liter of water in under 3.5 minutes.
  • Glove-friendly controls allow precise flame adjustment, from a simmer to a boil.
  • Tri-sectional Windclip wind shield protects flame and boosts efficiency.

*SOLD*Sierra Designs Rosa 20-degree Sleeping Bag (Synthetic) - $45

Click on the photos to scroll through them. 

I used this sleeping bag a total of probably 10-15 times and don't have a use for it anymore.  It's clean and in amazing shape.  It comes with a stuff sack for packing in your backpack as well as a breathable cotton bag for storage.  Loft is in great shape.  It has a small pocket near the top of the bag for earplugs or headphones.  It also has a pocket in the back to stuff clothing to make a pillow.  It won't slip from your sleeping bag thanks to the straps on the back of the pad. Specs from the manufacturer are below: 

The Women's Rosa 20 Degree Sleeping Bag by Sierra Designs is rated to 20 degrees F/-7 degrees C. Continuous-filament synthetic insulation provides reliable warmth for the life of a sleeping bag, even in damp conditions. We build the Rosa with Climashield HL, and wrap the whole package in 70-denier nylon for a durable bag destined for seasons of use. Rated to 20 degrees, the Rosa not only provides warmth, but serious comfort, too - an ergonomically shaped foot box won't cramp your feet and Pad Locks mean you won't roll off onto the hard ground during the night. Will be compressed for shipping. 

  • Specifications and Features for the women's Rosa 20 Degree Sleeping Bag by Sierra Designs:
  • Insulation: Climashield HL
  • Material: Shell: 70D Nylon
  • Material: Liner: 75D Polyester
  • Trail Weight: Regular - 2 lbs 12 oz
  • Zipper Side: Regular - Right
  • Fill Weight: Regular - 24 oz
  • Stuff Size: Regular - 9" x 19"
  • Chest Pocket
  • Draft Tube
  • Ergonomic Hood
  • Pad Locks
  • Pillow Pocket
  • Snag Free Zipper Tracks
  • Two Color Options
  • Woman Specific Bag
  • Continuous Filament Insulation
  • Offset Layer Construction
  • Tricot Lined Footbox
  • Tuck Stitch

*SOLD*MSR Seagull 1.1 Liter Stainless Steel Pot - $10
*SOLD*MSR Seagull 0.75 Liter Stainless Steel Pot - $8

Click on the photos to scroll through them. 

These pots are great and durable.  Used on my AT thru hike and intermittently as car camping gear.  While they're a bit heavier than aluminum, they're durable and showing no signs of wear other than minor scratching - no blackening.  The 0.75 L pot does have one small spot on the inside on the bottom of the pan that can probably be scrubbed off.  I'm just lazy!  See manufacturer specs below: 

  • Dual purpose handle/lid lock flips up and over the fitted lid to securely lock the lid in place during transport
  • Fitted lid with a top handle
  • Scratch and dent resistant stainless steel stands up in the most rugged conditions
  • Rounded corners help heat travel up sides of pot more quickly, boosting efficiency
  • 1.1 L pot is 15 oz and measures 7.6 x 6.6 x 3.75 inches; holds 37 oz
  • 0.75 L pot is 13 oz and measures 6.75 x 5.75 x 3.5 inches; holds 26 oz

*SOLD*The North Face Rock 22 Backpacking Tent WITH Footprint - $65

Click on the photos to scroll through them. 

Taken out into the backcountry probably 20 times and it was mostly used as a car camping tent.  Comes with stakes, poles, footprint, original guy lines, and all stuff sacks.  Two of the stakes do have a slight bend in them from use.  The tent is freestanding in design and super easy to set up with color-coded tabs/grommets for making assembly super simple and newbie-proof.  Notice in the photos there is a patch in the floor and some red mud staining on one door.  Other than those two things, the tent is in practically brand new condition with minimal dirt.  See manufacturer specs: 

  • Versatile two-person, freestanding design has two doors each with their own vestibule
  • Continuous pole sleeve construction maximizes stability through even weight and pressure distribution
  • DAC® aluminum poles are lightweight, strong and durable for long-lasting use
  • Color-coded canopy and rainfly webbing provide clear and easy pitching
  • Internal prayer-bound floor seams increase user space with clean angles; taped nylon taffeta floor
  • Four internal pockets keep small items organized
  • In nice weather, minimalists can leave the tent body behind and use just the rainfly, poles and footprint to save weight
  • Packed Size: 7 x 25 inches
  • Floor Dimensions: 87 x 55 inches; 33 square feet
  • Vestibule Area: 8 square feet per side
  • Peak Height: 43 inches
  • Packed Weight: 5 lb, 11 oz

Leki Cressida DSS Women's Trekking Poles (with packaging) - $110

Click on the photos to scroll through them. 

I bought these poles to replace some ancient ones and the quick lock system just isn't for me. I wanted badly for them to work, but I just didn't like them. These are still on the market brand new for $159.  They have less than 40 miles (and some dirt) on them and come with a "free" strip of duct tape featuring kittens wearing bowties! (Ha!) See manufacturer specs below: 

  • Dynamic suspension system (DSS) antishock technology reduces peak impacts by approximately 40% to help protect muscles, joints and ligaments
  • Stable and durable aluminum HTS shafts with matte clear finish feature light, strong Speedlock 2 and Super Lock systems that offer extremely fast pole-length adjustment
  • Short carbide flex tips with interchangeable baskets deliver precise contact and traction on nearly all kinds of terrain
  • Edgeless, ultralight Aergon Thermo foam grips offer a soft feel and a fit designed for a woman's hands
  • Short, ultralight, breathable straps offer maximum comfort with minimum weight and bulk

For more info, you can see this exact pole on their website: https://www.leki.com/us/trekking/poles/2771/cressida-dss/?c=708

Deuter ACT Lite 28 SL (Women's specific) Day Pack with Cover - $50

Click on the photos to scroll through them. 

This pack has been used as my guiding daypack for one year.  It never did fit me right, but I never had time during the season to replace it.  I have a 15-inch torso and the frame hits me in the back of the head, that's the only reason I'm selling it.  This pack would fit anyone with a 16 inch torso or longer.  The pack is dirty, not gonna lie.  I haven't taken the time to try and clean it up, which is why I'm letting it go cheap.  It comes with a built in rain cover with it's own pocket at the bottom of the pack.  Also, the front zipper pocket has a tear, which I repaired with tape.  See manufacturer specs below:

  • Anatomically shaped, women-specific Airmesh harness provides maximum ventilation and weight savings while load adjuster straps reduce bulk and ensure proper carrying comfort
  • Compatible with a 3-liter hydration reservior
  • 2-way front zipper allows direct access to the main compartment for easier gear retrieval even while the lid is closed
  • Thin, mesh hipbelt fins enhance breathability and weight savings and easily stow flat when not needed
  • Lid pocket; internal pocket; valuables pocket on hipbelt; side zippered and mesh pockets; ice axe and trekking pole loops
  • Holds 28 Liters
  • Weight: 2 lb, 8 oz
  • Torso - 15-19 inches (Note from Sprinkles: I think 16 and up would be better)
  • Internal Frame with Delrin U frame
  • Ripstop Nylon

For more info you can see this pack on their website: http://www.deuter.com/US/us/hiking/act-trail-28-sl-3440215.html

If you have any questions about the gear you're seeing here, please feel free to reach out to me via messenger on Facebook. I'll answer any question you might have about the gear.  Also, if you're looking for an overnight pack, please message me there as well.  I have a few options I'd love to share with you!

The Evolution of Gear

I recently, as a member of the Green Mountain Club, read an article in their quarterly publication about a man who decided to thru hike the Long Trail using the gear early hikers would have used back in the 1910s (when the trail system was officially open for use). This interesting read got me thinking to how much gear has changed in the past 100 years.  I thought it would be fun to do a little research and share my findings with all of you guys.  I hope you find it as fun to read as I had writing it!  Since the article I read was replicating a thru hike of a trail in 1917, that's as far back as I decided to go.  Since the National Park System in the US was developed and created only a few years prior to this, I decided that many people were more than likely not camping recreationally before this period.  Granted, people were following their herds to the high country for the summer and camping out long before this, I find that those "headed to camp" accounts don't really make for good backpacking gear stories.    

The Early Years

Catherine Robbins, Hilda M. Kurth and Kathleen Norris, 1927photo (and great story) from Seven Days. 

Catherine Robbins, Hilda M. Kurth and Kathleen Norris, 1927

photo (and great story) from Seven Days. 

One of the first things that stuck out to me in the article I read in Long Trail News about the gear was this paragraph: 

"For food, bread and bacon will keep you going with little weight." "No person should ever travel The Long Trail without axe, compass, and matches" "A tent is not necessary on most of the trail; it may be needed in the southerly part if the hiker desires to sleep out, in which case a very light, small tent of balloon silk is advised" 

Already the gear differences and advice are pretty fun to read about.  I also loved reading that Mike MADE HIS OWN PACK out of brown ash wood.  Yep, that's right.  A "pack basket" was all the rage back in those days.  For an example of gear you would have carried in those days in your pack basket see below (it's also worth noting that back in those days it wasn't uncommon for hikers to cut boughs off trees to make a bed for the night; since that is no longer done for obvious LNT ((Leave No Trace)) reasons, it's worth noting that the hiker here stuffed a pillowcase with leaves):
-Wool blanket
-Homemade waterproofed cotton tarp and cotton groundsheet
-Camp knife (hand forged) in a leather belt sheath
-2 Quart metal canteen
-Bug Net
-Alcohol stove with alcohol carried in a GLASS bottle
-Tin cup
-Matches
-Waxed cotton food bag
-Candle for nighttime
-Wool knickers
-Wool knee-length socks
-Leather hat
-Leather boots
-Rubberized poncho
FOOD: 
-Hardboiled eggs, rice, cashews/almonds/raisins, bread, cheese, cured meat, canned fish, and hershey's chocolate

I also love that for this hike Mike used birch and beech twigs to brush his teeth!

Mike Debonis on his 2017 thru hike of the Long Trail, using 1917-style gear. 

Mike Debonis on his 2017 thru hike of the Long Trail, using 1917-style gear. 

1940's-1950's

I couldn't find much for the period in between our history hiker and the WW2 era, so I'm going to skip ahead to Earl Shaffer - the first ever thru hiker on the Appalachian Trail.  It can be said that Shaffer was the first ever Warrior Hiker - he took to the trail to "Walk off the War" in 1948.  Earning himself the name "The Crazy One", he was the first person to ever hike the trail all the way through in one year.  At first, even the Appalachian Trail Conference (later, Conservancy) didn't believe him!  He may also be considered the first minimalistic hiker, being that his tent failed in the first week on the trail and he got rid of it, saving himself an additional five pounds!  Back when Shaffer thru hiked in 1948, he was taken in by friendly fire tower wardens and fed meals; he even hiked hunting camp to hunting camp in Maine.  On his thru hike in 1998, Shaffer relayed via letter to Gene Espy (the second thru hiker of the AT) by letter that the trail had become much more difficult than when they hiked it decades before, the trail conservancy having routed the trail up to the higher and harder ridge lines instead of being down low near the hunting camps.  An example of his gear can be found below: 
-Mountain Troop rucksack
-Military issue poncho (which also served as his rain shelter at night!)
-A Daisy Mae Rainhat
-Match safe
-Compass
-Sheath knife and small handaxe
-Sewing kit
-Snakebite kit
-Mountain Troop cook kit
-Wool blanket
-Wool pants
-Russel Birdshooter Boots

Earl Shaffer atop Katahdin in 1948 with his pack (photo from earlshaffer.com)

Earl Shaffer atop Katahdin in 1948 with his pack (photo from earlshaffer.com)

Gene Espy, our second-known thru hiker went through northbound in 1951.  He had some great gear as well, including one of my favorite luxury items - an inflatable pillow! His gear weighed in at a whopping 50 lbs and included the following (from gearjunkie): 
-Steel frame pack
-Lamb’s wool used as comfort under the heavy pack straps
-Tent (without a floor) and tent posts
-Down sleeping bag
-Watch; to know his time between shelters
-Guide books
-Hatchet and rope
-Inflatable pillow
-Camera
-New Testament Bible
-Diary and pencil
-Collapsible cup
-25 caliber pistol (which he claimed he used as protection from bears)
-Carbide lamp (this is what miners used back then as a headlamp - it requires chemical reaction to make it work!)
-Nylon poncho used for a rain jacket and as flooring in the tent
-Pants from the Navy to protect his legs from thorns
-Two long sleeve shirts
-2 pairs of hiking socks
-Hat
-Tin water cup
-Snakebite kit
-Boots
FOOD: 
Gene carried about a week of food at a time, and his favorite foods included chocolate pudding, loaves of bread, and Baby Ruth candy bars.  

Gene Espy during his thru hike in 1951 (from geneespyhiker.com)

Gene Espy during his thru hike in 1951 (from geneespyhiker.com)

1960's and 1970's

With the 1960s and 70s came the "heyday" of the American National Park System.  More and more folks were able to get out and enjoy not only the national parks of our country, but also the backcountry and hiking trails provided by our parks!  Check out some of these vintage ads I found while scouring the internet.  Heck, I know some sleeping bags that weigh more than 3.5 lb have even tried to make their way out onto a backpacking trip I was leading!

During the late 1950s the AT saw it's first female thruhiker, Grandma Gatewood.  She would go on to hike the trail two more times during her life, making her the first multi completer of the trail.  While I couldn't find a comprehensive gear list, I did find a photo of her gear (circa 1960) (thanks, Reddit!) at the Appalachian Trail Museum.  It's safe to say she was the first ever "dirtbag hiker", hiking with a homemade denim sack, a rain cape made from a shower curtain, and was the first hiker to ditch the heavy boots for lightweight shoes, recommending Keds to all hikers she met! She was also the first thru hiker to "slackpack" her way along the AT.  She often wandered off the main trail to knock on doors to ask for a place to stay or to get a hot meal.  

Photo Courtesey of the AT Museum and google images.

Photo Courtesey of the AT Museum and google images.

The 1970s is when backpacking really started changing.  Jansport and Kelty led the way in creating lightweight external frame packs with specially designed pockets for hauling gear ergonomically.  Also during this era we see the very first Therma-A-Rest mattress hit the market.  Now, instead of cutting live tree boughs, hikers can sleep on an ACTUAL mattress in the woods! Check out the weight of those "lightweight boots" by the way - only THREE POUNDS!

You also start seeing the commercial freeze dried and dehydrated food industry taking off.  Yes, America - you too can eat like our astronauts!

Click on the photo bar to scroll through! (Photos here are sourced from google images)

1980's and 1990's

Lightweight was the name of the game!  Ultralight was truly being developed during this time period, despite how many of us would think it was something more recent.  In fact, 2-lb packs were being developed during the late 1970s and early 1980s!  Nike was even on the forefront of developing a lightweight hiking shoe/boot hybrid - the Lava Dome! While many folks were still carrying external frame packs during this period, the frame during this time started moving to the INSIDE of a pack - something unheard of before now!  During this time period we also meet some of THE names in backpacking that many hikers still know today, the most famous of whom is Ray Jardine.  Ray and his wife, Jenny, began thru hiking in the late 1980s and can still be found out on the trail today.  In 1991, Ray wrote a book about his PCT thru hike, talking about how it was possible to hike much faster and lighter by making homemade gear.  In fact, he still regularly publishes and hikes today.  

During the 1990s we see many what we would call "Cottage Industry" companies starting to pop up as well.  Dana Designs and Gossamer Gear both got their start in the 1990s when regular hikers started getting fed up with not being able to find what they wanted in gear that was commercially available.  

During this time we also see people hiking in light athletic shoes versus heavy boots.  Laurie "Mountain Laurel" Pottieger (of ATC fame) switched to running shoes during her 1987 thru hike of the AT.  While she switched back to boots for rockier sections of the trail, at the time it was practically unheard of (and was done by the Jardines as well!)

(photo of the boots from google images and Jenny and Ray from RayJardine.com)

The 2000's and 2010's

These days, fast and light is the name of the game.  With more and more FKT (fastest known time) attempts on the trail and more hikers getting savvy to the "less is more" way of backpacking, it's possible to hike more than 2000 miles carrying little more than a daypack.  Some of the more famous names in the game right now include Anish, String Bean, and Lint.  For an example of what these ultralighters are carrying, check out Lint's thru hiking gear list.  

While not everyone is going ultralight, it's pretty unusual to see anyone out on the trail these days carrying more than 35 lb.  We know now that the average pack should be 25% or less of your total body weight.  With lighter packs comes the ability to wear lighter shoes as well. In fact, reading surveys of commonly used gear online you'll see that less than 20% of hikers are now wearing boots on trail, opting for lightweight trail running shoes instead.    

An example of what a thru hiker would carry on the AT courtesy of @GossamerGear on Instagram (@ryanshamy original)

An example of what a thru hiker would carry on the AT courtesy of @GossamerGear on Instagram (@ryanshamy original)

And there you have it - a pretty comprehensive history of how gear has changed since the early days!  Gone are the days when heavy boots and 50-lb packs are the norm.  Here to stay are the lighter, easier to carry packs with quick drying shoes and gear to get you from point A to point B in relative comfort!

Would you have been able to thru hike Grandma Gatewood style?  When did you first start collecting your backpacking gear?  What piece of gear do you remember and miss the most? 

Black Toenails - A Rite of Passage... or is it?!

When I first got into hiking seriously back in 2008 I joined a Meetup Group.  Before becoming a backpacker, I spent a lot of time on front country camping trips doing day hikes.  On one such trip, I remember sitting around a campfire with some veteran hikers and I found myself in a conversation that was borderline horrifying to me.  In fact, many of you who are hiking have probably heard a conversation very similar to this one: "You don't want to see my feet! I've lost so many toenails I can't even count them all!" "Oh yeah, I have two black ones right now - both big ones!" "My first backpacking trip I lost seven nails!" "I get so many blisters I'm pretty sure my trail name should be bubble wrap!" "Yeah, I don't think I've had a solid set of nails in 10 years!"  As I listened to this in slight horror I realized that yes, indeed, I was not a real hiker yet.  And thanks to this conversation, I wasn't looking forward to being a hiker either! 

A few years down the line I did join the real hiker club.  Thanks to a long day of hiking in boots that were too heavy, I got to camp and immediately shed the footwear to walk barefoot in a cold mountain stream.  The stream was in fact so cold that when I banged my toe on a rock I didn't feel a thing.  Later that night, however, a small purple lump showed up directly in the middle of my toenail.  Six months later, that nail had to be surgically removed thanks to the fact that the bruise never healed, nor caused me to lose that nail.  Finally, I had become a real hiker.  Honestly though, does losing or bruising nails REALLY make us a real hiker?  I'm here to tell you guys that NO, LOSING TOENAILS ISN'T NORMAL OR A RITE OF PASSAGE!  This post will deal with some footwear myths and facts to help you avoid the most ridiculous Rite of Passage hikers hear about.  

MYTH: You should Always Buy Your Boots a Full Size Bigger Than Your Shoes

If you need to buy your boots a full size bigger than your normal shoes, this tells me you're not wearing the proper size shoe in the first place!  In fact, most Americans are not wearing the correct shoe size for their foot.  A proper hiking, trail running, or backpacking shoe should not only be long enough, it should also be wide enough to accomodate your feet in both their swollen and normal conditions.  To get properly fitted for a hiking, trail running, or backpacking shoe I HIGHLY recommend going to a running store and not an outdoor retailer first.  Running store employees are properly trained to watch your gait, measure your feet (both width and length) and look for wear patterns on your shoes to recommend a corrective insole if you need it.  They'll ask you your daily/weekly mileage, terrain you plan on traveling, and even what your long-term goals are.  THEN, they'll go in the back and find the brands and styles that will work best for you.  

MYTH: A Heavy Boot Will Solve All Your Foot Problems

Which of these sounds better for a foot in normal conditions: A heavy, inflexible, non-breathable shoe; or a lightweight, breathable, flexible shoe?  Now, add in the rocky, muddy, wet conditions of a mountain trail.  While hiking boots definitely have a place in the hiking world, a lightweight and breathable boot or shoe will do you much better in most conditions.  In the past several years, many running shoe companies have expanded into a line of trail shoes and some even offer a high topped shoe to rival many hiking boots.  Other outdoor companies make heavy duty, breathable shoes with moderate ankle support.  Whether you decide on a boot or a shoe, light and breathable with some flexibility, not heavy and solid, will keep your feet happy.  

MYTH: Always Wear A Sock Liner And You'll Never Get Blisters

Just like one shoe doesn't fit all, one sock solution doesn't work for everyone either!  Sock liners do help prevent friction in high pressure areas of the feet.  Injinji toe socks also make liners to help separate your toes and prevent between-the-toe blisters; however, sock liners aren't your "quick" fix for blisters or black toenails.  Getting a properly fitted, properly breathing, properly weighted shoe is the first line of defense.  Secondly, making sure you're wearing a wicking sock, like a wool or bamboo variety, will also help pull moisture away from your feet.  Third, determining if your blisters are caused by pressure on your foot or debris in your shoe also helps! Some people can solve their blister problems by wearing a gaiter to cover the tops of their shoes or boots and prevent debris from rubbing their feet.  

MYTH: Buy A Pair of Insoles And Never Have Foot Problems Again

Are you guys noticing a pattern yet?  Hikers often have a "one size fits all" solution for foot problems, but just like the other myths we've covered, an insole will not help all hikers solve their problems.  Many insole brands you can buy off the shelf in a store will tell you that being uncomfortable is all a part of the break-in process because your body doesn't know how to walk on it's own (I'm paraphrasing here).  Not every hiker needs an insole to help solve their blister or toenail problems.  In fact, many hikers can avoid the insole by getting a properly fitted, properly cushioned shoe or boot in the first place.  

Have you ever lost toenails or gotten severe blisters on a hike?  What did you do to help remedy the situation? 

Stunt Puppy Running Leash - Gear Review

Disclaimer: I received a Stunt Puppy Leash to review as part of being a BibRave Pro. Learn more about becoming a BibRave Pro (ambassador), and check out BibRave.com to review find and write race reviews!

While many of you know I hike and run, a lot of you may not know that with the exception of going with NoKey, my OTHER favorite running and hiking buddy is my Gordon Setter Gracie!  When I was offered the opportunity to try out Stunt Puppy's Stunt Runner dog leash, I was so excited to try a piece of gear that other runners and hiker's might find fun too!  Check out my review of the Stunt Runner leash. 

Gordon Setters are active dogs who love to be outside and run!  It's always tough for me to find a good medium between a leash that keeps Gracie close and a leash that gives her enough room to roam while we're outside.  I love the fact that this leash stretches from three feet to just over four feet when we're outside.  Most places with dog leash laws do require their leash be less than 6 feet, so you definitely won't run into any problems keeping your dog close with this one!

Gracie stretching the leash to about four feet in length. 

Gracie stretching the leash to about four feet in length. 

Another great feature of this particular leash is that you can hold it in your hand like many traditional leashes or you can extend it to go around your waist.  You get additional length if you're holding it, but the waist feature is great for when you're running a similar pace with your pup.  It's very comfortable around the waist, too!

Going for the hand-held option when we're walking - it lets the leash be longer so she can get to all the things she wants to see!

Going for the hand-held option when we're walking - it lets the leash be longer so she can get to all the things she wants to see!

For running, I really enjoyed having the leash around my waist to keep her closer to me.  I always hate when I feel like Gracie gets too far away from me and becomes a hazard to others out on the trail.  The shorter length makes me feel like I've got more control and that she won't be in the way of others.  Hiking downhill with the leash around my waist proved pretty difficult though.  She's 3/4 of my weight, so when she really gets moving downhill that means I've got to pick up the pace!  For hiking, the leash proved to be a little too short for me!

A photo from the Stunt Puppy website shows how the leash can be worn on the waist!

A photo from the Stunt Puppy website shows how the leash can be worn on the waist!

One other great feature of this leash that I like a lot is the quick release connector.  This allows you to get other products and use the same loop.  It also lets Gracie run free when she's back at the car after a long walk or hike.  I think she likes it as much as I do!

From now until March 15, 2017, Stunt Puppy is giving blog readers a 20% discount on their website with the code BIBRAVE217.  Check them out - I think you'll love them!

Finding the Perfect Pack

Getting a backpack can be a daunting task - whether it's your very first ever backpack or a replacement to something you've beaten up to the point of no return.  It takes lots of research and testing before diving in and making the purchase.  If you're looking to purchase a new pack soon, here's my advice for you. 

Determine Your Needs

Not all packs are created equally.  Are you looking for something to take mostly on day hikes with an occasional overnight or two?  Do you need a pack that will last you the entirety of a long-distance hike?  By first determining exactly what you're looking for in a pack, you can immediately narrow down the field.  If you're new to hiking and want a pack that can do both overnights and day hikes, I recommend a pack in the 50-65 liter range for all uses.  A nearly empty 50+ liter pack can still serve you well on day hikes and carry the gear you'll need for overnighters.  

Start Reading Blogs

Many people who are new to backpacking will often just walk into a big box outfitter and start searching for a pack.  I highly, HIGHLY recommend you start reading blogs written by other hikers and pay attention to what type of gear they are carrying before you step foot into a store.  By seeing what packs other hikers doing the type of hiking you're looking to do are carrying, you'll get an idea of what brands might suit your needs best.  

Do Your Research

When it comes to backpacks, here are a few things I recommend you keep in mind while you're doing your research: 
- Does the pack have a lot of straps or pockets? Often times, packs with a lot of straps often come with a heavier weight.  Would you like to have a pack that weighs more than 4 lbs when it's empty?  The answer is no.  
- Does the pack come with interchangeable hip belts or shoulder straps? If you're looking to use the pack for a distance hike chances are you'll lose some weight and might need to change out some things.  If your pack doesn't have these options it might not be worth the investment
- Does the pack carry the load you've got?  If you're upgrading to an ultralight pack you might need to invest in some different gear.  Nothing will ruin a pack quicker than carrying a heavier load than it is designed to carry. 
- Do you need the features?  Some backpacks these days come with built in solar panels or have specially designed electronics pockets.  These are not often necessary for many people I've met.  Is it TRULY something you need?

Educate Yourself on How to Fit a Pack

I cannot recommend this step enough - watch this video and learn how to measure your torso. No backpack on earth is one size fits all.  Any big box store you shop in will try to convince you that an "adjustable" pack will fit you if you adjust it right.  As a small-framed female backpacker I can tell you this is absolutely not true.  Just because you're 6'5" doesn't mean you need a large pack either!  By taking this step into your own hands you can safely tell any store employee the size pack you want to try on. 

Try Out the Pack

This step is not always possible due to the numerous cottage industry pack makers out there these days.  If you've decided a commercially made pack is for you, I recommend you go to the store and try it on.  When you do this, they'll attempt to put weights or sand bags in the pack for you.  Refuse this option and go to the gear you'll actually be carrying.  Put ACTUAL GEAR inside the pack.  If you're buying a pack to replace one you already own, bring your gear into the store with you to try it on.  Not only will you see how the weight distributes, you will also see how the gear you already own will fit inside.  

Make the Purchase

If you're on the fence about a pack, I highly recommend you don't purchase it.  If something doesn't feel right, it won't magically feel right once you hit the trail - I know from experience! There are always other brands to try.  Again - nothing is one size fits all!  Many retailers have great return polices if you decide to try something from a website and it doesn't work for you.

Looking for recommendations?  Here are my favorite packs to recommend to people looking to buy their first overnight packs.  I highly recommend keeping your backpack's empty weight under 3 pounds if you can.  What is the point in carrying a pack that weighs more than this when it's empty?  It's just more weight you could be carrying in water or food!

Granite Gear Crown 60 or Crown 60 Ki for Women

Gossamer Gear Mariposa

ULA Circuit

These are the things I tell people who are looking to purchase a backpack.  What are some important things you think about when you're updating your gear?  


Gear Review: Legend Compression Wear

As many of you know by now I'm both a runner and a hiker - the running coming later than the hiking!  Since I've gotten more and more into running I've definitely started looking for products that can not only make the miles feel easier, but also can help me recover faster from my hiking. With my job as a guide and training to run my very first ultra in Decemeber, my legs need all the help they can get.  This is where Legend Compression comes in.  Through my partnership with BibRave as a BibRave Pro, I was given the opportunity to test out some compression gear on a few recent hikes and runs.  Here's my honest review: 

I recently learned Legend Compression had socks for both running and hiking and was super excited to be given the chance to test them both out.  The first thing I noticed when I received both pairs of socks is the fact that even though they're both compression, they aren't nearly as "stiff" or tight as a few other brands of compression socks I own.  The performance socks actually felt SOFT, which I have noticed is lacking in a few other brands.  From reading the letter they sent me, I could see there was a reason for this - these socks have much less compression than traditional socks, only 15-20 mmHg as compared to 20-30 mmHg for other brands.  This graduated compression is believed to be more therapeutic during performance.  I quickly decided to try these guys on. 

My new Legend Compression performance socks!

My new Legend Compression performance socks!

Putting them on wasn't difficult at all, which is something I have definitely noticed with other brands!  These socks were soft and slid on easily.  I also noticed I had room for my toes to spread out inside of them as well.  It turns out that this is by design.  By giving you room to move your toes you're not only less prone to blister, you've also still got your same gait, which is important for running and hiking.  That's why I'm such a huge fan of wearing shoes that give my toes room to spread out!  I also noticed that the arch of the foot felt nice and snug.  I really like this feature in a compression sock.  

The first time I tried out these socks was during a 12-mile hike with my buddy, Morgan.  We had to hike 6 miles up a mountain to bring some tents to a group of our co-workers.  Due to heavy fall leaf peeper traffic in the park and a long drive, we didn't get on trail until after 2 p.m.  We hiked our six miles in approximately 2 hours and got to camp to start setting up tents.  Less than 20 minutes later, we were on our way back down the 6 miles and made it out in a total of 4 hours and 20 minutes.  I noticed that despite climbing the huge hill my calf muscles still felt alright, which is definitely not always the case!  The real test, for me, is getting compression socks OFF after a long workout.  It's safe to say with a tough hike like this we definitely worked up a sweat and if you've ever taken off a pair of sweaty compression socks you know it can be an Olympic sport!  These socks came off just as easily as they went on!  Another win for me. 

Team Mo'Sprinkles stopping at an overlook to take in the view (and a few selfies!) on our way back down trail.  

Team Mo'Sprinkles stopping at an overlook to take in the view (and a few selfies!) on our way back down trail.  

As an athlete who does a lot of mountain hiking and running I consider myself someone who tries out a lot of gear and I'm super impressed with Legend Compression.  For those of you who aren't into the longer socks, they also make a hiking specific sock called Tuff made of Merino wool, which I can recommend just as highly.  

If you want to try Legend Compression I've got a 15% off code to share with all of you!  You can use the code "bibsave15" at http://legendcompressionwear.com!

Disclaimer: I received Legend Compression socks to review as part of being a BibRave Pro. Learn more about becoming a BibRave Pro (ambassador), and check out BibRave.com to review find and write race reviews!

Choosing a Water Filtration System

Working as a hiking guide I get lots of questions about water safety.  Frequently when I talk with clients on a hike regarding the spring water in the Smokies, where I work, people will inquire whether or not the water is safe enough to drink.  This is where my hiking guide hat goes on and I let people know with all water it is strongly encouraged to filter out contaminates or to treat it with a chemical drop/tablet.  With all the changes to gear on the market lately, I thought it would be helpful for newbie hikers to compare water filtration methods to help you decide which method is right for you. 

No Filter, No Problem

But this article is all about filters, right?!  Well, we can't talk about water filters without talking about the fact that some people just don't filter water.  And that's ok!  The no filter method was the most popular method I saw when thru hiking the Appalachian Trail in 2012.  In fact, I know many, MANY thru hikers who didn't treat their water after miles of hiking back then.  By not filtering your water, however, you are opening yourself up to contamination issues, Giardia being the most common here on the east coast.  With many, many options on the market, I highly recommend looking into some of the lighter weight filters or treatments on the market today. 

Aquamira Drops

Aquamira Drops were my go-to method of filtration back in the mid 2000's.  In fact, it's the first method of filtration I ever used.  With this method, all you'll need to do is mix together Part A and Part B in the provided cup, wait for it to activate, and add it to your water.  The upside of this is that these drops are pretty cheap in the world of water filtration.  They're also incredibly lightweight.  However, in my experience, Part A and Part B never seem to run out at the same time despite using the exact same amount of each drop.  You'll also be waiting 15 to 30 minutes for your drinking water after the drops have been added.  Another downside? Unless you're pre-filtering your water, you might find yourself drinking a little bit of sand at the bottom.  These drops, when they've sat too long in your hydration bladder or bottle, can also taste strongly of chlorine.  

Iodine Tablets/Drops

Ahhh, good old Iodine.  In tablet form or in tincture form, this stuff is great to carry in your pack.  On my guided trips I carry iodine solution in my first aid kit for disinfecting wounds and kitchen utensils.  In a pinch, I could use it to treat my water too.  Of course, the downside to iodine solution/tablets is the same as it is for Aquamira - waiting to drink water and also possibly drinking up some sand or dirt.  Unlike Aquamira, however, iodine doesn't taste like chorine.  It tastes like iodine - and it tastes like iodine all the time.  

Bleach Drops

Yes, I said bleach drops.  Believe it or not, the stuff you use to get your whites clean in the laundry can also be used to purify your water.  A few drops will do the trick.  Carrying a small dropper of bleach can be an extremely cheap, lightweight solution to keeping your water clean.  However, carrying bleach often means you've repackaged it.  Making sure you've got the bottle sealed up tight is crucial in your pack.  Spilling bleach on gear is never fun!  Like Aquamira and iodine, drinking sandy water is also a possibility.  Again, water that sat in your hydration bladder or bottle too long will also possibly have a chlorine aftertaste.  

A FILTER PUMP

There are many brands of water filter pumps out on the market right now.  NoKey has formerly owned an MSR Sweetwater Pump and the gear shop I worked at in Maine also carried Katadyn Micro filters.  Years ago, these filters were your best defense against not only bacteria, but also protozoa.  However, these days these filters can definitely have a few downsides.  First of all, these filters are pretty heavy, weighing in at a pound or more sometimes.  There are quite a few parts to keep track of, which can make cleaning difficult.  Also, the filters have what we would now consider to be an extremely short shelf life, sometimes as low as 750 liters of water.  Many hikers now find it cumbersome to have to find water deep enough to float your filter, pump your water, and hold your bottles.  However, on the plus side, your water won't have that funky flavor chemical drops tend to leave in the bottle!

Sawyer Mini/Squeeze

The first time I saw a Sawyer filter was in 2012 and I only knew three people using one.  In 2013, it was damn near the only filter I saw on the trail.  This tiny filter has a life of 100,000 liters and weighs approximately 2 ounces (the Mini, not the Squeeze).  It's a lightweight filter that I personally put right on the end of my Camelbak hose and drink right out of, eliminating the need to squeeze water altogether.  The downside of this filter is the fact that many people find the collapsable bottles that come with the filter to be cheap and low-quality.  It also does need to be back flushed regularly to keep it running at a decent speed.  Many people think these filters are too slow.  

SteriPen

This UV pen took the market by storm several years ago when they were first released.  Using UV light to treat water seemed like something straight out of science fiction.  By removing viruses, bacteria, and protozoa, this thing seemed to be the perfect water filtration solution.  The fact that it doesn't use chemicals to treat the water and, frankly, it looks cool, are big selling points to hikers.  The downside to this pen is the thing that makes it neat - it's electronic.  Taking electronics out into the backcountry can sometimes be disastrous.  The SteriPen needs batteries and I've seen these pens fail many times when it comes treating water.  While they're quick to use (1 minute for 1 liter of water) like other methods, you may want to pre filter water to avoid getting sand or debris in your bottle. 

Boiling Your Water

Of course, the tried and true method of boiling water to sterilize it never goes out of fashion.  Of course, if you don't carry a camp stove or maybe if it's been raining for a few days and you can't dry out any wood to build a fire, this can be a problem.  Also, this method will take a little while. Building the fire, boiling the water, and then letting it cool down to a drinkable temperature can take upwards of 20 minutes.  

Here are just a few of the most common methods of treating water in the backcountry.  What water filter method do you use?  What do you like and dislike about your preferred method?  

Fuel 100 Electro-Bites: A Food Review


Update: Use code SPRINKLES at checkout for 25% off your order (not an affiliate link, feel free to share!) 

With the heat of summer in full swing I've been constantly attempting, and sometimes losing, a battle with my electrolyte balance.  Between my work outdoors as a full time hiking guide and helping my boyfriend train for his first half marathon, I've been spending a lot of time in the low elevations of East Tennessee - often times in sweltering heat and humidity with heat indexes in the high 90s and low 100s.  When I was offered the opportunity to try out Fuel 100 Electro-Bites I jumped at the chance to try something new.  Here are my thoughts on this product. 

After doing some research regarding Fuel 100 Electro-Bites I was excited to try them out for two reasons - the first being that they weren't fruit chews and the second being that they weren't sickly sweet.  While this product comes in five flavors, only three of them are flavors that sound sweet: pumpkin spice, apple cinnamon, and salty vanilla.  The other two flavors are simply salty and salty vinegar.  This immediately appealed to me because of recent I've been all sugared out and I've been on a quest for savory fueling options that are also easy to eat on the trails or on a run.  These tiny bites fit the bill!  The other thing that appealed to me was the fact these were a dry, baked product.  No sticky gels, chews, or sweet drink mixes.  Don't get me wrong, I love a sweet electrolyte tab after a hot and long run, but getting the chance to try something different was definitely a plus!

I took these out on a training run on a night when the heat index at sunset was 94 degrees.  Even though I ran an easy 3.5 miles I knew I had sweat more than I did on 10 mile runs back in the winter time.  If I don't replace electrolytes immediately I usually get dull and throbbing headaches so being able to grab them and go was a big plus for me.  I ripped the tab off the bag of the apple cinnamon bites and dug in!  The first thing I noticed was the fact that even though these bites were dry, they didn't make my mouth feel dry.  The crunchy little bites were actually fun to chew and were easy to swallow despite being hot and sweaty.  I was able to follow the bites by drinking down some cold water and felt great.  The apple cinnamon flavor was very mild and the hint of coconut oil was delicious as well. 

Easy to refuel after a long, hot run! 

Easy to refuel after a long, hot run! 

I also brought along the salty vinegar flavor on a longer day hike during a humid and hot June afternoon.  The vinegar flavor wasn't overpowering and again the coconut oil was very mild and present as well.  These bites stored well in a pack and since they're baked they don't melt the way an electrolyte chew would.  You also don't have to worry about adding a tab to water and waiting for it to mix before drinking.  All you have to do is rip the top off and start snacking!

I've got my fuel for after the hike! 

I've got my fuel for after the hike! 

Personally, I loved these little electro-bites and would definitely buy them again.  The fact that they're so much different from anything I've tried recently really sold me on this tasty and quick fuel for athletes.  They're formulated for distance athletes and have 100 calories per pack, including 190mg of Sodium, 55mg of Potassium and 46mg of Magnesium. Fuel 100 Electro-Bites will have a place in my pack for the rest of the season for sure!

A handful of baked electro bites - yum! 

A handful of baked electro bites - yum! 

Have you tried any new electrolyte replacement products recently?  What's your favorite way to refuel during a hot and humid summer run or hike?

Disclosure of Material Connection: I received Fuel 100 Electro-Bites for free from Fuel 100 as coordinated by Outdoor PR in consideration for review publication.  All opinions, as always on this blog, are my own.

My Favorite Gear for Newbies

Backpacking gear can be daunting, especially for newbies!  When I first started backpacking several years ago it seemed like it was really difficult to discern what gear I wanted to buy and what could wait.  While I had many friends who were backpackers, not all of them were looking to get the same experiences out of a trip that I was.  While some backpackers are able to carry bigger packs and heavier weights, this was definitely not something I could do!  After a few years of trial and error with gear I've narrowed down what works best for me.  As a person who now leads guided backpacking trips for a living, helping people pick out some great essential pieces of gear is something I do on a constant basis.  Here are the five things I've picked as my favorite gear for new backpackers.  

1) Sawyer Mini Water Filter  This water filter is light, small, fast, and easy to use.  You can even use it inline on your Camelbak/Platypus/Osprey hydration pack to make water filtration fail proof!  I love using this filter inline while I'm hiking and I'll set it us as a gravity system for filtration in camp at night.  With filtration being this easy, you have no excuses to not filter water. 

2) JetBoil Flash Stove  While there are lighter stoves on the market, stoves don't get much easier to use than the JetBoil Flash.  This stove has a built in ignitor to make lighting the stove with a lighter/match/flint completely unnecessary.  Add to the fact that the pot has an integrated cosy, tight fighting lid, and a built on cup and you've got a pretty simple system that any newbie will appreciate!  I use this stove when I'm guiding trips due to the speed of the boiling and it's great when you've got hungry hikers to feed. 

3) Black Diamond Storm Headlamp  This headlamp has lots of neat features in a tiny package.  While you can definitely find lighter and cheaper ones out on the market, this one has all the features you've ever needed in a light.  The brightest setting is up to 250 lumens which makes it great for an impromptu night hike.  It also has the all important red light setting on it, which not only helps you keep your night vision but also keeps from waking up the entire shelter when you need to get up in the middle of the night.  My favorite feature of  all is the lock feature - you turn this feature on and your light won't turn on in your pack.  Stopping for lunch and discovering your headlamp has been on all morning is a real bummer - and battery killer!

4) Z Packs Cuben Fiber Stuff Sacks   Cuben fiber is expensive stuff, but great backpacking gear is an investment and take it from me, I wish I would have bought these a LONG time ago.  Cuben fiber is strong and light and practically indestructible stuff.  I currently have their food bag and a medium sized sack for my clothes.  They're great for keeping my stuff waterproofed, especially for those long rainy nights my food is hanging off my bear line.   

5) Thermarest Inflatable Sleeping Pad  I truly believe you'll get a better night's sleep on an inflatable mattress over one of the roll-up or accordion style foam pads.  After a while foam pads will start to break down whereas I've actually given away my old inflatables as hand-me-downs to other backpackers and they're still going strong.  In fact, the company I work for still has old Thermarest pads from the 1990s that we send out with clients today!  While there are many other brands on the market to chose from, I personally use a Thermarest and it's a brand I'd highly recommend to anyone.  

These are just a few of my favorite pieces of gear to recommend to newbie backpackers.  What is something you would add to this list?  What piece of gear was most beneficial to you when you were learning to backpack?

I'm linking up with CourtneyCynthia and Mar and some of the other folks who link up with us – and please don’t forget to link to your hosts if you are participating!

My Thru Hiking Gear

Hey everyone!  First of all if you're new to this blog and you're just here for gear list ideas, WELCOME!  I'm very glad you found this blog and I hope you stick around and use the search feature to find some helpful advice for newbie hikers or wanna-be thru hikers!  For those of you who are regular readers to my blog - welcome back!  This post is just an informational post to help you find a new page I've put on the website.  I am often asked on Facebook, Twitter, Instagram, and via email through this website what brand _____ I am carrying.  I have made a few gear posts, but I had an idea: Make a permanent page on the website showing the gear I carry.  Not only will it be easier for you guys to find, it will also be easier for me to update my gear as I switch out or replace certain pieces.  

You can click this link (sprinkleshikes.com/Gear/) and go directly to the page!  Or, if you want to look around on the site, you can find the gear I carry under the "About Us" tab.  Hover over "About Us" and you will get a drop down menu.  The option at the bottom is "Gear We Carry" and you'll find all Sprinkles' gear there.  NoKey's gear list will be added soon!


Tried it Tuesday - SLS3 Dual Pocket Running Belt (#Giveaway, Review, and Discount!)

Disclaimer: I was sent this belt for free in exchange for an HONEST review.  All opinions are my own, and y'all KNOW I wouldn't recommend any gear I wouldn't use myself! I did not receive any other compensation, nor will I if you use the link below to purchase the belt. 

Regardless of whether you're reading my blog  because you're a runner or a hiker, I know you like new gear.  All of us do.  When I was offered the opportunity to try this new SLS3 Dual Pocket Running Belt I jumped at the chance!  Not only would this come in handy for running, which I'm doing a LOT of these days, it would also be great for me on a day hike!  My day hiking pack doesn't offer a hip belt and I've been thinking of upgrading, but now I don't have to!  I am really excited to share my thoughts on this belt with you guys and also offer a giveaway at the end of the post!

This run belt can hold an iPhone 6 in a waterproof case on one side and then fuel and your car key in the other!  It's got a buckle and elastic waist band too! SLS3 has thought of everything!

This run belt can hold an iPhone 6 in a waterproof case on one side and then fuel and your car key in the other!  It's got a buckle and elastic waist band too! SLS3 has thought of everything!

My old running belt is a Flip Belt.  While I do like the belt, lately I've been having issues with my phone falling out of it on runs, and usually it falls out, no joke, when I'm crossing an intersection. Seeing that this belt had a zipper, I knew that problem would no longer be in my future!  Another thing about the Flip Belt is that it's one continuous piece of fabric.  While it holds a lot, you have to slip it on over your head or put it on like a skirt.  Taking it off in public places sometimes gets you weird looks!  This SLS3 belt has a clip at the waist.  Not just a regular clip, but a heavy duty clip like you would see on a backpack.  This thing is going to snap in place and stay put. 

I snapped this belt on for a 7-mile run this week and decided to try it out in between layers.  I put it on over my merino undershirt, but underneath my long sleeved top.  You can hardly even tell I'm wearing it, which is another great feature.  It's awkward when you've got a belt that makes you look all lumpy underneath.  This one is sleek and fits well.  I especially appreciate the elastic in the waist band, as it stays snug and secure without riding up, which my Flip Belt also does after a few sweaty miles.  I ran the entire seven miles without this thing moving one time.  I took it out again the next day for 7 more miles and again it felt comfortable.  Today, however, I did have problems with the belt migrating.  It didn't ride up, but it did spin around a bit and ended up on me sideways for quite a bit of the run.  I didn't feel like fooling with it as my pace was great, so I left it alone.  It didn't bother me or feel weird, just having the weight of my phone on my side was a little strange. 

If I didn't have headphones on, you wouldn't even notice I'm wearing a running belt!

If I didn't have headphones on, you wouldn't even notice I'm wearing a running belt!

After running twice with this belt, I decided to take it on trail with me for a few hikes!  My day pack doesn't have a hip belt, so I can wear the belt and a backpack while out just for a day.  I used the belt to carry my lip balm and car key in one pocket and my ID, debit card, and some cash in the other.  I honestly forgot I was even wearing the belt.  It sat comfortably and didn't rub my back, even where the belt and the pack were riding in the same place.  Again, I wore this belt over my merino undershirt but under a long-sleeved tech shirt.  

So this belt sounds pretty cool, right?  Well, thanks to SLS3 you have the chance to win one for yourself!  Use the Rafflecopter Widget below to enter to win!

Don't want to wait and see if you're a winner? You can buy this belt right now in the SLS3 Amazon store for 57% off at a special introductory price - only $12.90 instead of the usual $29.00.  Here's the link ----->  http://www.amazon.com/dp/B017DRIKFY

Do you own a belt for hiking or for running? Which color belt would you want if you won? Leave me a comment below!

Info about the giveaway: The giveaway will be running from Feb. 2, 2016 until Feb. 9th, 2016. Winner will be notified via email (if available) and/or blog post, and will have 24 hours to claim prize.  If original winner does not claim prize within 24 hours, an alternate winner(s) will be selected.  Contestants must enter on the Giveaway widget in order to win.  All winning entries will be verified. If a winning entry cannot be verified as completed, a new winner will be drawn.  Winner will be provided the prize directly from SLS3.  Substitutions unlikely but may apply.  Sprinkles Hikes is not responsible for failure of sponsor to deliver product.


I am linking up with Running with SD Mom and Erica Finds so others can enter to #WinAllThePrizes too!

Women's Running Community

Why I (Mostly) Don't Shop Big Box Gear Stores

When I first decided to thru hike the AT in 2012, I decided I needed a new backpack.  Everyone I knew had an Osprey pack and I decided I needed one too, despite having a perfectly functioning backpack already.  I ran down to a local outfitter, grabbed the pack off the shelf and was "fitted" by an employee.  By fitted, I mean he put it on me, put a 20 lb sandbag in the pack, and told me it looked great.  I paid (a lot) for the pack and took it home to load it up.  After putting all my gear inside, the pack felt really wonky.  I took photos of myself and sent them to a few friends who all agreed I looked like a 5-year-old wearing a grown up pack.  It was enormous and didn't fit me at all.  When I took it back to the store, they recommended instead of returning it I order the small instead.  When it came in, the pack didn't fit much better than the regular size did.  I ended up returning it also.  I looked more closely at the pack I already owned and customized it, being that it had an adjustable frame - something I didn't even realize.  With the help of the internet and some googling, it fit like a glove and I never looked back.

As a hiking guide, I see a lot of people who tell me their pack fits them just because an employee told them it did.  Meanwhile, they've got all the straps adjusted to their smallest, tightest setting and the pack still gaps and stands inches away from their backs.  I tell them all the same thing - get a sewing tape and measure your own torso.  Then, get in touch with customer service to return the pack they own and get one that fits better.  After learning from my mistakes, I'm here to make my case for why I love shopping for my gear in the cottage industry - and why you should too!


When I first started seriously getting into hiking about eight years ago my town didn't have any "big box"-type outfitters.  We had a few local outfitters who had been in business for many years.  I spent nearly every weekend in their stores, looking at gear, talking to employees about local trails and hikes, and trying on hiking clothes.  It seems like so much has changed since then.  We now have so many big stores - Dick's, Gander Mountain, Cabellas, Bass Pro Shops, Academy Sports, and the biggest name out there - REI.  Some of the stores I loved shopping in have either gone entirely out of business or have switched to focus more on outdoor "fashion" - carrying mostly clothes and only one or two brands of packs.  The biggest thing that I've really noticed is the quality of employees.  Now instead of talking to knowledgeable trail hikers, I'm talking to college students selling Patagonia hoodies.  Gone are the days of properly being fitted for a pack in my town.  The big box stores are even worse, with many employees cross-trained to work different departments and focusing more on selling membership cards than teaching you how to light that new stove you want to buy.   

After my thru hike of the Appalachian Trail I was more informed about gear than I had ever been.  It seemed many hikers had packs I'd never heard of before - Hyperlite Mountain Gear, Gossamear Gear, ULA.  They had cuben fiber stuff sacks and I even saw a Sawyer filter for the first time.  Where was all this gear?  It was all online.  I had decided to upgrade my pack after 2200 miles on the AT due to the smell alone, and remembering that experience I had before leaving for the trail I decided to take matters into my own hands.  I researched gear for months.  I watched videos of how to fit myself for a pack, read about pack weight and suspension systems, learned all about new materials.  I finally decided to go with Gossamer Gear because I liked their customization options and light weight.  I went from carrying a 3 lb., 8 oz. pack with a 40-lb capacity (which I should NEVER be carrying on my tiny frame anyway), to a 1 lb., 2 oz. pack with a 30 lb. capacity (which I've not hit since before my thru hike).  Not only was I saving weight, I was buying from a small company. 

Shopping small is a big deal here in the States.  More and more people are starting to shy away from the Big Box Super Stores and turn to local business.  When you're supporting a small business, you're supporting a person and not a corporation.  You're supporting a fair wage to an American worker.  You're supporting their families and helping them put food on the table.  You're not supporting buying overseas materials and assembly, where wages are low and working conditions are abysmal.  When you're buying cottage industry gear, you're supporting a fellow adventurer.  

My absolute favorite thing about cottage industry gear isn't just that it's usually made by people who participate in the same activities I do, it's personal.  And by personal I mean just that.  When I was deciding between a Gossamer Gear pack and a ULA pack after my thru hike I called the companies with questions I had during my research process. In both cases I was talking to the man who created the packs.  They both went as far as putting me in touch with other hikers who used their packs to get honest opinions.  Every time I've ever called one of these cottage companies, I've ALWAYS spoken directly to the owner and creator of the company without expecting it or even asking to.  They answer the phone directly without a long complicated phone system.  Cottage industry gear often means passionate people working to help. 

And what happens when something goes wrong with your special order item?  Well, when our Tarp Tent tore on our second night our Benton MacKaye Trail thru hike we emailed the company.  Unfortunately, we only had cell signal a handful of times in the 20 days it took us to hike, but when we got back to my parents house in Tennessee, we were able to mail the tent to them, where they fixed it in ONE day and mailed it back to our house in New York.  They had our tent less than a week, repaired it, and sent it back with no questions asked.  That's amazing service!

When I talk to people about buying gear online without ever trying it first they're usually incredibly hesitant and I totally understand that.  When you're working with a cottage industry company though it's so incredibly easy to get quality help with your purchase that it's just not something I worry about.  The people working in these places are passionate about gear and any question you have someone in that building can answer it for you - I promise!  

The final thing I want to talk about is price.  Yes, cottage industry gear can be expensive.  A lot of times it's the higher quality materials and handmade nature of the product that can be more expensive.  Yes, you can buy a 3-pack of stuff sacks at Walmart for about $10.  Those bags will probably break after a thorough use (all of mine have) and you'll need to replace them anyway.  When you spend the extra money for a cuben fiber bag or an Ursack you're investing in your gear.  You're going to get the customer service necessary to make it right if it does break instead of shelling out more money to replace the bags.  This is the time when you have to go back and think about supporting small business though.  Honestly, my Gossamear Gear pack ended up costing less than that Osprey pack did anyway!  Wait for a sale on that item you're coveting if you really need a lower price - or consider buying it used on Ebay or from a hiker flea market Facebook group.  You can find great cottage industry gear for sale if you search.

Finally, I've found a list over on Appalachian Trials where you can see companies who make and produce their gear here in the USA.  You can check that link out here: http://appalachiantrials.com/camping-hiking-gear-made-in-america/. Of course, I also realize that we can't always get everything we're looking for at a small company and that's okay too!  We will always have to buy some piece of gear down at the big box store - and maybe that's what you prefer to do.  No judgement here - none of us are perfect!

Do you own any cottage industry gear?  Would you be more willing to try it for the first time after reading this post?  Leave me a comment or catch me over on Facebook to get the conversation started!

How to Score Great Deals on Gear on a Hikertrash Budget

Hikers love their gear - that's no secret.  Any time you get a group of hikers together chances are they're talking about their gear or their food!  As with any hobby, the deeper you get into it the more money you're likely to spend on the latest and greatest gadgets and clothing to help you perform better.  Here are some tips for scoring gear at great prices when you've got a not so great budget. 

Buying Last Year's Color/Model or Factory Seconds

Sierra Trading Post is one of my favorite websites for outdoor clothing items.  I always buy my Smartwool socks and bras from them.  I've yet to find another website that not only has consistently low prices, but if you do a google search in another tab, chances are you'll find a coupon for free shipping or an additional 20-40% off your entire order.  This site is also where I bought SEVEN pairs of trail runners at one time for my AT thru hike in 2012.  At 65% off retail, I can definitely rock last year's model shoe. 

Flash Sale Sites

My absolute favorite flash sale site is Steep and Cheap. While years ago they specialized only in flash sales, now they have deals you can buy for weeks at a time.  I've scored Procompression socks on there for 70% off retail and I've gotten some other great workout equipment on there for as much as 90% off retail.  One of my favorite features on Steep and Cheap is the "hold shipment" option.  You can hold off on having your order shipped for up to a week if you're still looking for something.  This way, if you find more stuff later you can add it to your order and not pay for additional shipping.  I've also used The Clymb for gear, but I haven't shopped it in a while. 

Backpacker Flea Market Groups - Facebook

If you're a backpacker, chances are you're already a part of so many backpacker flea market groups on Facebook you don't need me to mention this.  If you are new to backpacking, trust me when I say GET INTO FACEBOOK GROUPS!  Join not only the flea market groups, in which people will sell used gear for discounted prices, but also any group for trails that interest you. People in nearly every group will have some kind of gear they're trying to unload for one reason or another.  Use the search bar feature on Facebook and type in "hiker flea market" and join!

Amazon

Come on.  You guys knew I was going to list this one.  Seriously though, I have found stuff on Amazon cheaper than I can get it as a hiking guide.  Not only is Amazon great for gear deals, they often have great deals on food - Clif Bars, ProBar, Kind Bars, Honey Stinger, etc. - for close to closeout pricing.  Sometimes you'll be ordering it in bulk, but if you do a lot of hiking, chances are you'll fly through that multipack of bars in no time. 

So there you have it - my tips for buying great gear at great prices.  Where do you shop to save money on that new piece of gear you're trying to buy?  Is there a great website I've forgotten to list?  Leave me a comment below or connect with me over on Facebook to get the conversation started!

Gear Review: Apollo 6 Mobility Package Solar Charger and USB Power Pack

Solar chargers are a popular item in the packs of long-distance hikers, especially as they are first beginning a hike.  As I've tried a few solar chargers in the past, I thought I would give the Apollo 6 Mobility Package - a solar charger with a Spectrum 10 USB powerpack - a try during our summer of exploration.  

Charging a Samsung Galaxy S5

Charging a Samsung Galaxy S5

About the Apollo 6 - This charger has three solar panels and weighs just 6 ounces, so it's incredibly light if you're looking for a solar charger to add to your pack without sacrificing too much other gear.  It uses CIGS solar cells that are flexible and durable, meaning there is no glass at all in the unit and it can withstand wet weather, a must-have feature for those of us hiking on the east coast!  Included with the panel is a rubber stopper to place over the USB port so you can still transport it in wet weather without corroding the inside of the USB port.  It also can still charge the battery pack without the need for direct sunlight.  While direct sunlight is obviously best for a solar panel, partly cloudy or shadowed conditions will still allow the power pack to charge.  

About the Spectrum 10 USB power pack - This incredibly lightweight device has two functions: a battery charger and a flashlight with three settings, including high beam, low beam, and emergency/dance party strobe light.  It comes with it's own micro USB charging cable that can be plugged directly into the Apollo 6 solar panel or into a wall outlet with a USB port for fast charging.  The output on this little device is 5 volts, enough to charge even an iPhone!  When plugged in, the light on the back of the flashlight shows red and turns off when the device has a full charge - a handy feature to have to know you'll get the maximum charge.  

Directly out of the pack, the Spectrum 10 USB Power pack charged a Samsung Galaxy S5 phone from 35% battery to 71% battery.  Since it was fresh out of the mail, we didn't have any way to gauge how full the pack was, so we set out to charge the unit.  We tested Apollo 6 Solar Panels in our yard.  Seeing that we get direct sunlight most of the day on our back deck, we set the charger and the battery pack up outside for 3 hours.  After plugging my iPhone 6 into the battery pack after 3 hours, it charged the battery from 22% to 56% before shutting off. The flashlight on the battery pack still worked, so I plugged my phone back into it,  but no more charge could be drawn.  We plugged it back in to the solar charger and left it outside until sundown, where we then brought it back in and hung it in a window so it could get direct sunlight from the morning sun in the morning.  I plugged in my iPhone at 11:30 and by 12:10 it had gone from a 63% change to 100% charged.  The cool thing about this is the battery pack disconnected from my iPhone at the point it hit 100% to avoid overcharging/running down the power pack.  I thought this was a pretty great feature.  

Charging the battery pack in a window

Charging the battery pack in a window

Since we had tested the battery pack, we decided to test the solar panel with our phones directly.  NoKey's Samsung Galaxy S5 had no problems and could use either the micro USB cord that came with the panel or his Galaxy charging cable.  While the direct plug in method was slower than using a wall charger, it did still charge his phone.  When I plugged my iPhone 6 into the panel with the lightening cable (micro USB doesn't have a port on an iPhone), it started to charge but I immediately got a message saying it wasn't compatible with my device. After contacting Endless Sun Solar, they told me that even though I got the message if I left my phone plugged in it would still charge.  This did indeed turn out to be the case.  Again, it didn't charge fast, but it did pull a charge directly.  The reason for the error message is that iPhones tend to be a little more finicky - the fluctuating voltages from solar (such as heavy cloud cover) make the iPhone think it is connected to a grid during dangerous power fluctuations, and so it shows this message and charges at a much slower rate, even though the solar charger may be putting out ample power to charge. Android phones generally do not have this problem, so this only apply to iPhone users. 

Another scenario we used to charge phones was attempted on The Long Trail in Vermont during our thru hike.  We exclusively used the USB device with a wall charger on this hike due to the sheer lack of direct sunlight we would be getting on a northeastern trail in late summer.  Whenever we were in a place to charge our phones, which happened four times during the 273-mile hike, we would also charge the USB device.  We would get a completely full charge on the USB and then pack it away to use as an emergency backup if we ended up with dead devices on trail.  The only downside of this method was that sometimes we would pull out the bag with the charger to see the flashlight had turned on while in the backpack. Since we had no idea how long the flashlight had been on, usually we couldn't get a full charge for our phones.  However, when using the USB power pack and knowing the flashlight hadn't turned on, we would get one completely full charge from 0-100% on a Samsung Galaxy S5 or on an iPhone 6.  

Dashboard charging - great for car camping! 

Dashboard charging - great for car camping! 

If you are looking for a durable solar panel without the heavy weight or fragility of glass, Endless Sun Solar has a great option.  If you purchase the Mobility Package, you also get the USB power pack, an item I highly recommend both for the weight and the ease of use.  You can check out the package by clicking here

Disclaimer: I received the Apollo 6 Mobility Package for free from Endless Sun Solar as coordinated by Outdoor PR in consideration for review publication.

Pieces of Gear You Should Always Leave Packed for a Quick Get Away!

For those of us who are constantly busy and running on tight schedules, those rare moments when we can spare half a day to get away into the woods usually come upon us quickly!  I always have a day pack filled with essentials for a day hike on my porch, next to my hiking shoes and trekking poles.  This way, when the moment comes, I can put on my shoes, toss my gear in the car, and run off to the woods.  Here is what I always have on hand:

1) 2-liter Camelbak, filled before leaving the house.
2) Hiker first aid kit: Mine includes ibuprofen, emergency Aquamira Drops in case my filter doesn’t work, a lighter, Gold Bond Powder, Carmex, and duct tape.  I also keep a headlamp with fresh batteries in the same bag. 
3) My Sawyer Mini filter.  This thing is a beast - it’s fast, it’s easy, and it has never once failed me.  
4) Hiker snacks. Obviously, these need to be changed out/replenished every once in a while, but I always have hiker-friendly trail foods in my house.
5) Rain gear. I am a huge fan of The North Face’s Venture.  I’ve now owned two of these coats and I’d never wear anything else.  

Do you keep gear packed and ready for your next short adventure? What pieces do you never leave without?  Leave me a comment or connect with me on Facebook to talk about your favorite gear!

Five Pieces of Gear You WON'T Need on an Appalachian Trail Thru Hike

With the holidays upon us, most of the 2015ers are getting their gear research finished and updating their wish lists with the gear they’d love to have on their AT thru hike.  As someone who was in your shoes a few short years ago (and who worked in a hostel doing pack shakedowns for a season in 2013), I’d like to give you some advice as to what gear you can skip adding to your list, as chances are you won’t need it anyway. 

A solar charger for your electronics


Doesn’t a solar charger sound cool? You can charge your phone up every day and keep the battery full for those Kodak moments you’ll be sure to have every single day!  In reality, the Appalachian Trail is called “The Green Tunnel” for a reason.  You’re actually  not going to be spending much time in direct sunlight, which is how these things get their charging power in the first place.  I would say more than half of the people on the trail in 2012 that had these chargers sent them home at Neel Gap (only 30 miles in).  I would say by Damascus, VA (mile 470ish) 99% of people had sent theirs back home.  In Maine if we hadn't convinced hikers to send them home in their initial pack shakedown in Millinocket, I would say most, if not 99% or so, had sent them home in Monson. If you’re turning off your phone at night and keeping it in airplane mode during the day, you can easily get 5-7 days on a full charge from going into town (I've done this on an iPhone 4S and an iPhone 6; NoKey has done this on a Galaxy S3 and S5).  Trust me, you don’t want to be the guy who is always on his phone in camp at night anyway. If you really think you need the extra power for your devices, consider getting an external battery pack that can hold a full 2 charges for your specific device. 

Rain pants

Rain pants are good for pretty much one thing on the AT - an extra layer to keep you warm, especially when it’s windy or chilly.  I know, I know, you’re probably thinking that warm and dry sound like a good thing… but the fact of the matter is if you hike in rain pants you’re going to sweat.  You’re going to sweat and that moisture you’re repelling from the rain is pretty much canceling itself out.  A good rain jacket will really be all you need most of the time.  Rain ponchos that also cover your pack are starting to become wildly popular due to their breathability and double usage (always a big plus with thru hikers) and can be found online with a simple google search. 

Bear “anything” - bell, canister, spray, etc.


The bears we have here on the east coast are black bears, which are normally very afraid of humans. While there are always exceptions to this, black bears are often smelling you and hiding from you before you even ever see them.  If a product has the word “bear” in front of it, chances are you aren’t going to need it on the Appalachian Trail.  Granted, a bear canister is required for camping in Georgia between Jerard Gap and Neel Gap, but this short stretch can easily be done in one day by even the most fresh-footed new thru hiker.  The ATC is also starting to recommend hikers carrying a bear canister from Springer to Damascus, but I honestly don't see this catching on for thru hiking.  Canisters are heavy, cumbersome, and often don't hold the amount of food you need it to on a long-distance hike.  Bear spray is just added weight and a bear bell is just annoying to all the other people around you.  The bear line, while useful, is seldom used correctly by hikers anyway.  If you’re planning to keep using your bear line to hang your food and toiletries, I highly recommend learning to use it and do a proper hang by watching videos on YouTube.  Otherwise, maybe look into getting an Ursack for your food bag if you’re really concerned about protection from animals.  I've found that on trail the most common animal "attack" on a food bag is a mouse or a squirrel in the middle of the night.  

Deodorant and most first aid items


If you’re going 5-7 days between a shower, you’re going to stink anyway -and everyone else stinks too. This is just a fact of doing a long-distance hike.  Trying to put on deodorant isn’t going to help that set-in hiker funk that comes from wearing the same clothing day in and day out.  Save yourself the melting stick and leave it at home.  While you’re at it, I’m pretty sure 90% of your first aid kit can go home too.  While when you’re first starting out some Second Skin for blisters could be great, but Band-Aids can all be left at home.  Duct tape/Gorilla Tape and Leuko tape will be the only thing that comes even remotely close to sticking to your skin during a long day of hiking.  Other than ibuprofen and the occasional emergency Benadryl, pretty much all other over-the-counter meds can stay home too.  Obviously, if you’re taking prescription meds you should always bring those.  If you've bought a pre-assembled first aid kit and there are items in there you don't know how to use, chuck them.  (And if you want to know how to treat a few common hiking injuries, check out a post I wrote back in November 2015 here.)

Extra clothes


This sort of goes along with the deodorant.  You think it’d be nice to have an extra set of clothes to hike in, but in reality extra weight on your back isn’t worth it.  For my thru hike, I wore the same outfit to hike in every single day with three pairs of socks rotated - right side out, the next day inside out. I’d leave the dirty ones inside out in my clothes bag and put on a clean pair for day three.  This way, I could get away with only doing laundry every 6 days at the minimum.  I had a dress I’d wear in town while I was washing my one set of clothes and three pairs of socks. Obviously, you’ll have a layer for cooler days at the beginning and possibly at the end of your hike, but an extra set of clothes, sleeping clothes, etc. can all be left at home. (If you want to see an example of the clothes I carry for a thru hike, please check out my gear list here). 

When it comes to long-distance hiking, the mantra “hike your own hike” is oft-repeated and the same goes for this blog post.  If you’re willing and able to carry the extra weight from some of the items listed above then by all means go ahead and carry them.  These are just some of the things I saw nearly all thru hikers ditching in the first 100 miles, both northbounders and southbounders.  Of course, every hiker will have their luxury item they just won’t part with, be it a pillow or a titanium trowel to dig cat holes.  I hope this list has helped you to narrow down your gear for your upcoming long distance hike. 

Special thanks goes out to 2012 Hiker Trash Anonymous for helping me to confirm the items listed in this post.