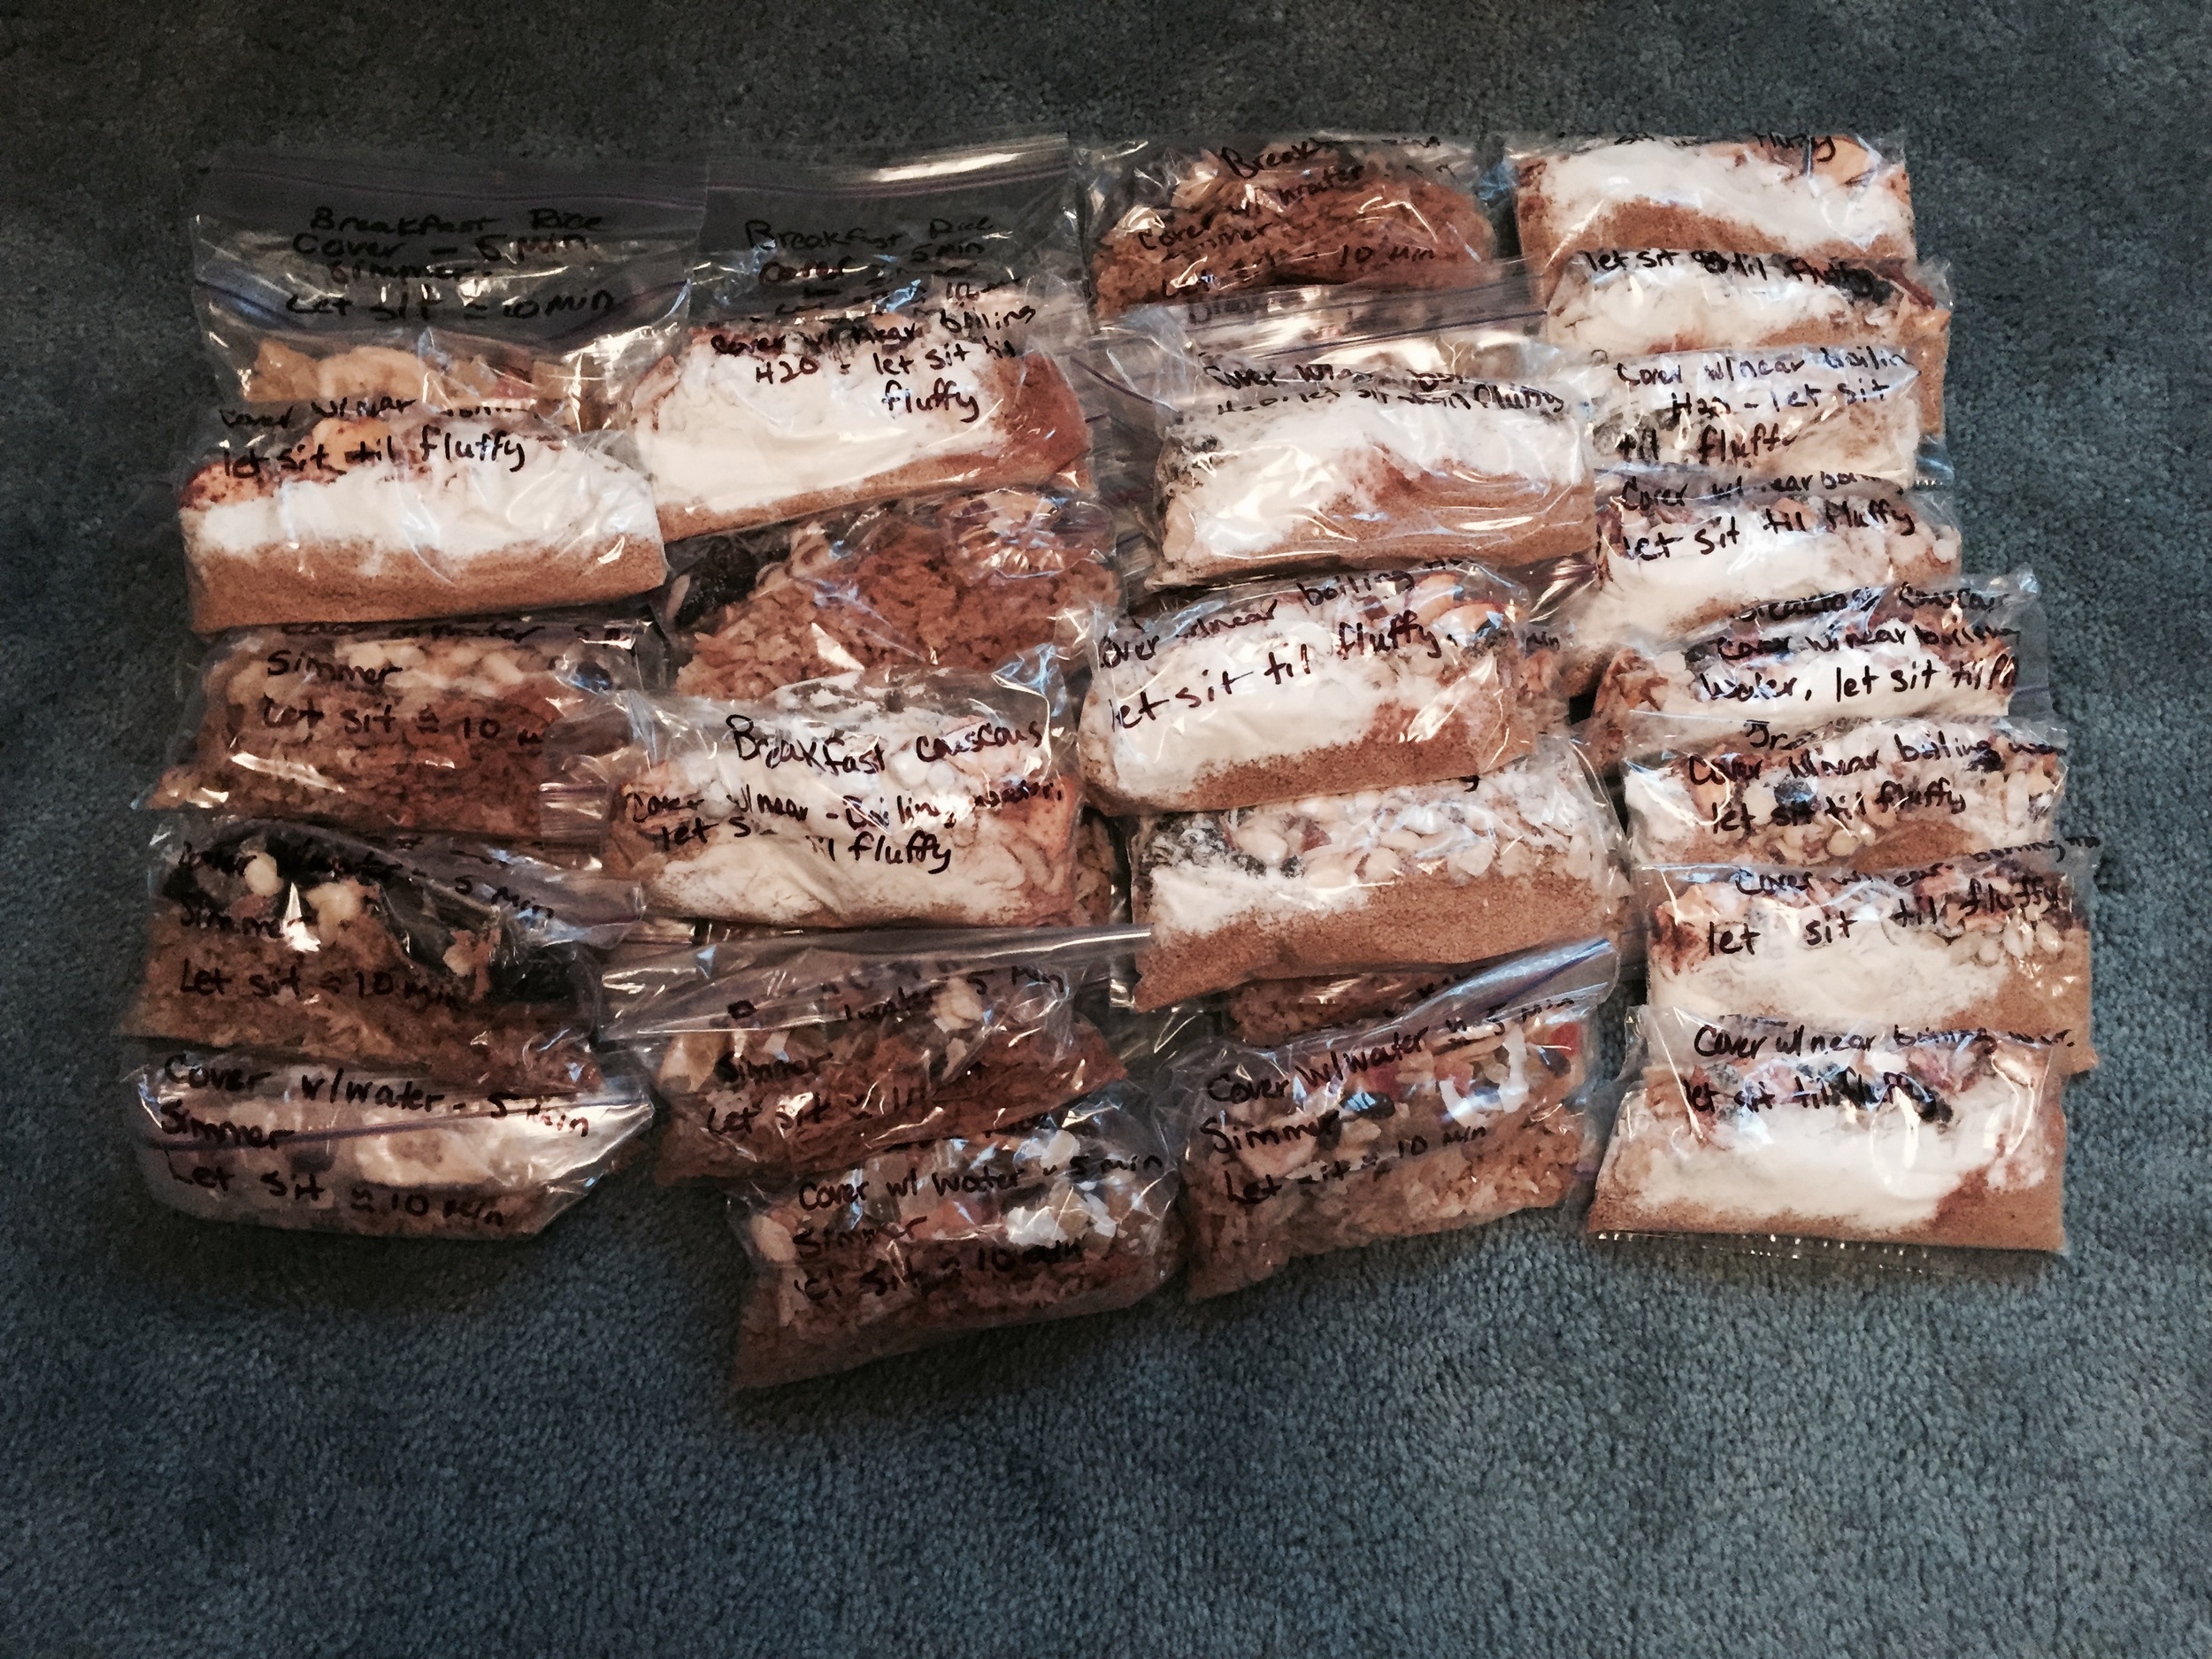
An entire summer worth of food stretched out all over our spare bedroom! Everything we will be consuming on our three hikes is here.
I've finished! A week ahead of schedule I have all of our food dehydrated, packaged, and ready to mail out to a friendly post office near the trail somewhere in the eastern portion of the US. Thanks to a friendly hiker on Instagram I have also learned that Priority Mail Regional boxes will save me a FORTUNE! Seriously, go to the USPS website and order your own regional boxes. They're bigger and, for the BMT if we mail them from my parents house, we're going to save SEVEN BUCKS a box!
So, here's the breakdown of what I've made meal-wise for the summer:
Breakfasts: Sweet potato pudding, rice pudding, pizza grits, breakfast couscous, assorted Poptarts. I also made a special breakfast drink out of Carnation Instant Breakfast, powdered coconut milk, and instant coffee.
Lunches: Refried bean burritos with salsa, dal with tortillas, sandwich thins with peanut butter/cashew butter or tuna, Poptarts
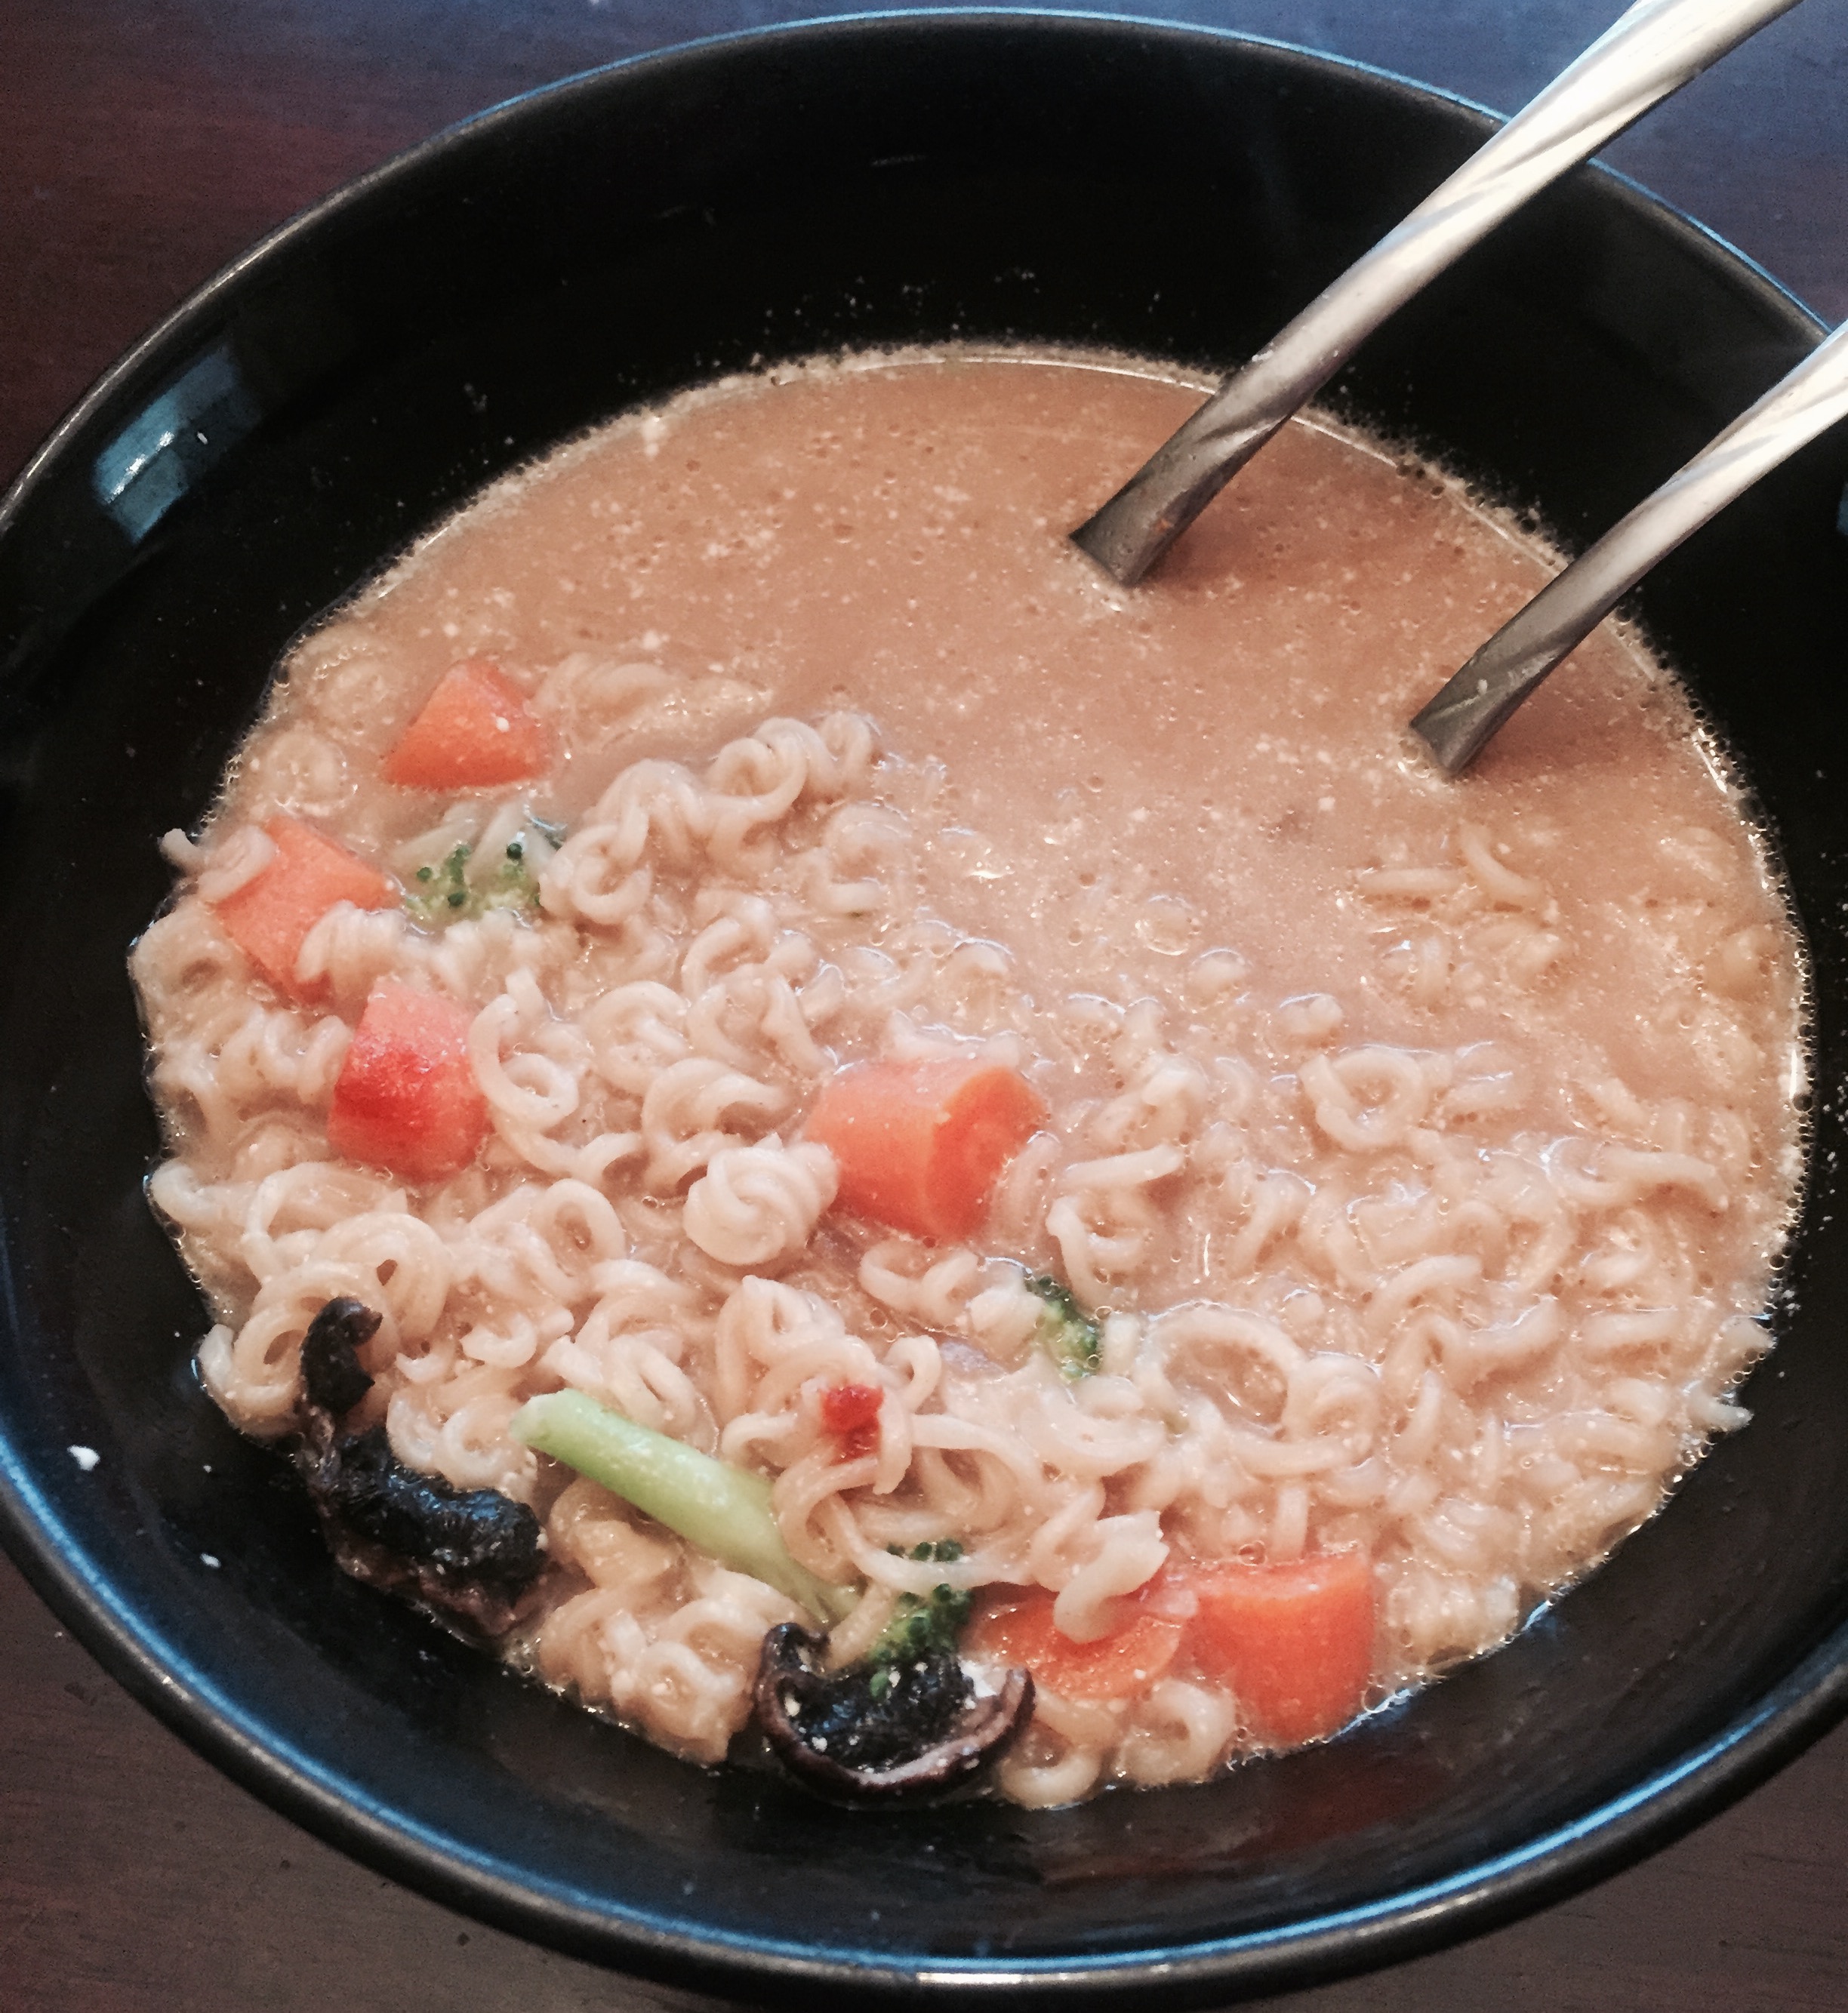
Dinners: Dal with rice, Hawaiian-style ham and pineapple rice, "soul food" with brown rice and blackeyed peas, mushroom stroganoff with egg noodles, mac & cheese, sloppy joes, Thai-style ramen.
Snacks: Picky Bars, candy bars, trail mixes, dehydrated apple chips
We'll have enough dinners to get through the trail and we'll need to supplement still with the tuna packets and the peanut butters. I don't have either of those meals planned for the BMT though, so the shopping for the tuna can wait until we're back in NY for the Finger Lakes Trail. I'm hoping that our portion sizes for the meals we've chosen work out alright. The hardest part of planning all this cooking has definitely been the fact that the meal sizes all seemed to vary SO MUCH! One recipe I made, the dal, called for serving 3 people. I ended up getting 14 servings out of it with the measurements provided in the recipe! I ended up with more dinners and less lunches due to these sorts of discrepancies, but hikers are great at adapting and if we end up having to cook lunches - so be it!
I had a few people ask me how expensive it was to do all these meals so here's the price breakdown: I had budgeted approximately $400 for food and shipping and I'm happy to say that after we ship everything I will be under $400 for the entire summer. That's for TWO people plus shipping! For an average AT resupply, I was typically spending $25 to $30 per stop on just myself. So, if we say that NoKey and I were spending $30 per person on our summer hikes, we'd be spending approximately $480 on food. This, of course, assumes we'd be able to even get to a decent store on these trails! The BMT goes through smaller towns than the AT - smaller towns which also see less hiking traffic than the AT and aren't quite resupply friendly. Most of our options are tiny stores or convenience stores. Those types of stores don't often carry much and are often insanely expensive. Since I've done our food, I know we'll have the nutrition we're looking for, as well as the variety to keep us from getting sick of everything we're eating. I know the Long Trail will have better resupply options on the southern portion so when the lunch/breakfast situations starts to look slim, we can supplement for a regular town resupply for breakfast items.
I hope you've enjoyed seeing all the food prep I did over the past few weeks. I'm very excited to get out and get hiking and can't wait to share the journey with you guys. Happy Trails!