For those of you who have been followers of this blog or past clients of mine, you'll know that I'm a huge fan of a natural, zero drop shoe. When I was given the opportunity to try out the XeroShoes Jessie Sandal this summer, I was super excited about the opportunity! Here is my unbiased review of the shoe:
Disclaimer: I received this shoe in exchange for writing the review. All opinions are unbiased and are my own.

The first thing I noticed about this shoe, obviously, was the design. It's so incredibly different from any sandal I've seen before. With only a toe loop for your big toe and an ankle strap, it's definitely eye-catching. This super simple, casual shoe didn't just make me take notice. The first time I wore it to work (At the AT Lodge - a hiker hostel) every single hiker and even my boss took notice and asked about the shoe. The first question everyone asked was if I could walk in it! With the unique design, they look like they'd flop right off your foot. The answer is that not only could I walk in them, my feet were able to splay naturally and stay right in place just as if I were walking barefoot. I also only experienced one "toe catch" of the unstrapped side of the shoe, but it was when I was getting into my car and quite honestly I catch my regular sandals there too.
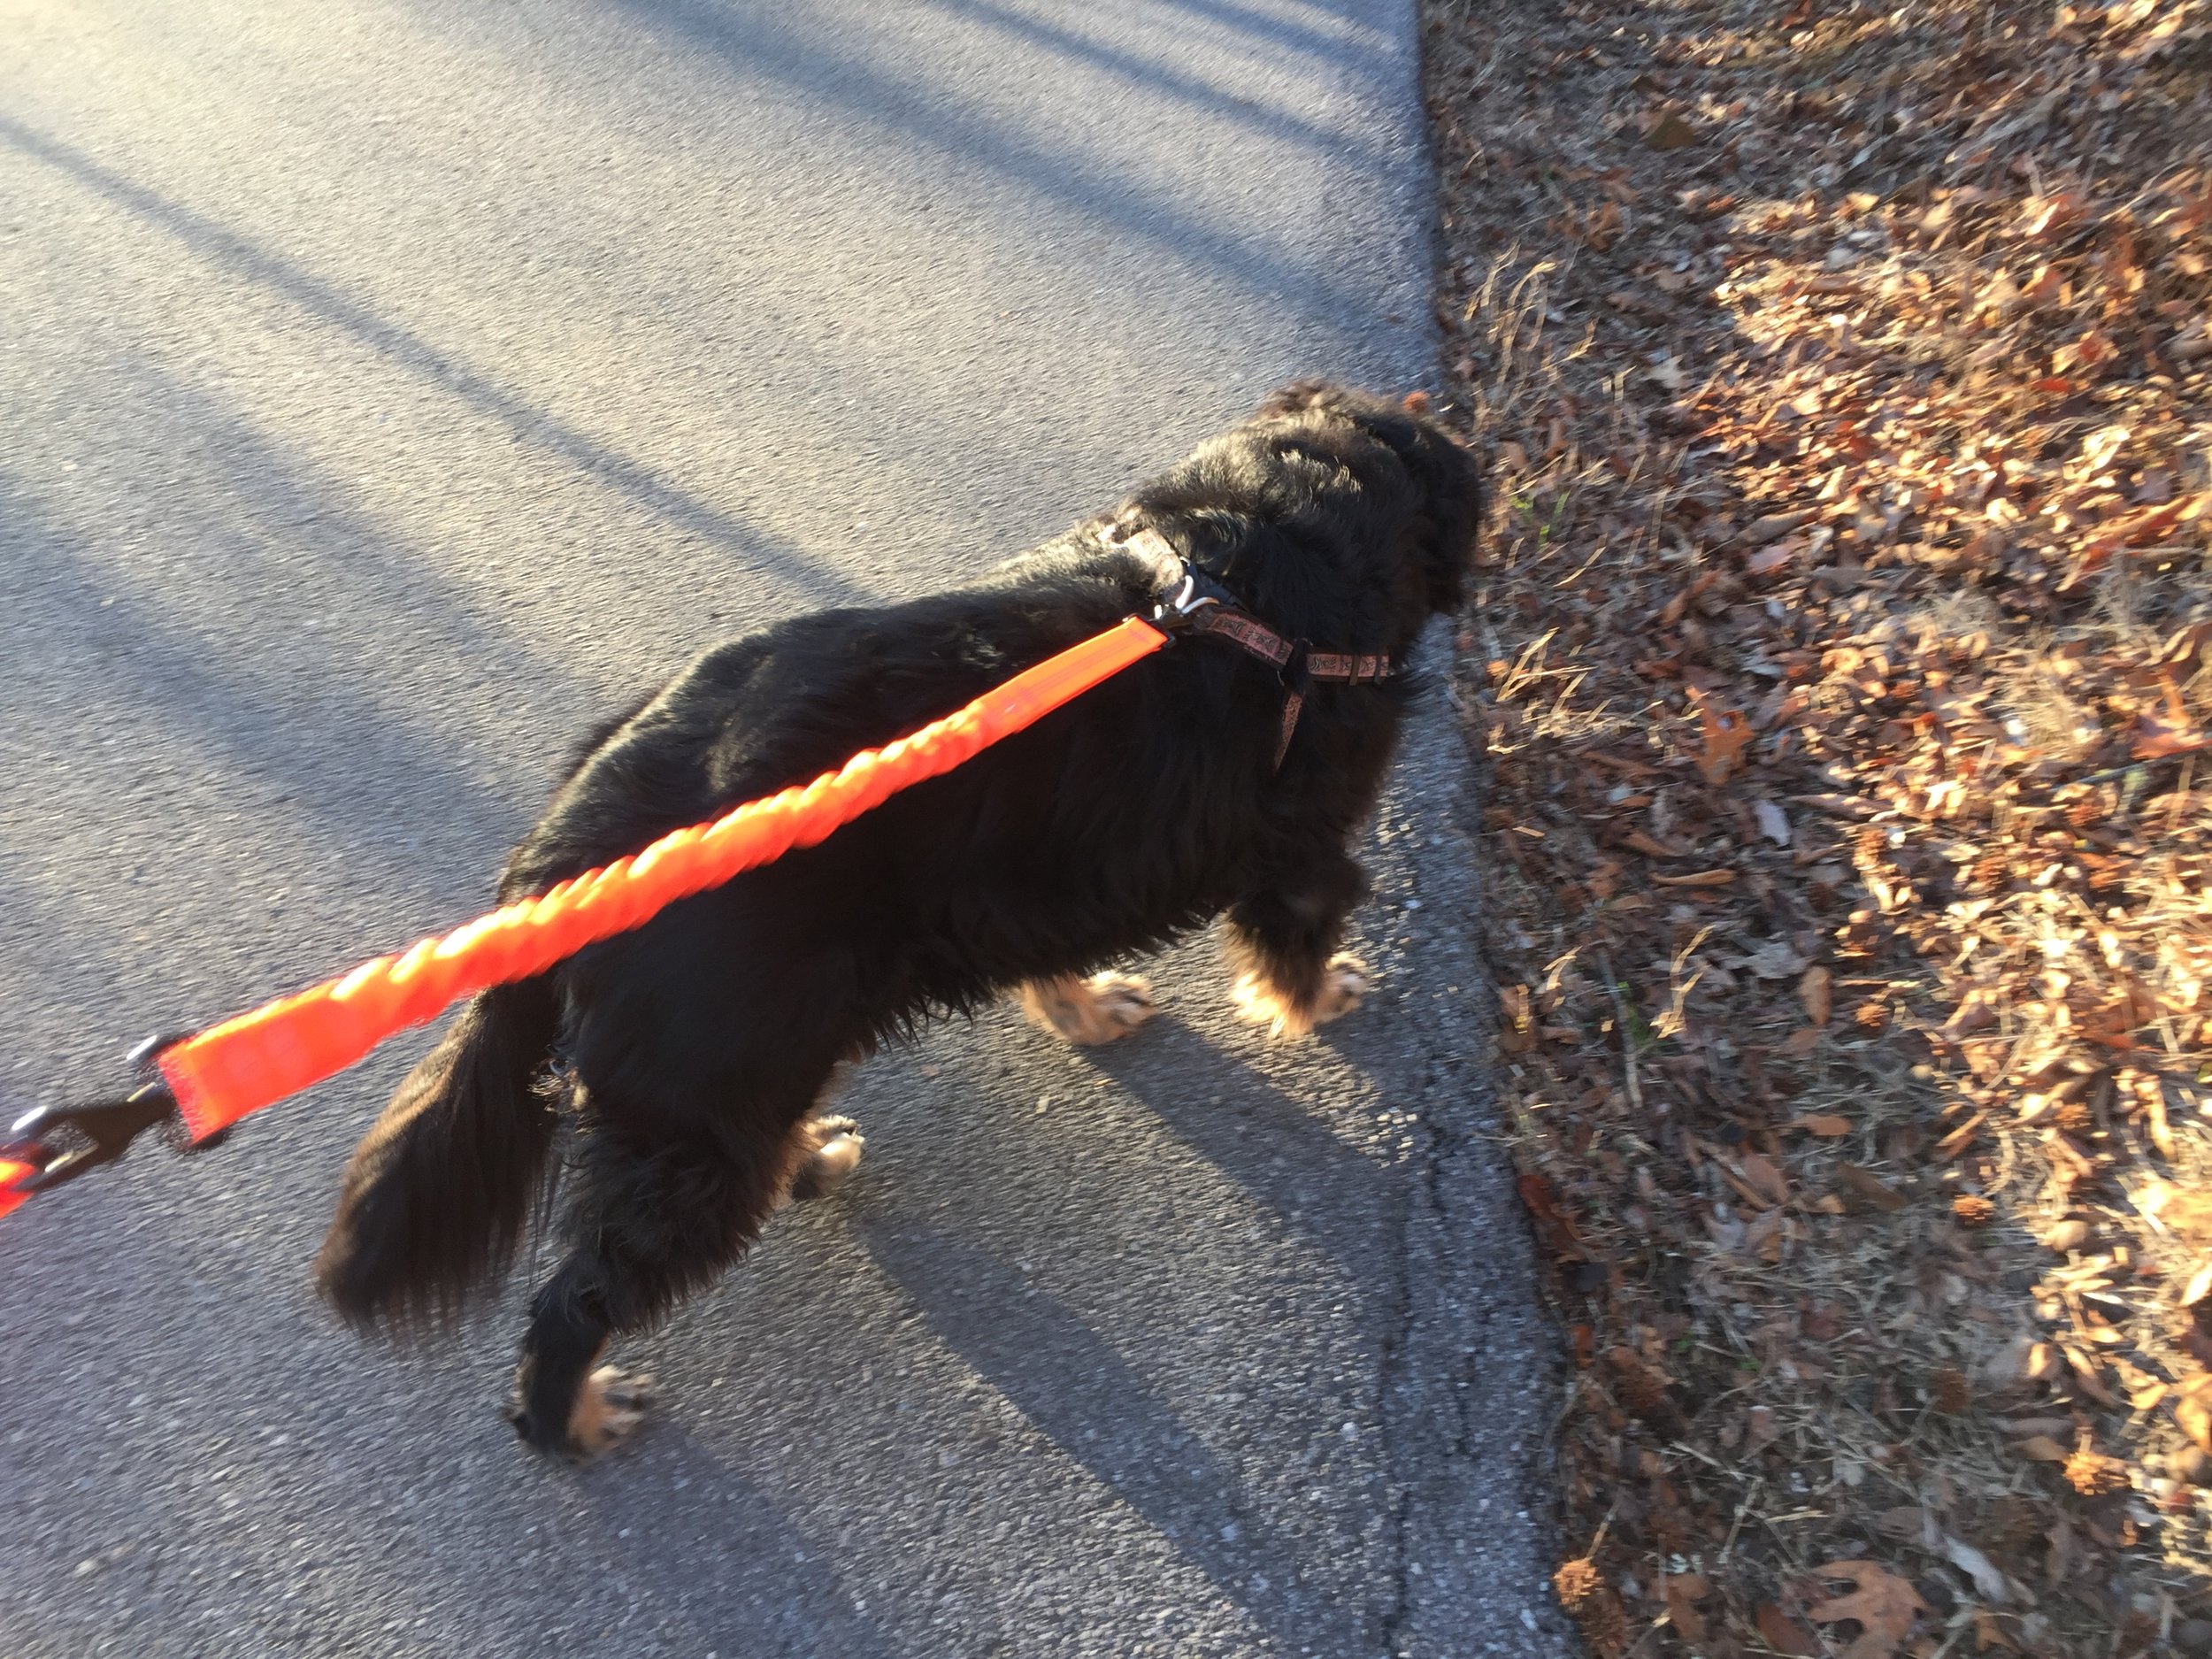
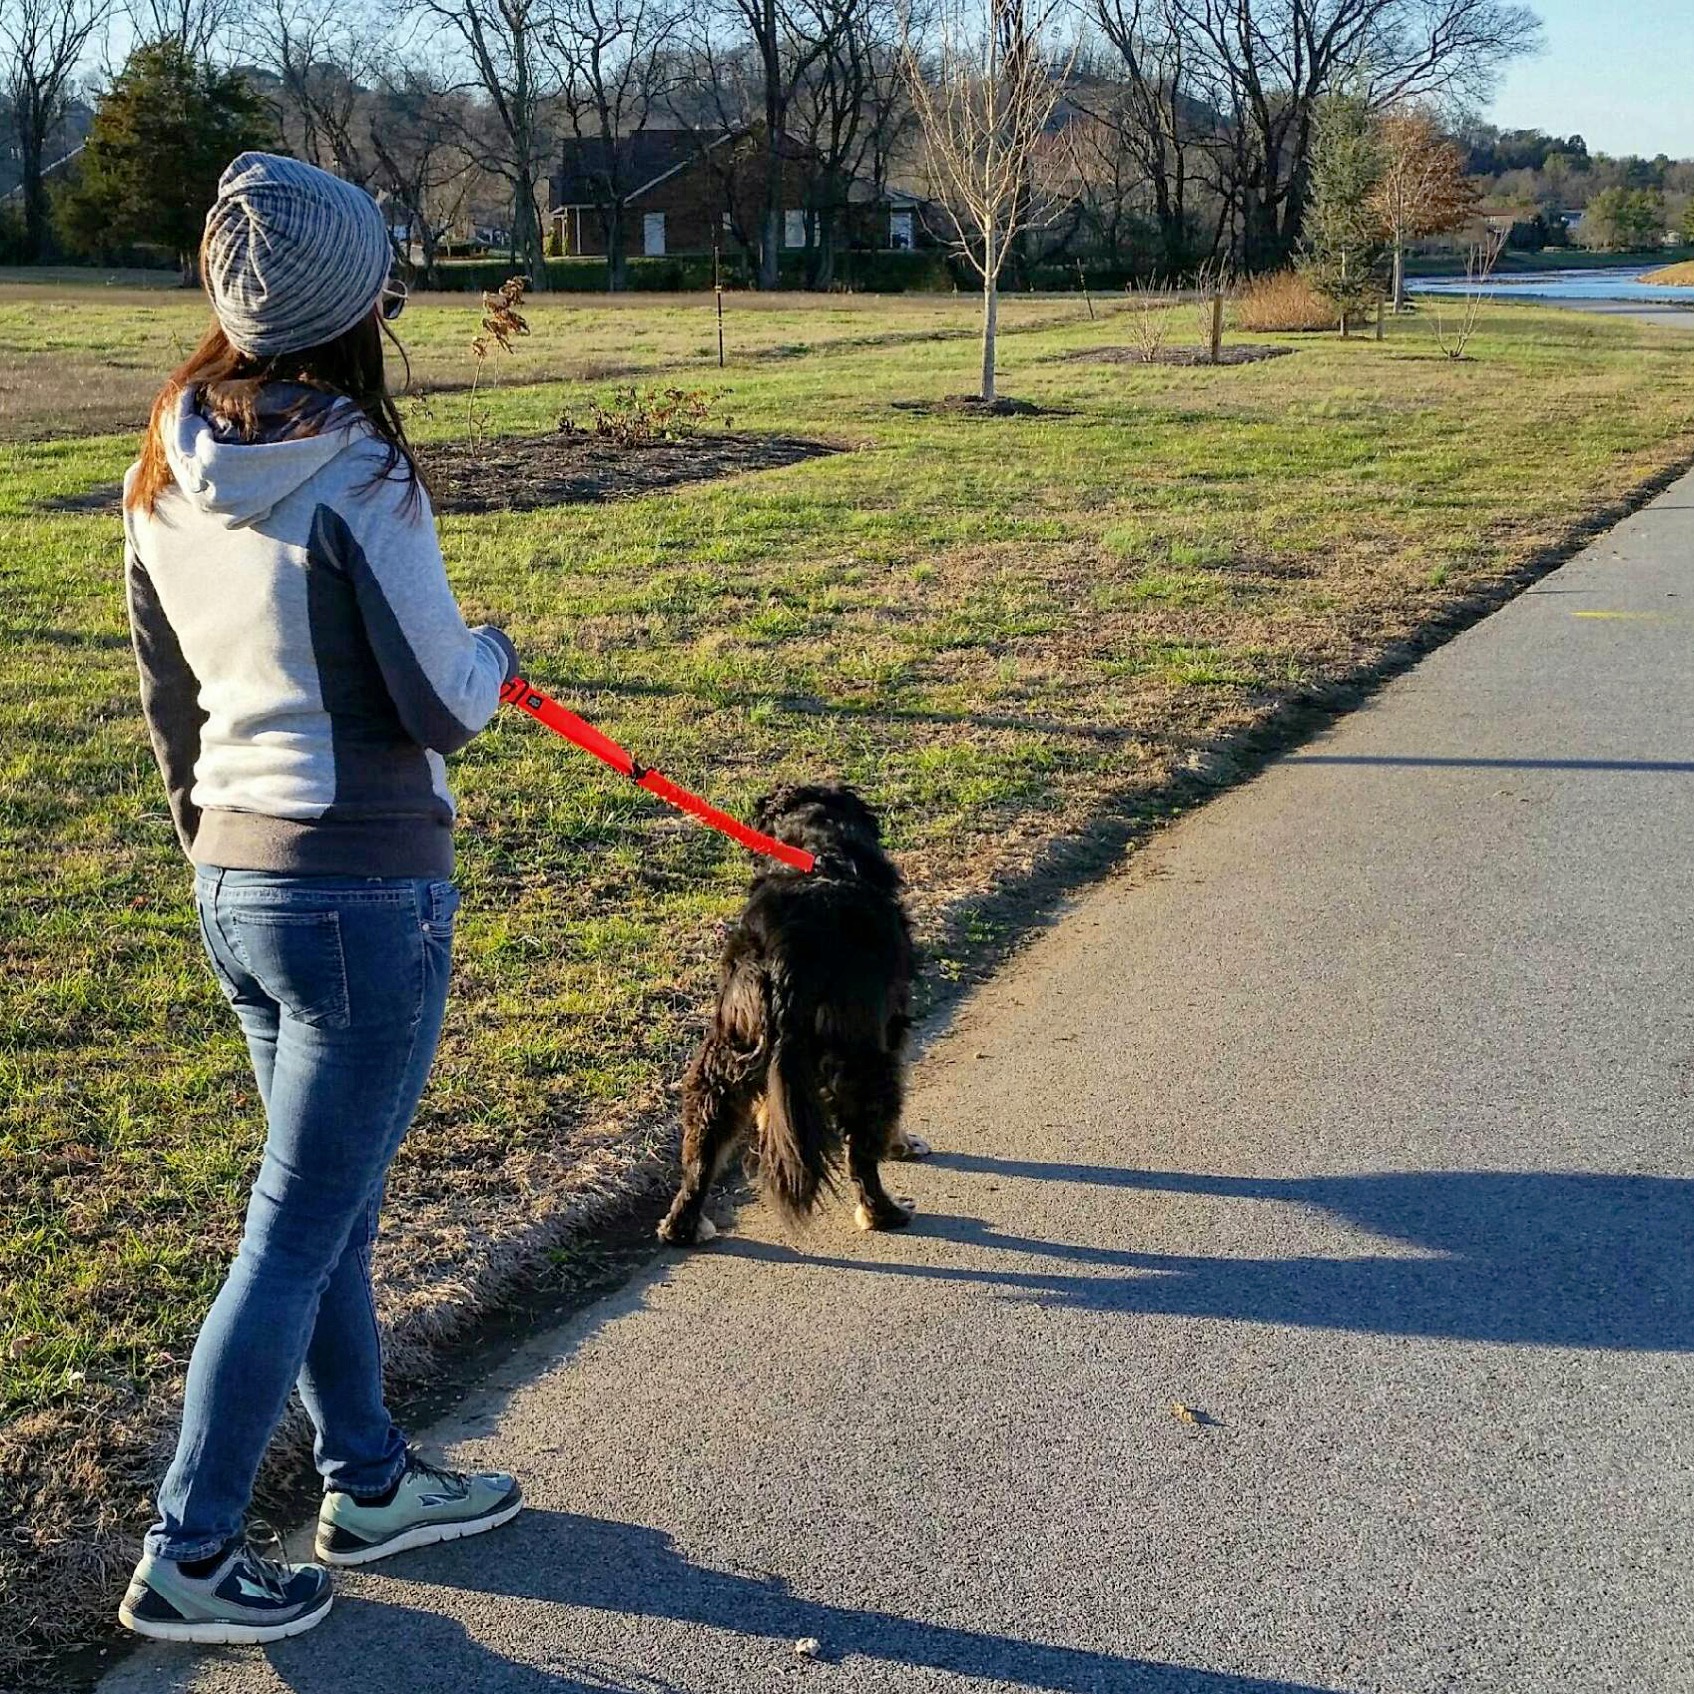
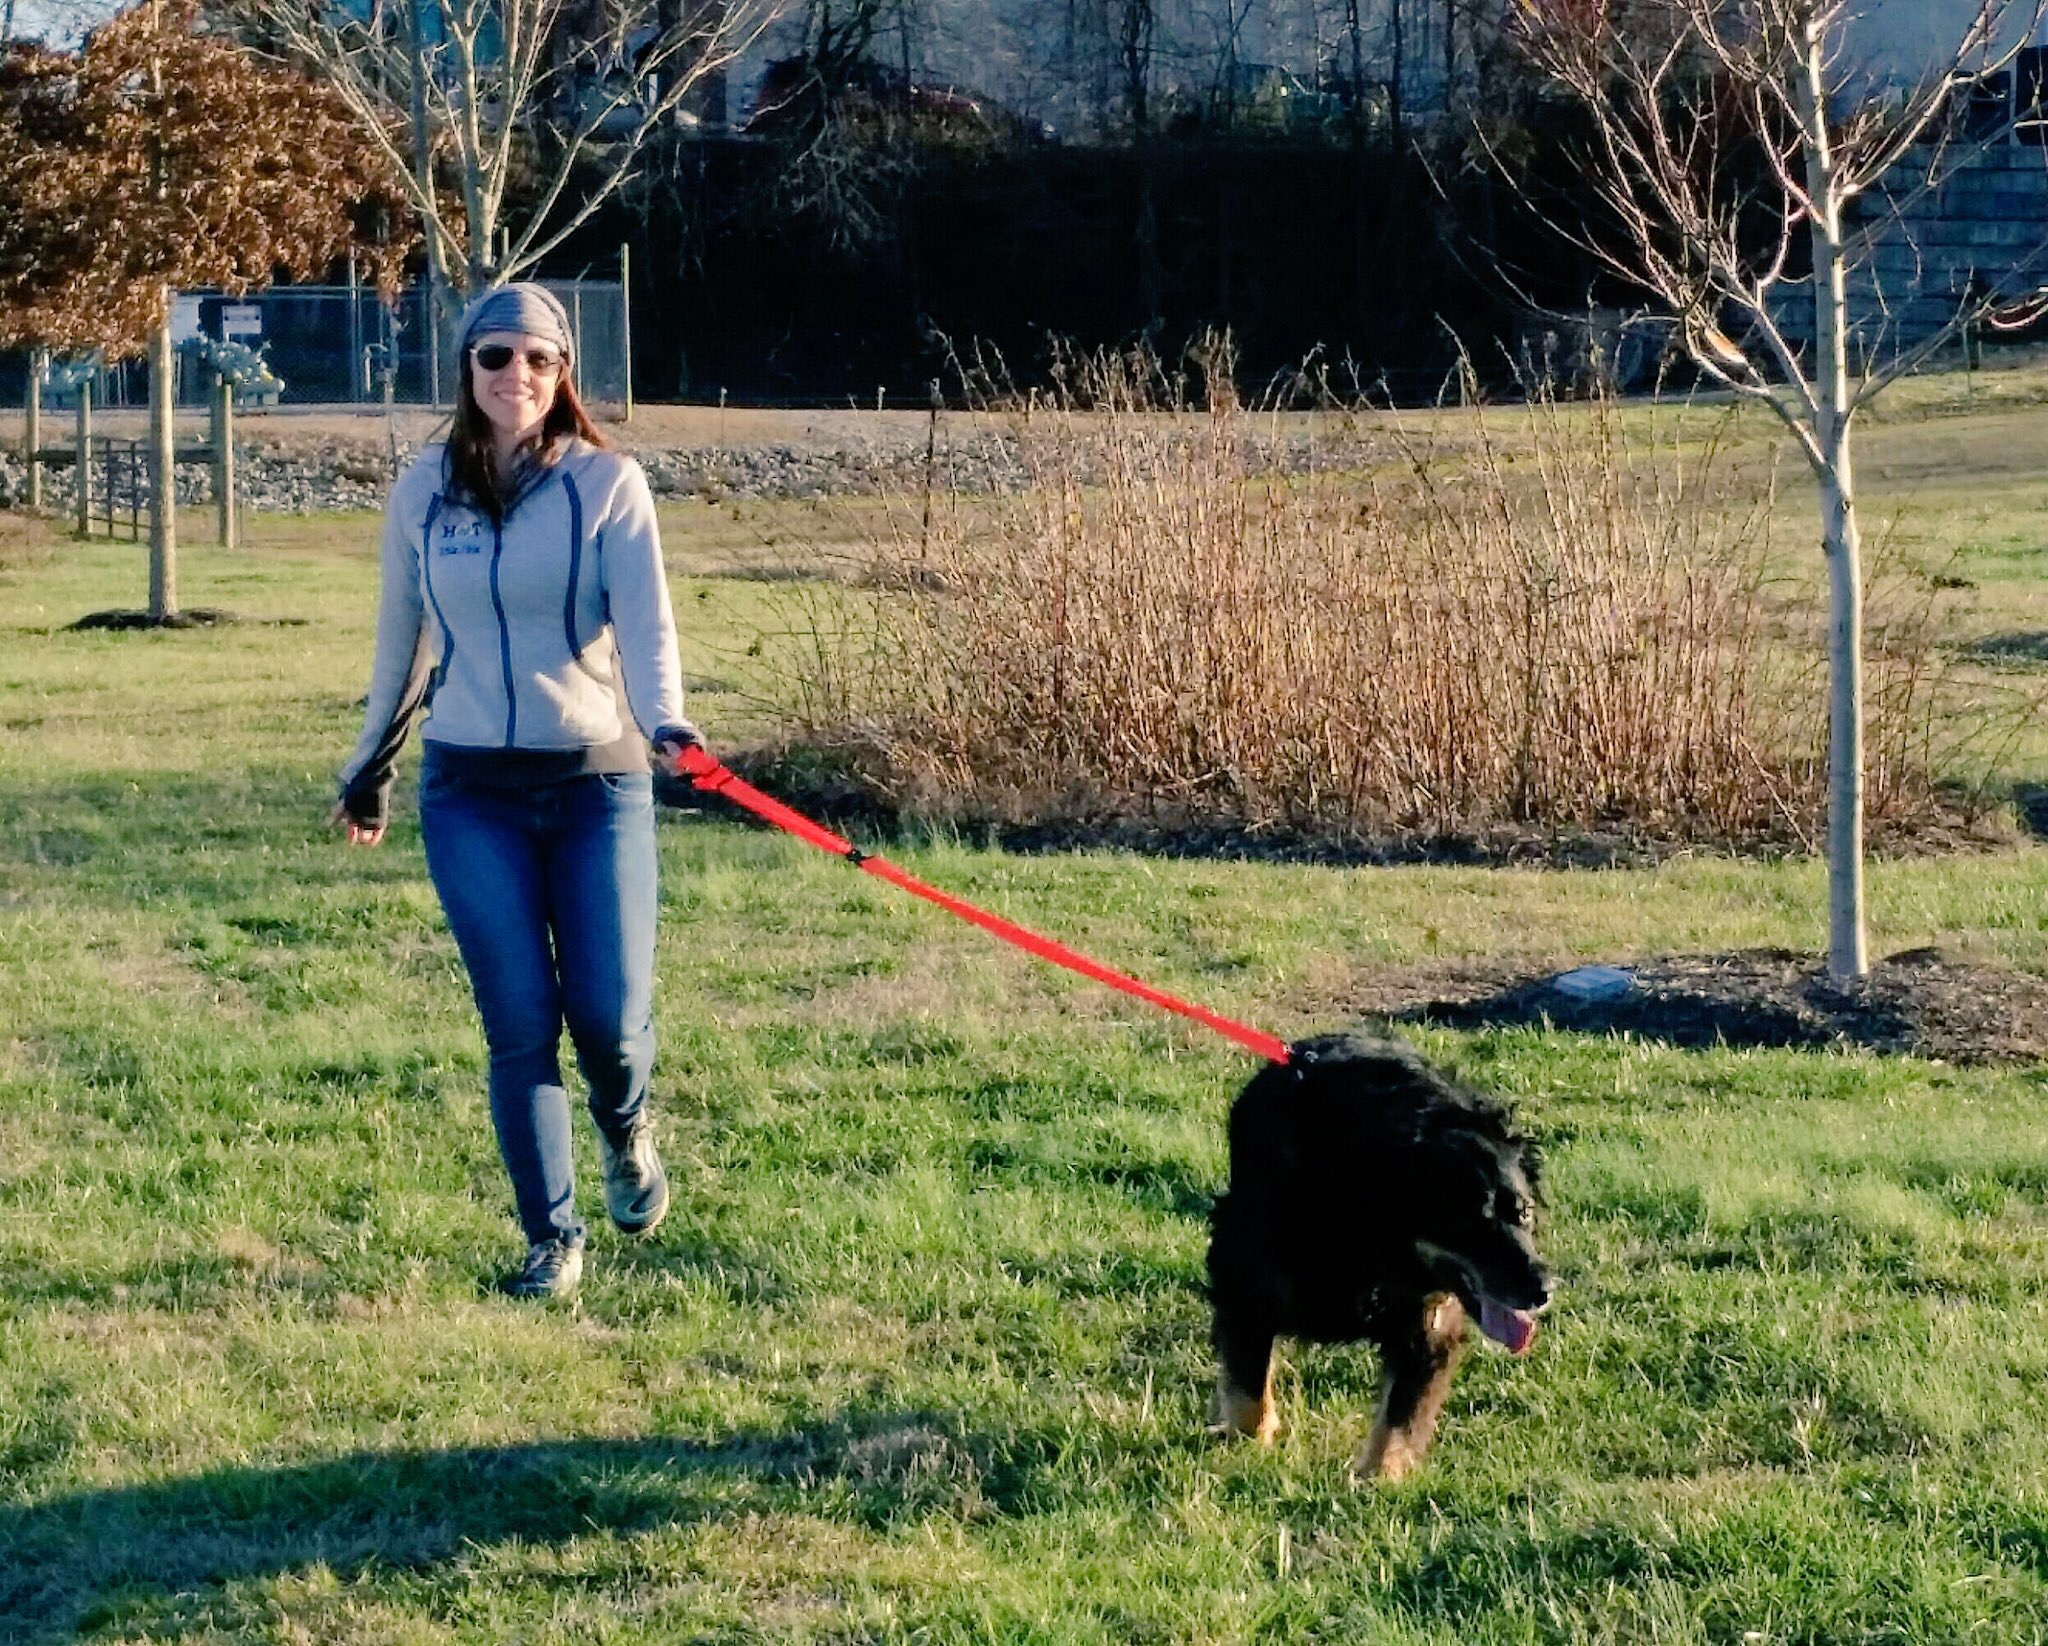
The first time I wore this shoe it was while walking my dog on pavement here in town. I immediately noticed the barefoot feel of the 5.5 mm Feel True rubber sole underfoot. If you've never walked in a barefoot shoe before it can be a unique sensory experience! The sole is just thick enough to where you won't feel uncomfortable, but minimal enough to really let your foot flex. The adjustable elastic heel and instep strap is super soft and isn't invasive feeling or scratchy either. The soft toe loop doesn't feel tight. Other than feeling the sole on the bottom of the foot, I didn't even notice the shoes. It's not easy to notice a sandal that only weighs 4.8 ounces (mine is a Women's size 7).
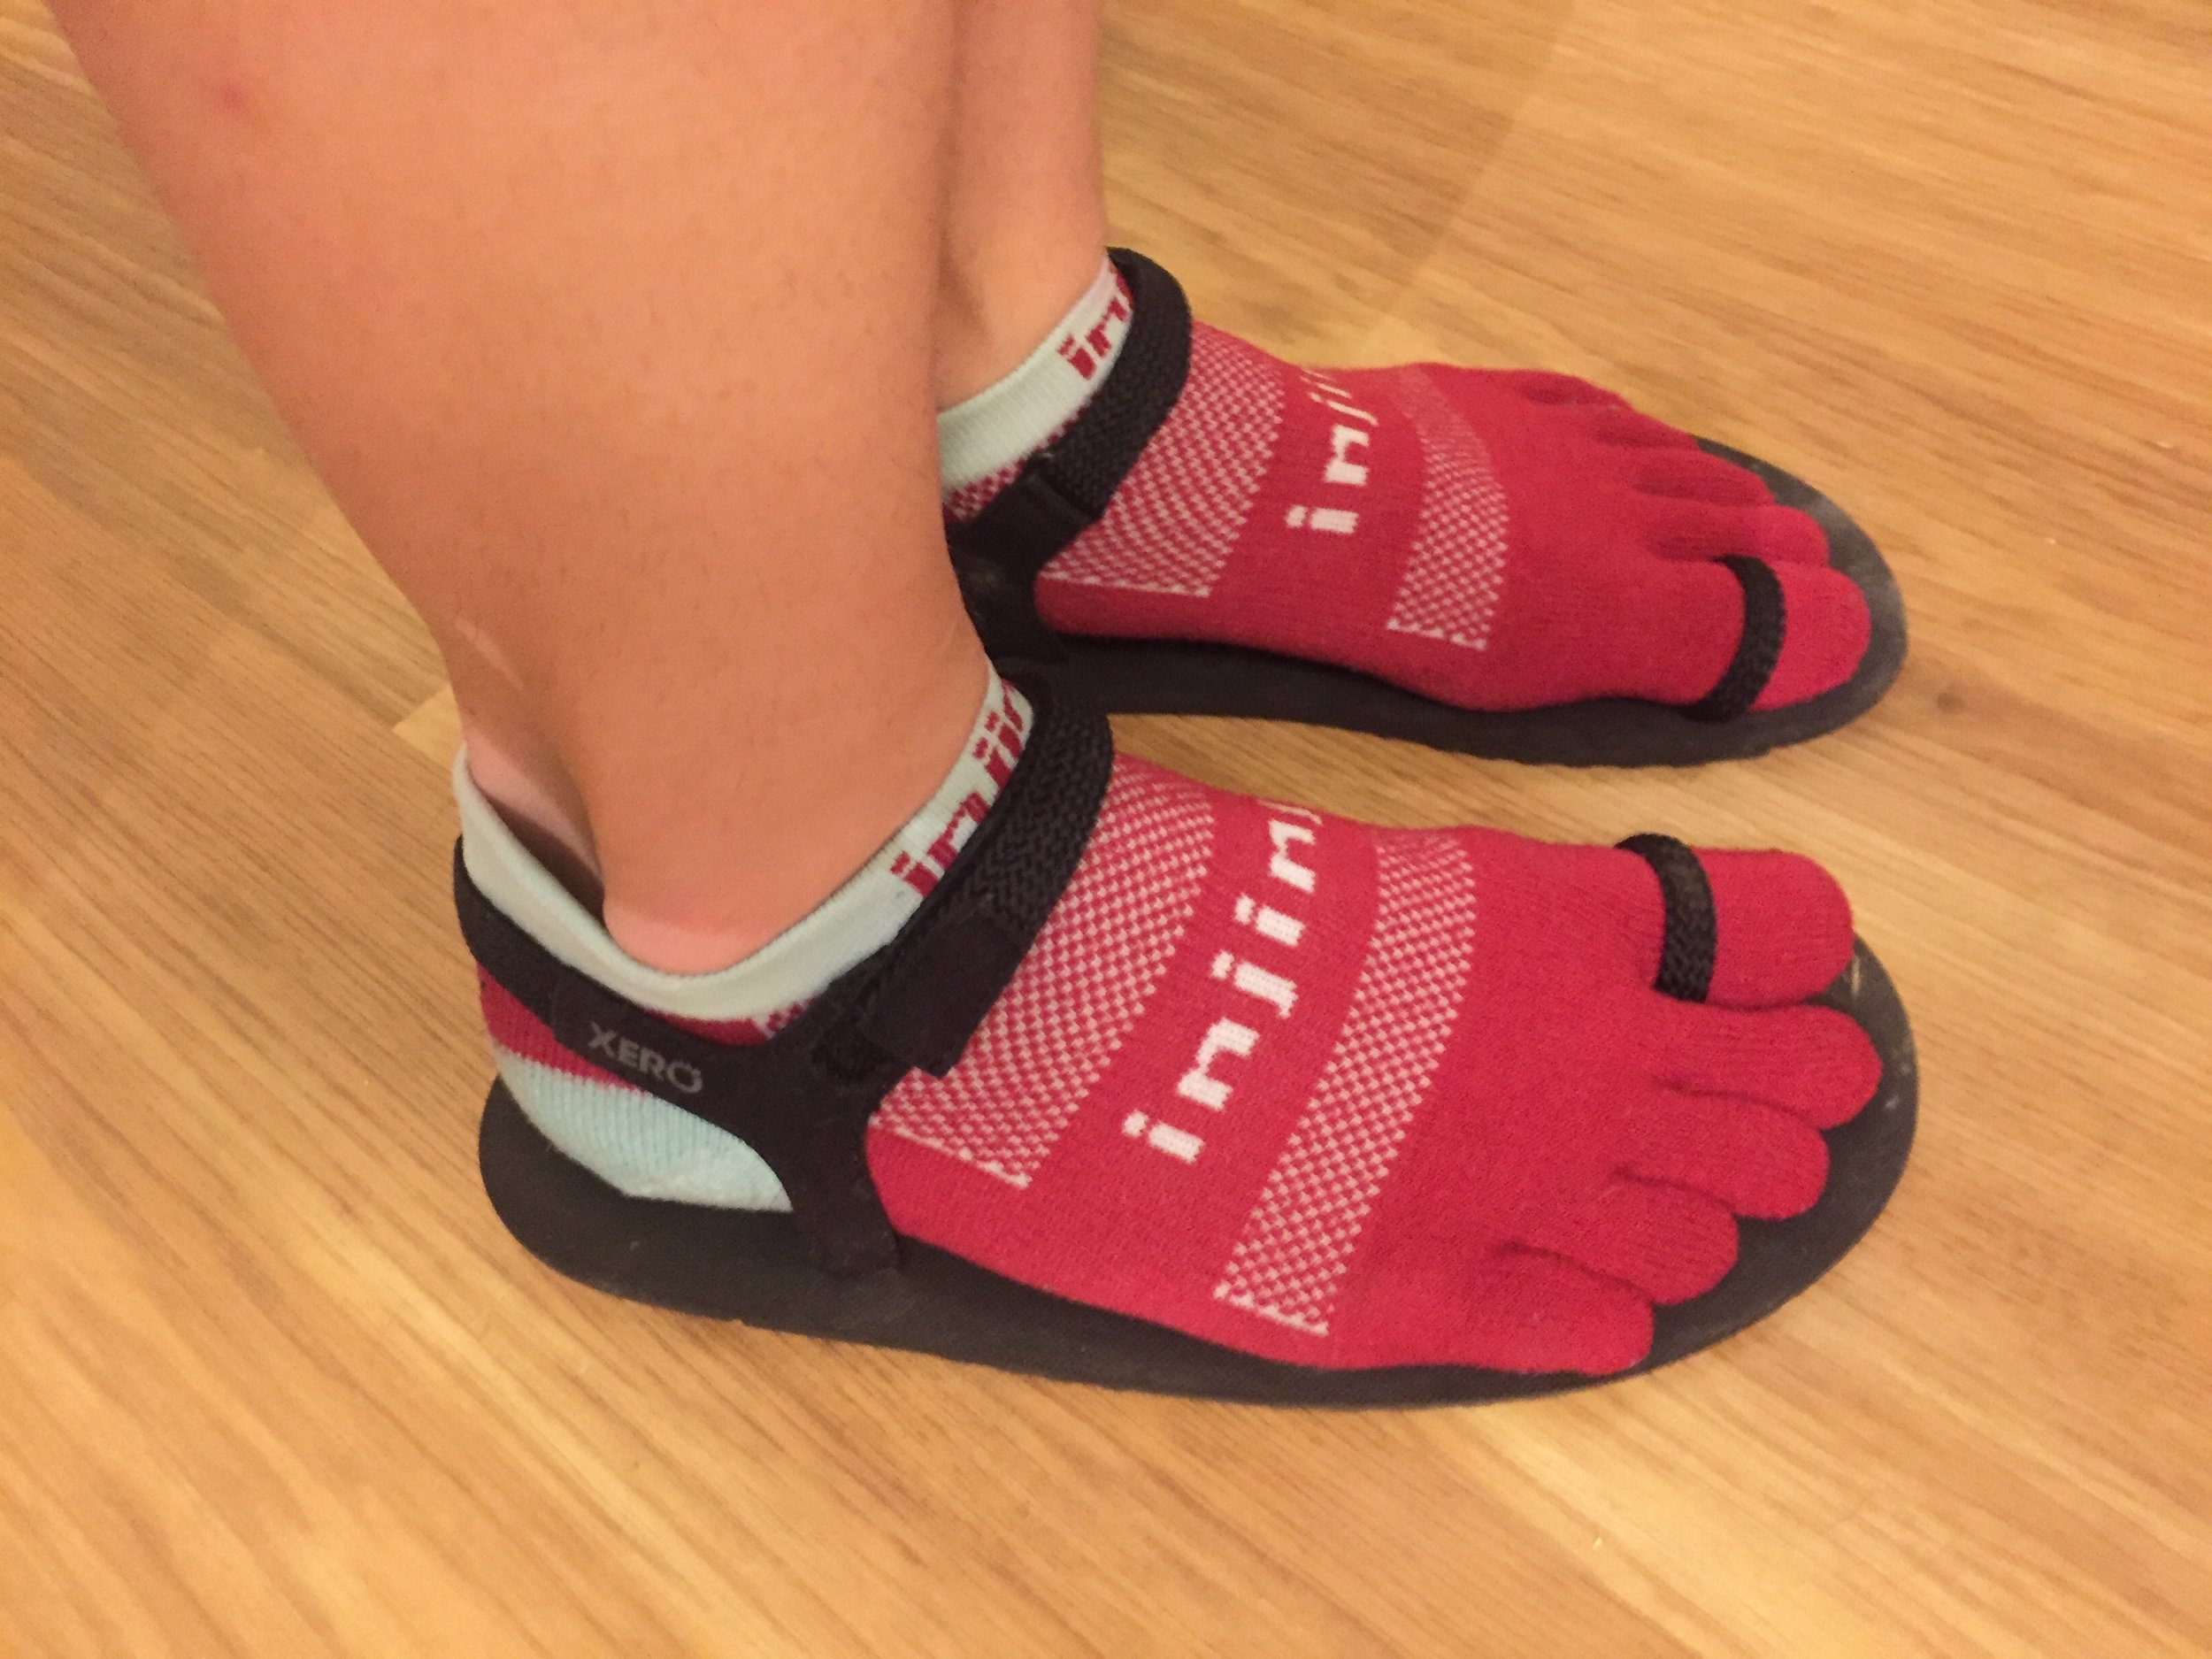
Yep - totally wore socks with sandals. I'm not ashamed!
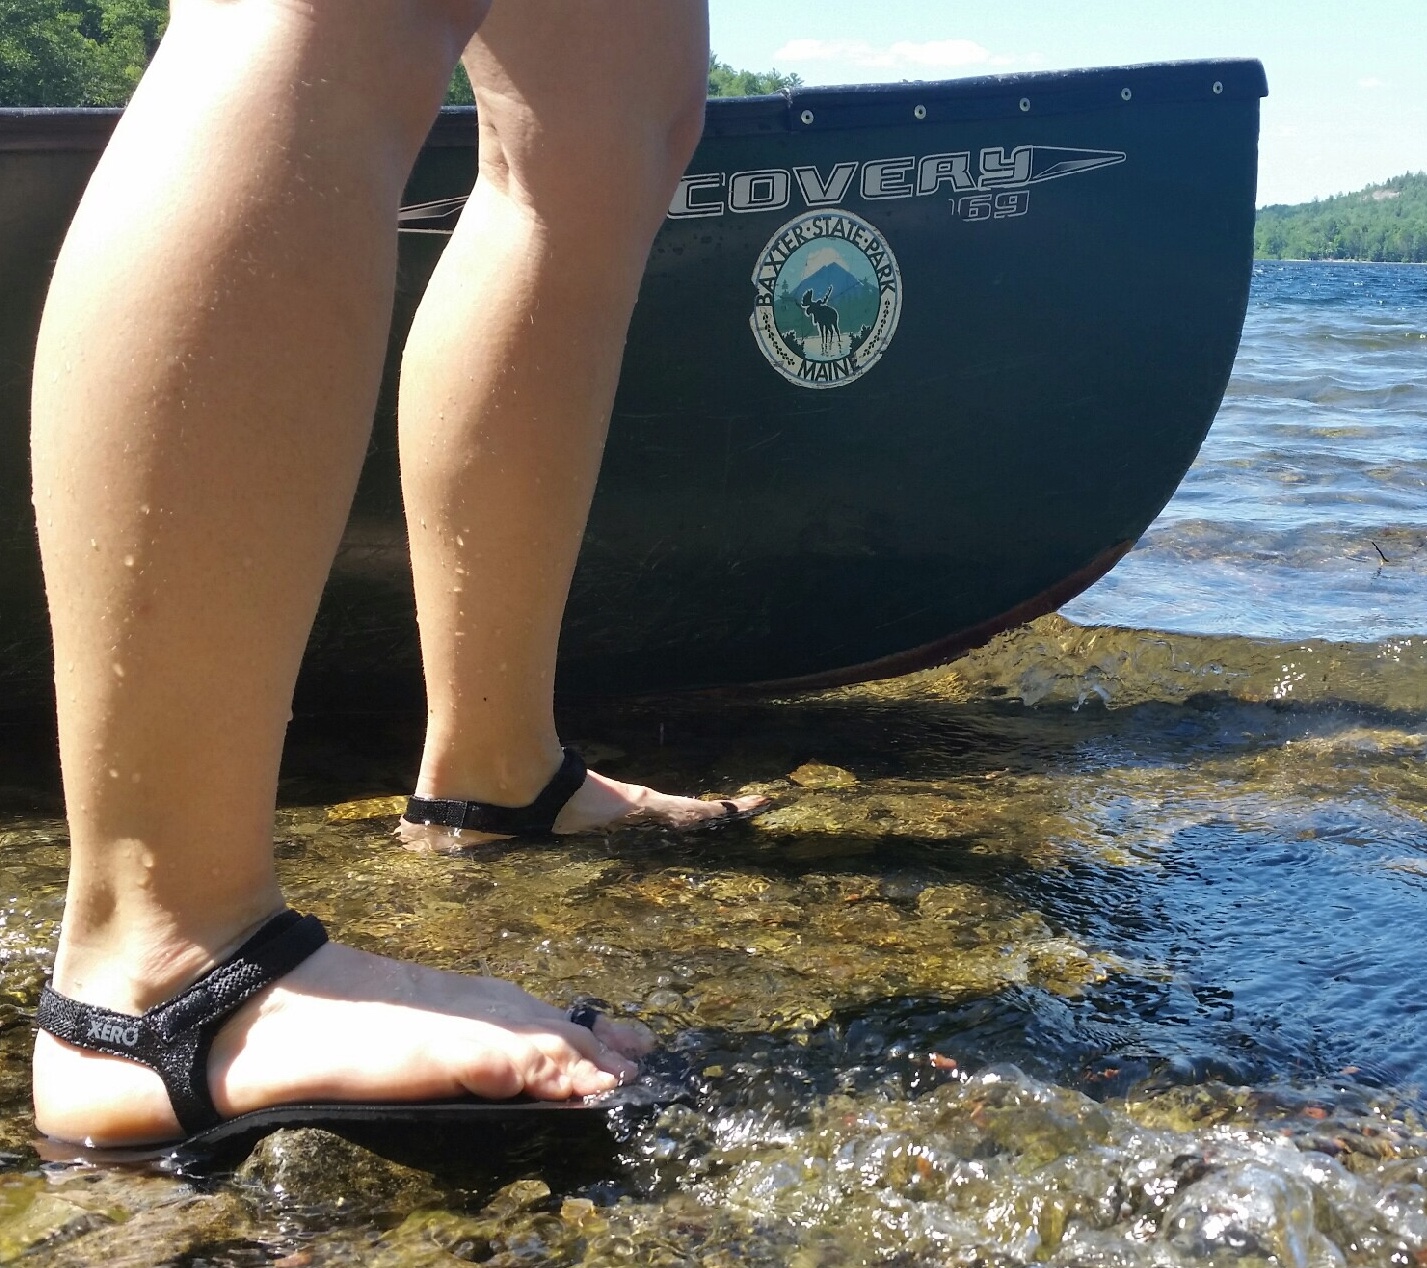
Walking on pavement can only give you so much of an example though, so on my day off I took a trip up to the north end of Baxter State Park for a little bit of R&R. I thought with the ankle strap this shoe would be perfect for both easy walking and a little time out on the water. Anyone who has tried to go swimming in a lake or pond in the upper part of New England can tell you that our soil is rocky. It's always tough getting into or out of the water if you're barefoot or wearing a sandal. The ankle strap really helped me feel confident I wouldn't lose a shoe to the rocks and it was perfect. Since a little portaging was necessary with the canoe, I also got to use it out on the trail. I wasn't sure what to expect being that I've never really done a barefoot style shoe before, but it wasn't terrible! It felt a lot more stable than I expected, even with wet feet. Anyone who does any amount of backpacking can tell you that you sometimes get a long hike to your water source at camp. Doing it in a camp shoe can sometimes be a real pain. I would definitely make this a strong contender for a camp shoe on a backpacking trip in the future due to their secure feel.
To recap my thoughts on the shoe:
Pros:
-Lightweight
-Stable with the ankle strap
-Comfortable
-Unique, eye-catching design
Cons:
-Wearing them all day made my feet and Achilles tendons tired (more than likely because I don't wear a barefoot shoe all the time!)
-Adjustment period for a barefoot and zero drop (or would it be Xero Drop?!) shoe can take a while for newbies

In short, I'd recommend the XeroShoes Jessie Sandal to any outdoorsy chick who likes to have something eye-catching and fun to wear as a multipurpose shoe. At only $44.99 MSRP with a 5,000 mile sole warranty, you'll really get your money's worth from this sandal.
Have you ever tried a barefoot sandal before? How do you feel about a minimal shoe?